Laughter – Mixed Media Art Journal Page

To see this art journal page created in a time-lapse video go to my Youtube channel, Selena Stevens Art, and watch the video.

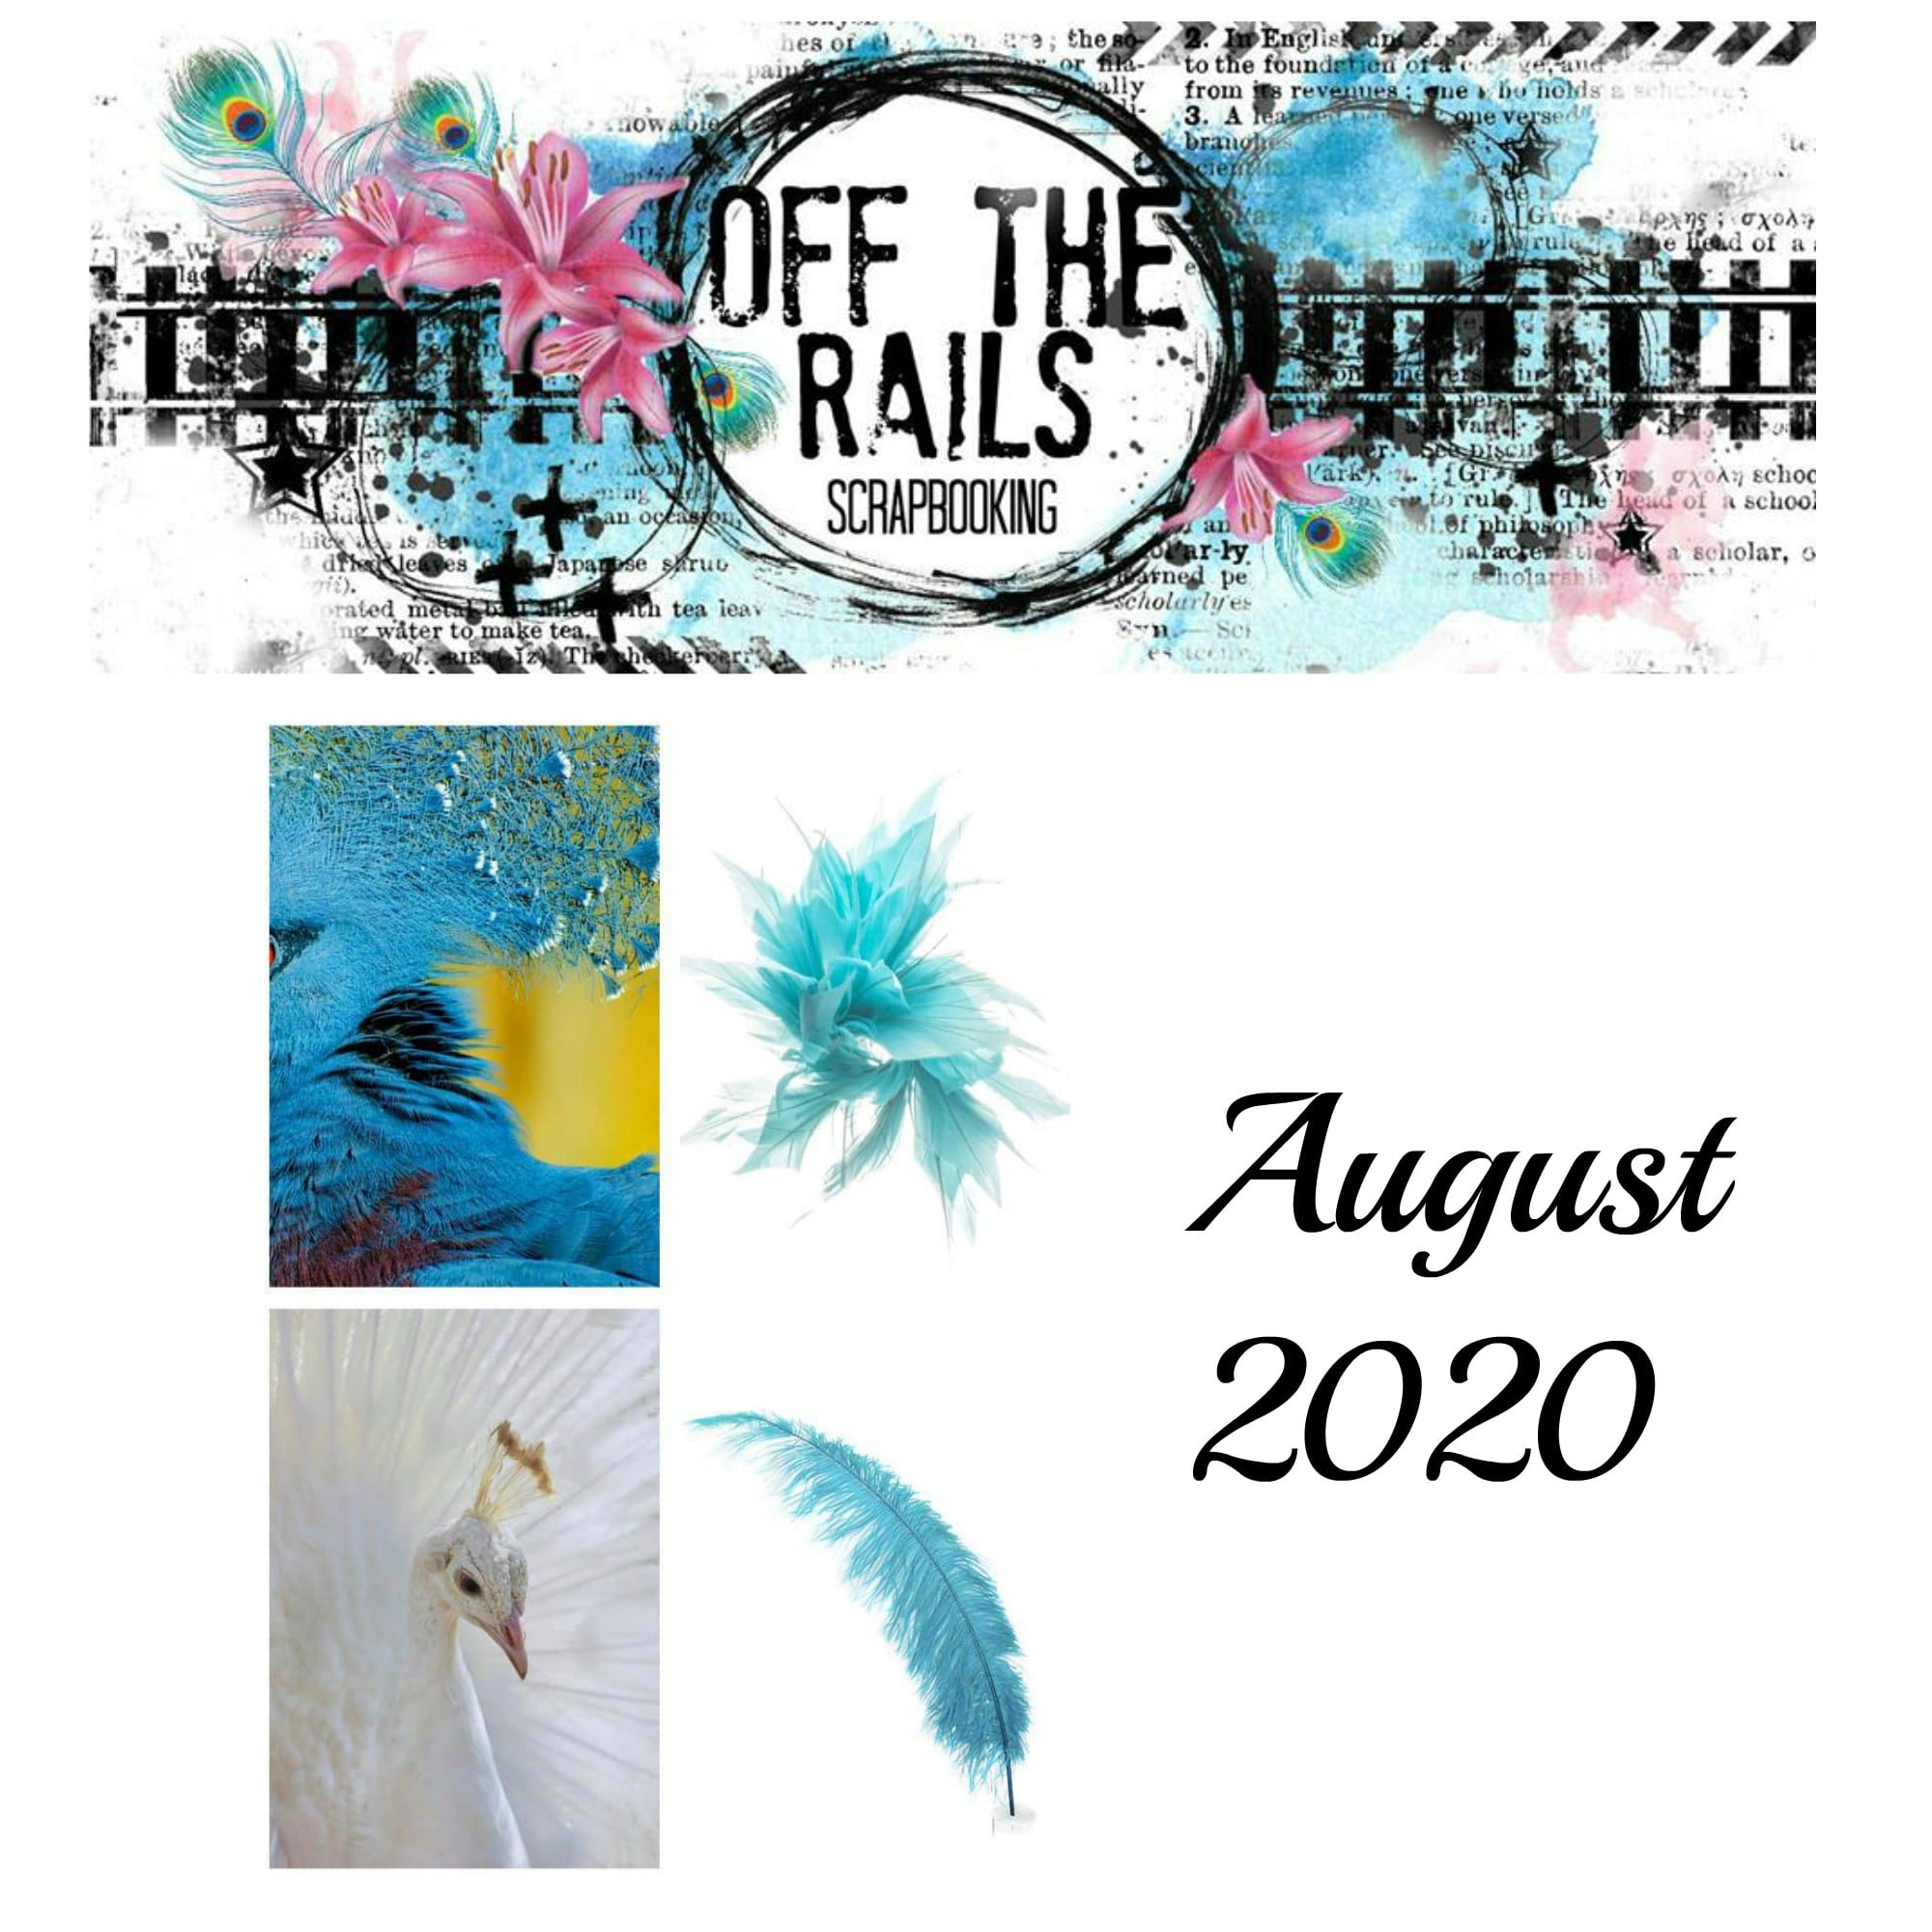
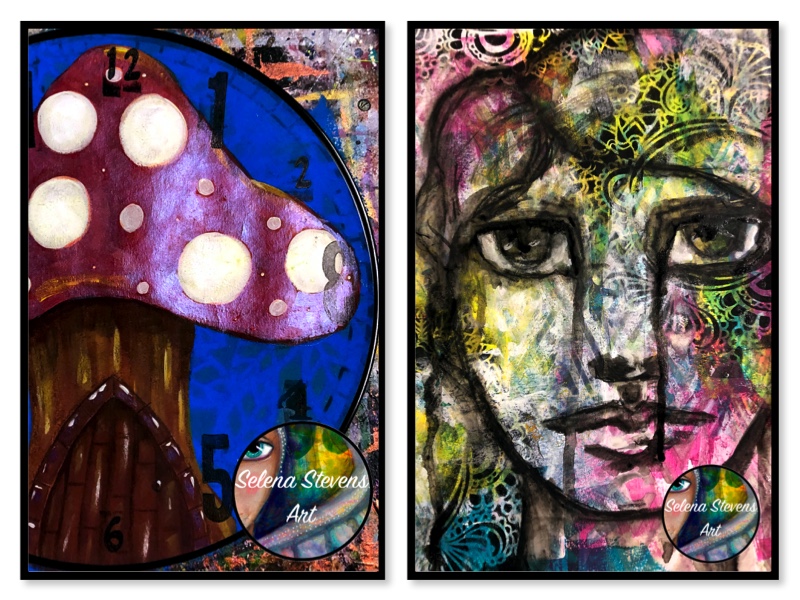
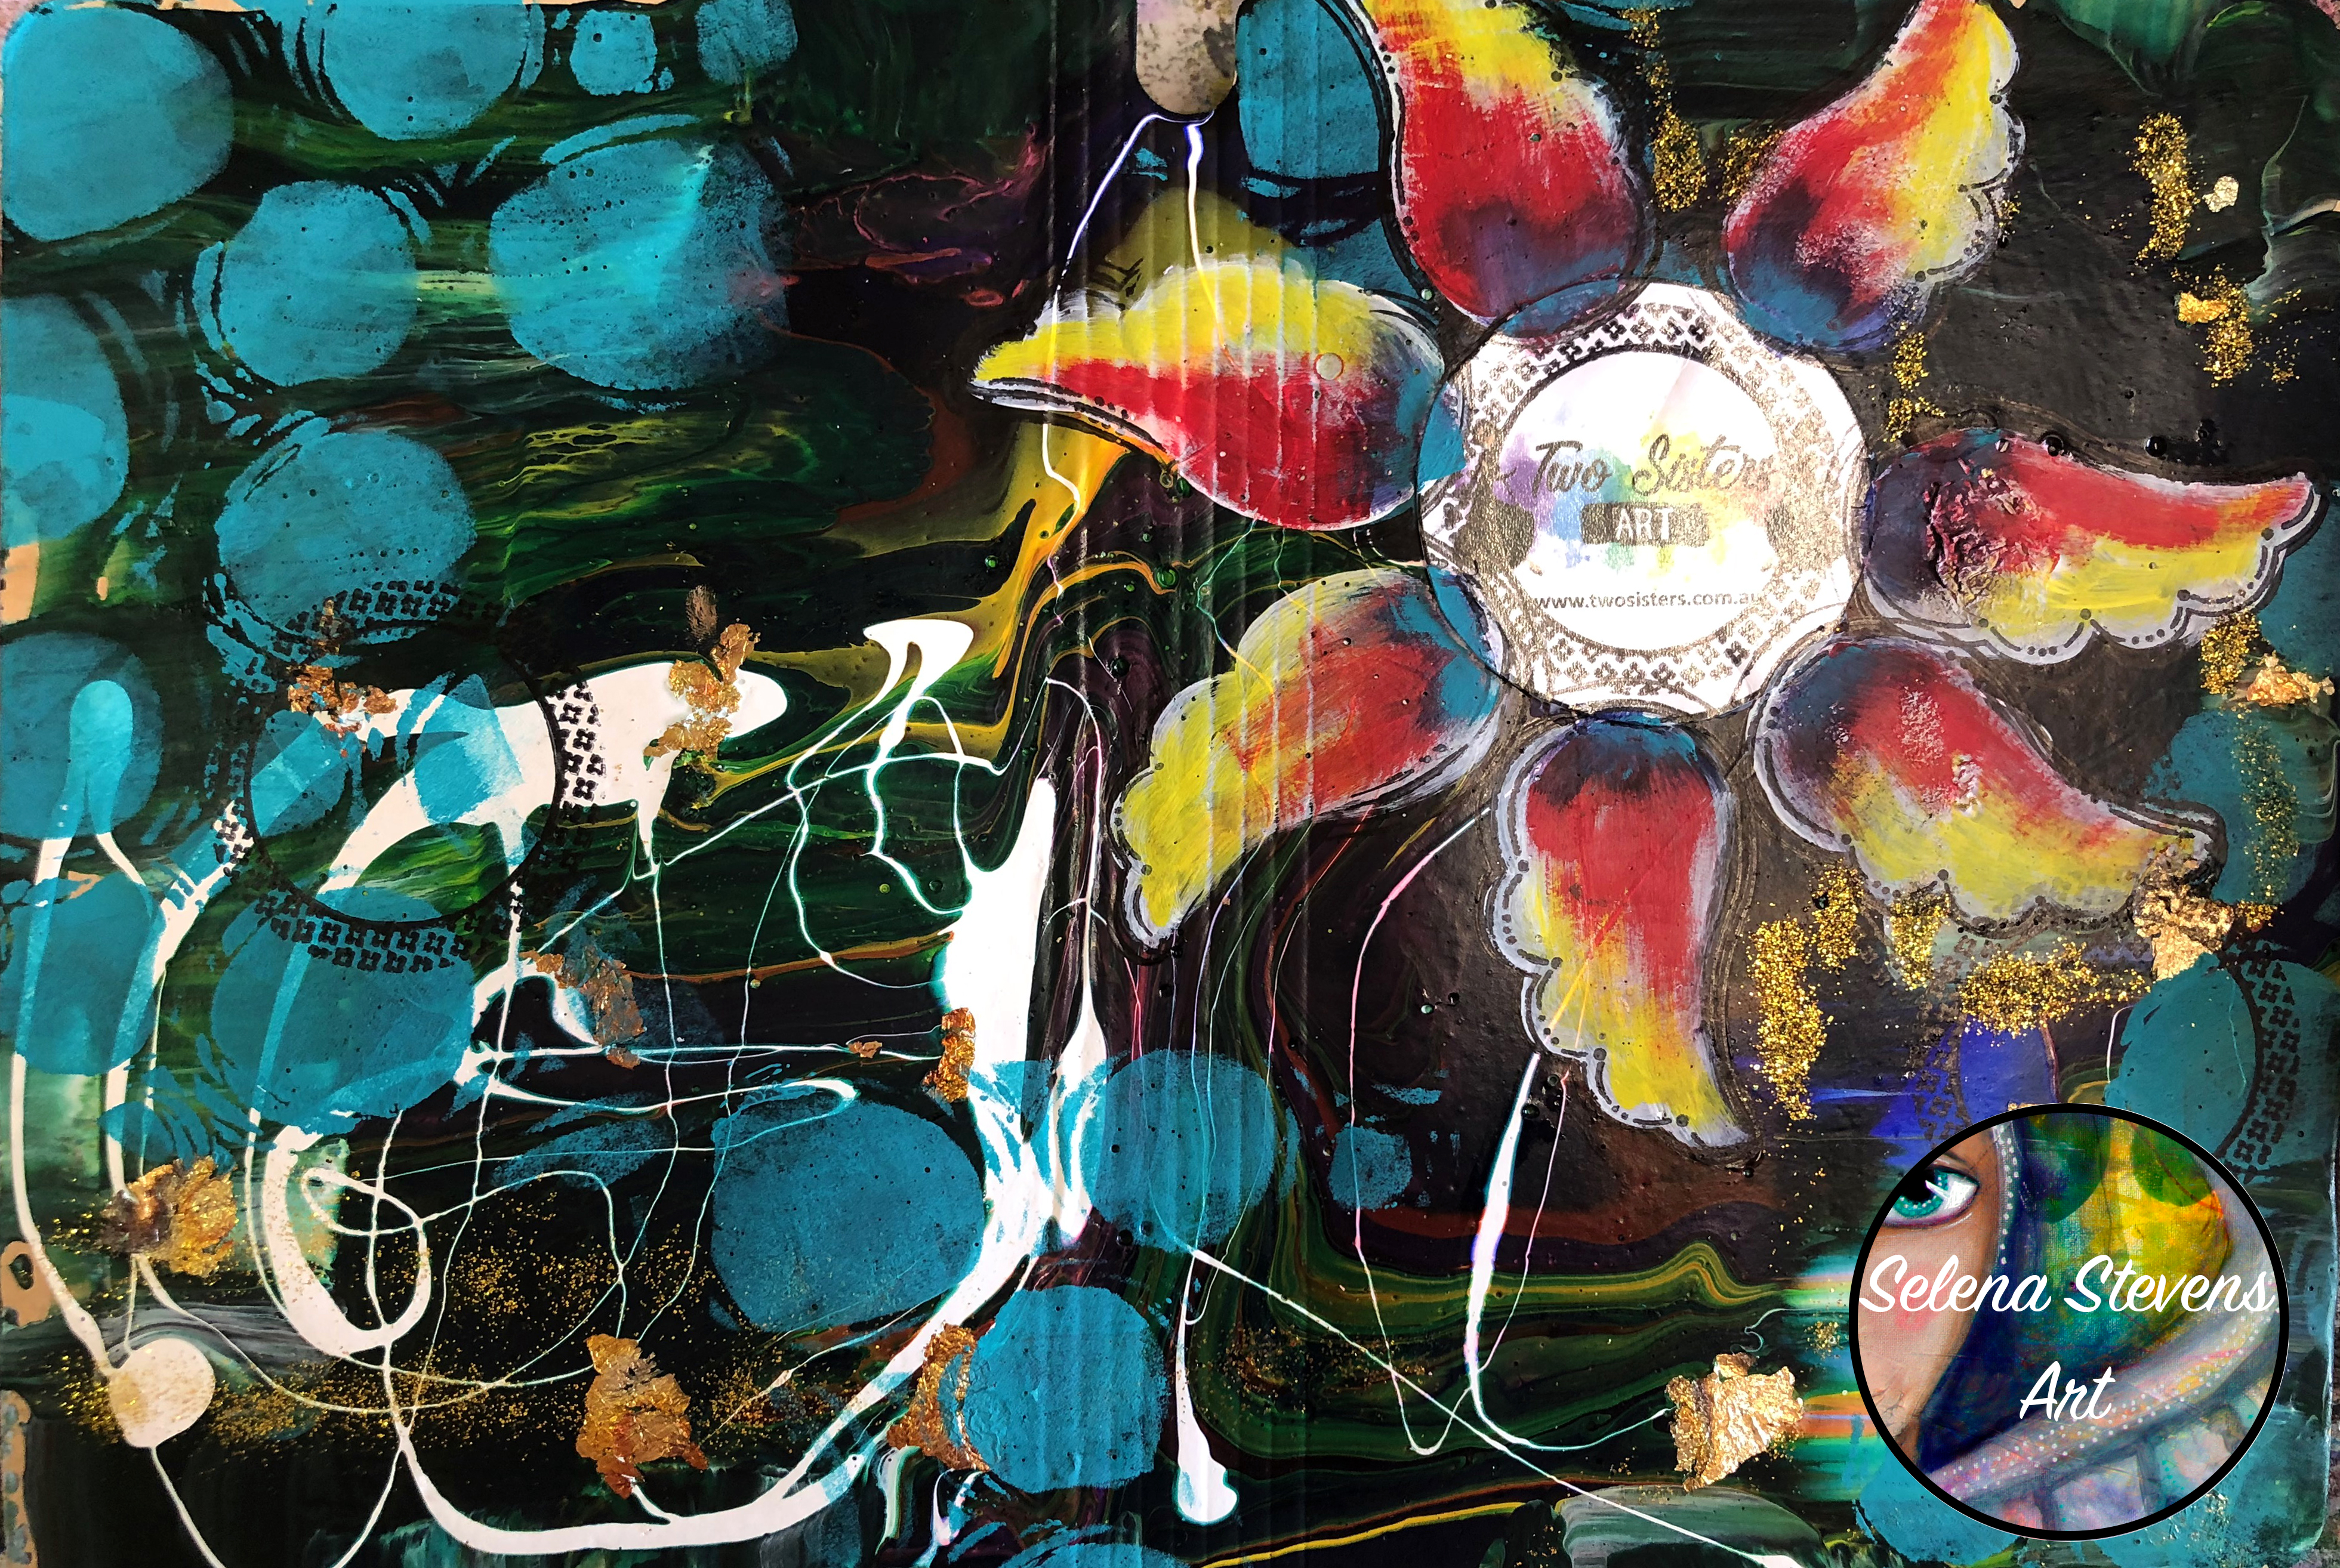
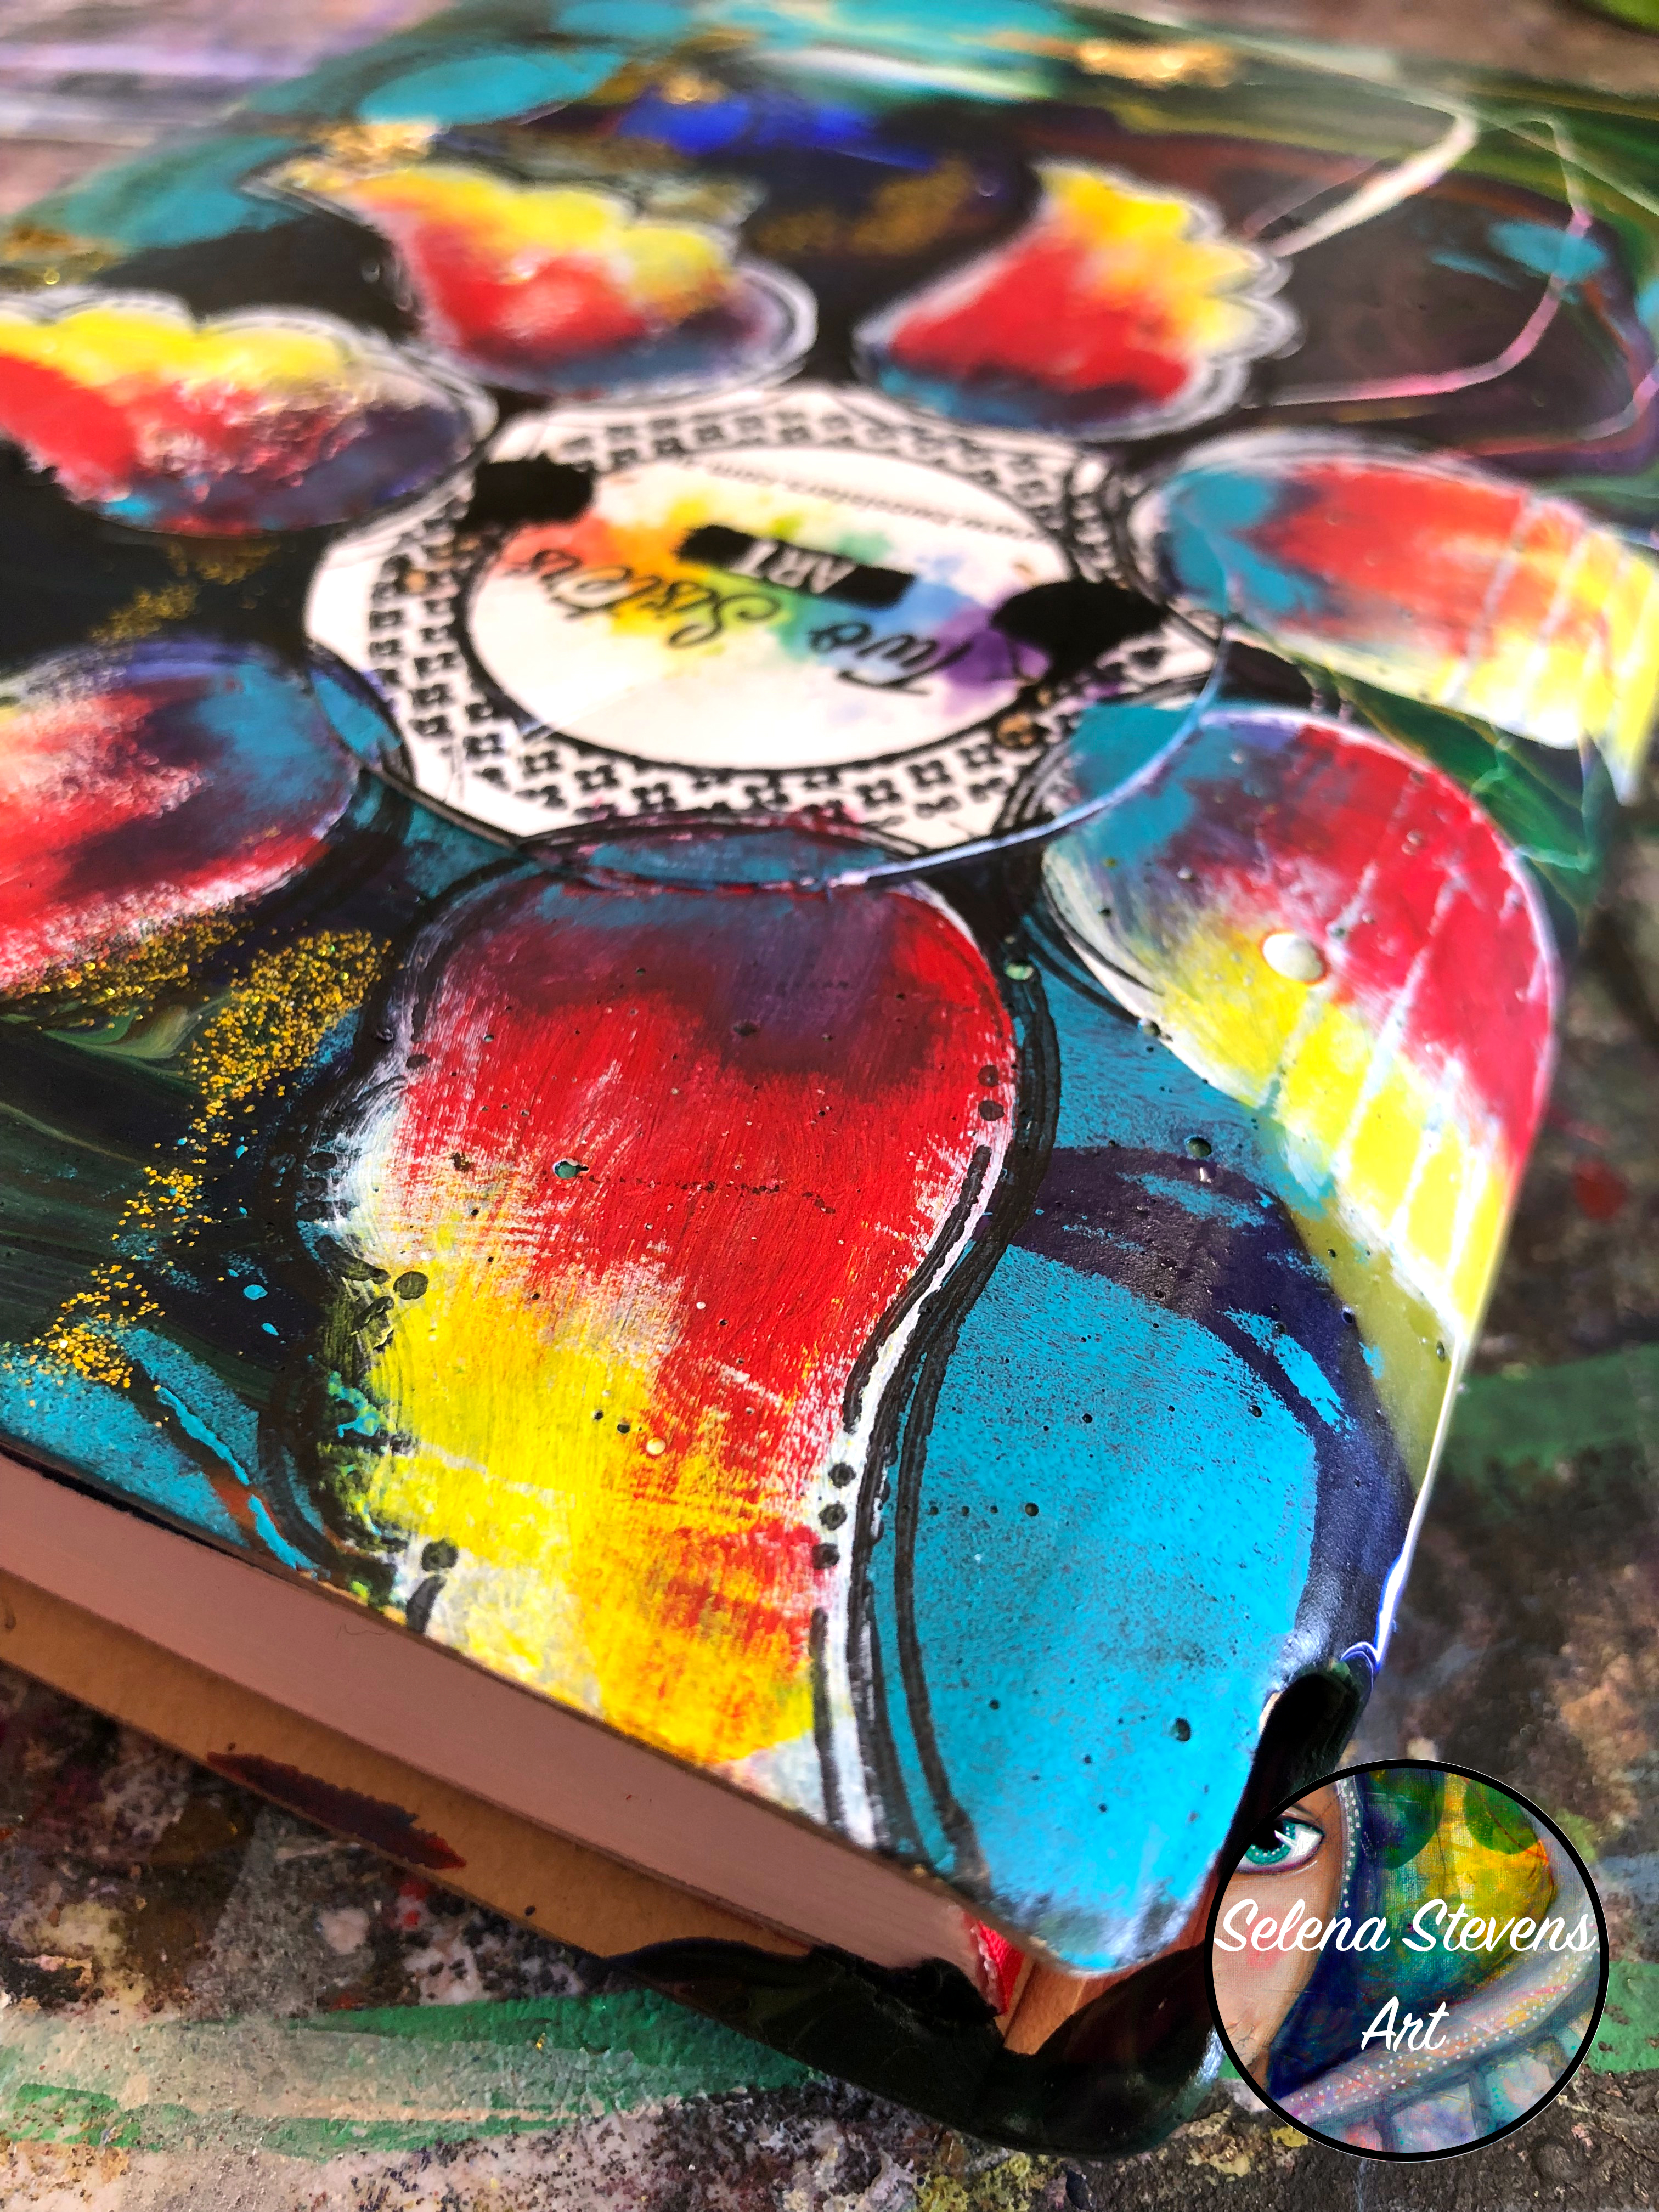
This art journal page was inspired by the Off the Rails Scrapbooking monthly moodboard. The moodboard indicated a funny focal point, instead I concentrated on the end product of funny … Laughter.

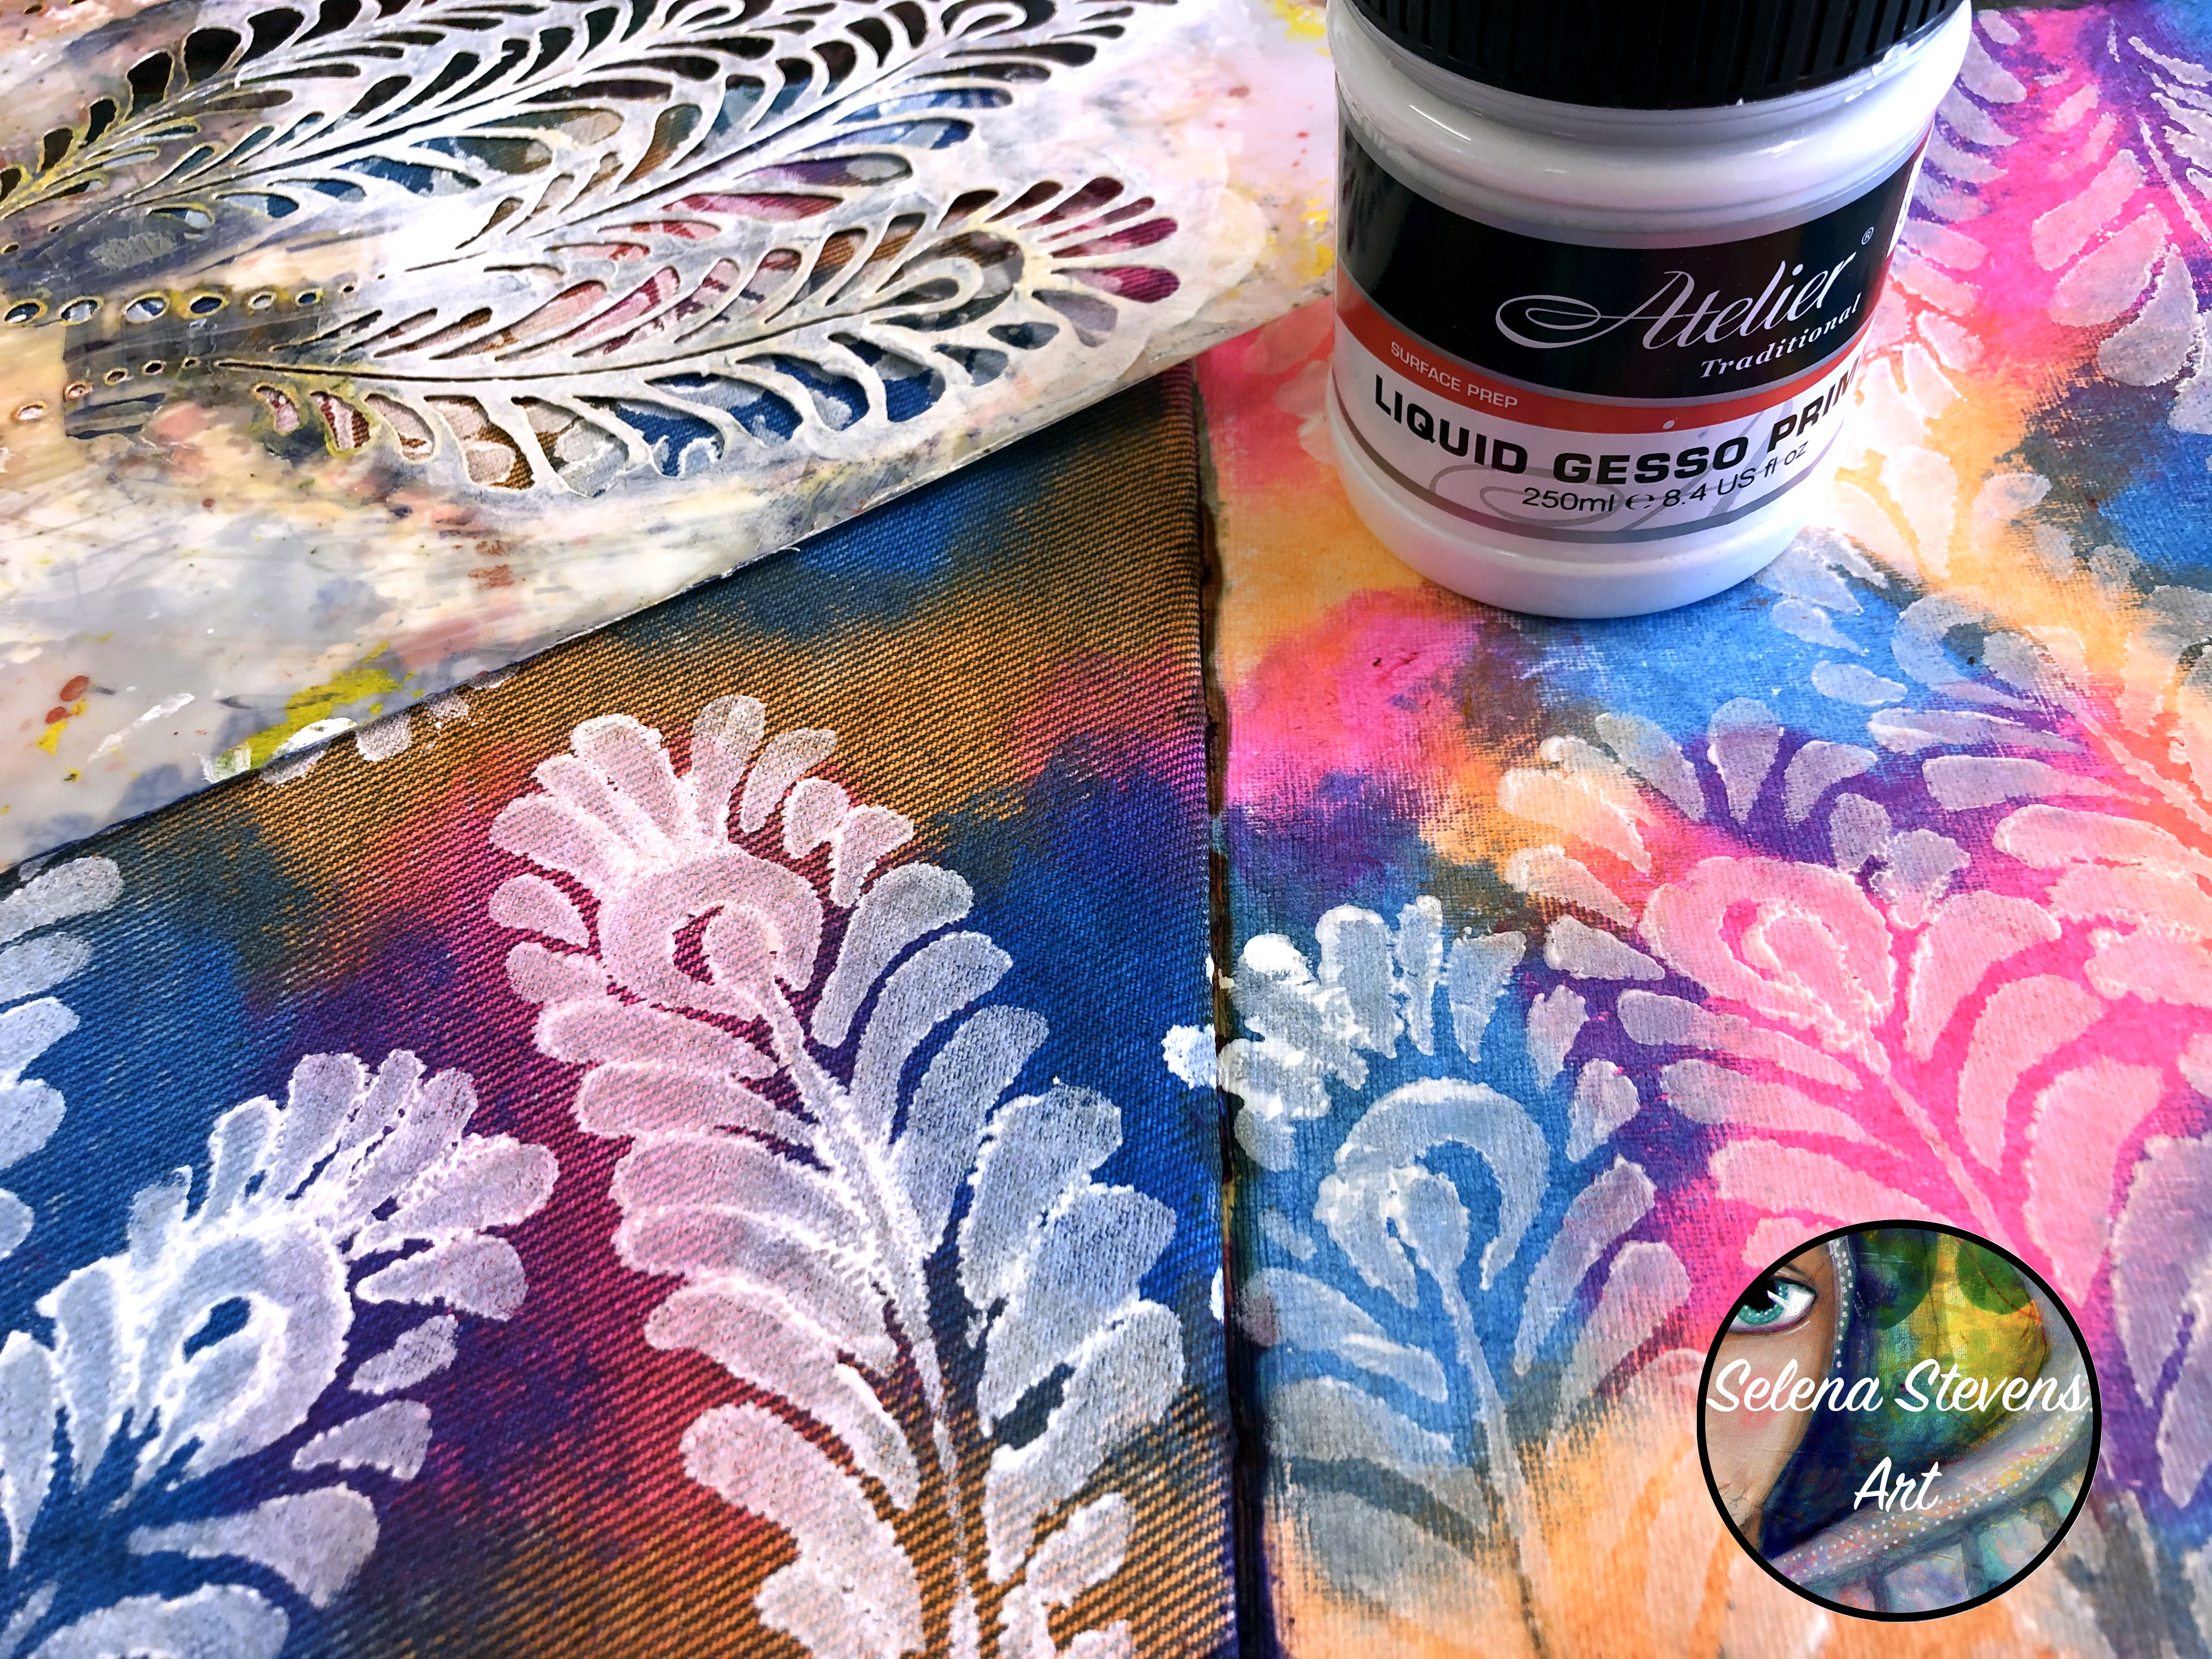
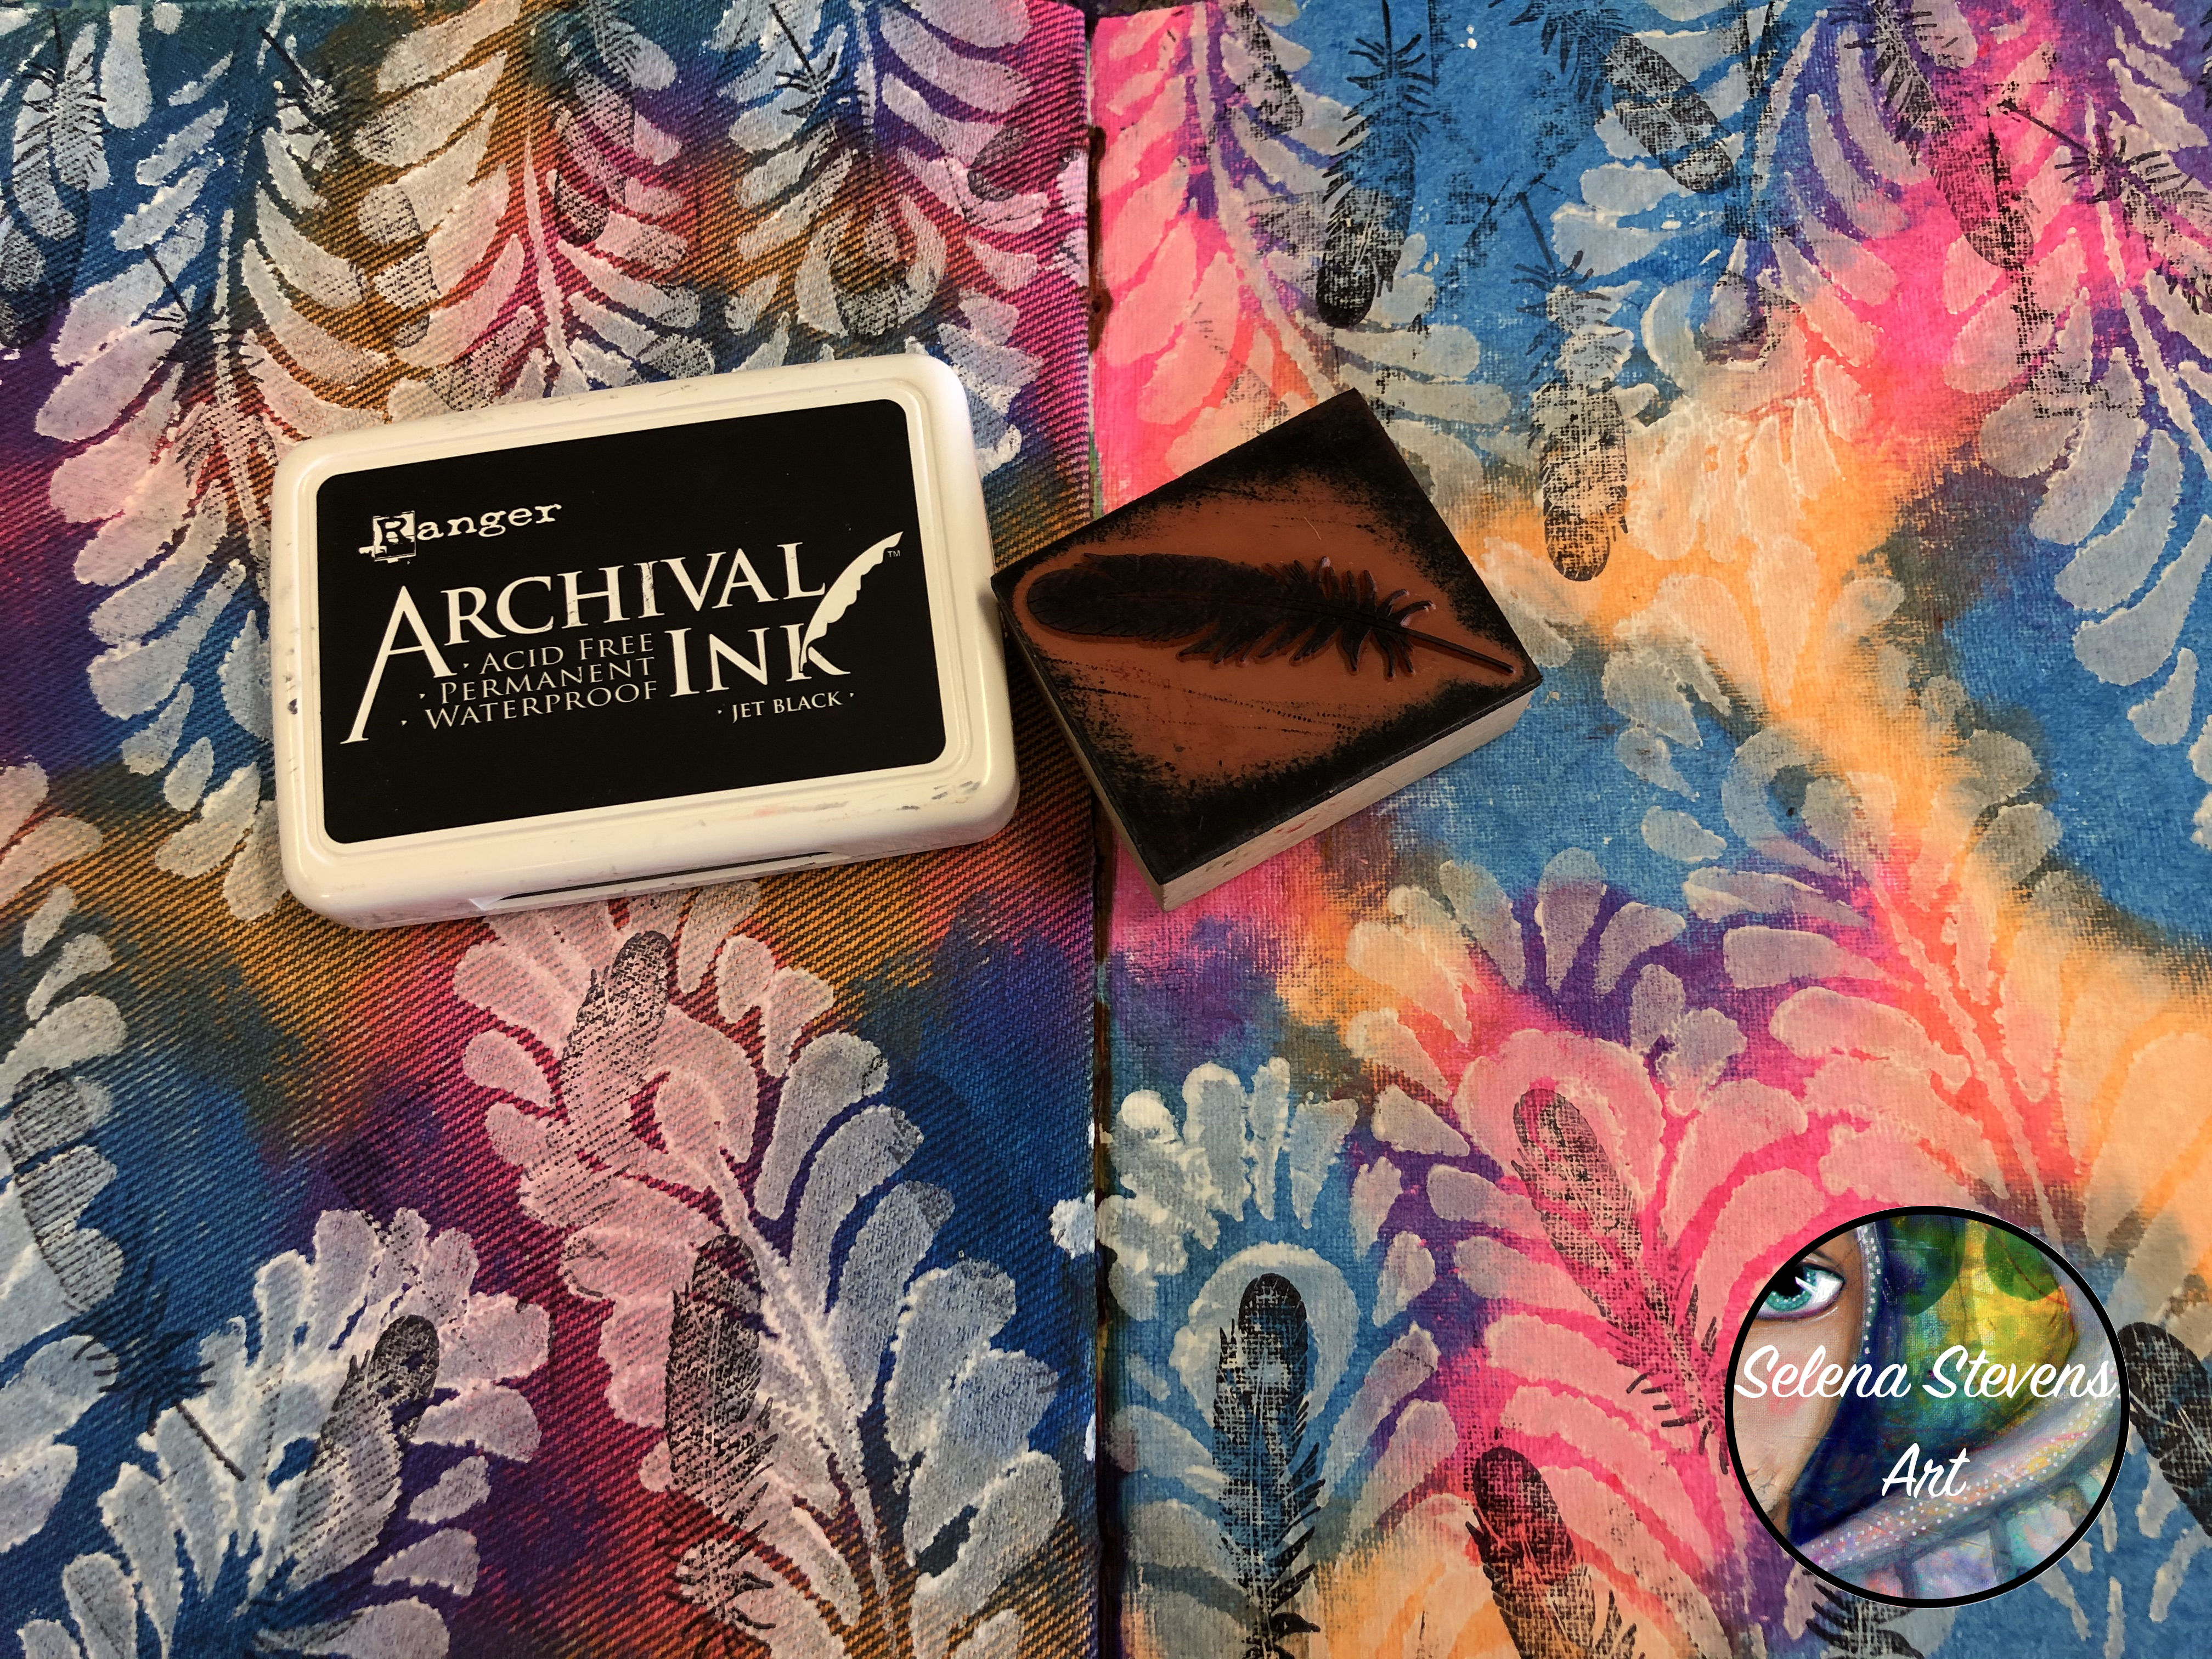
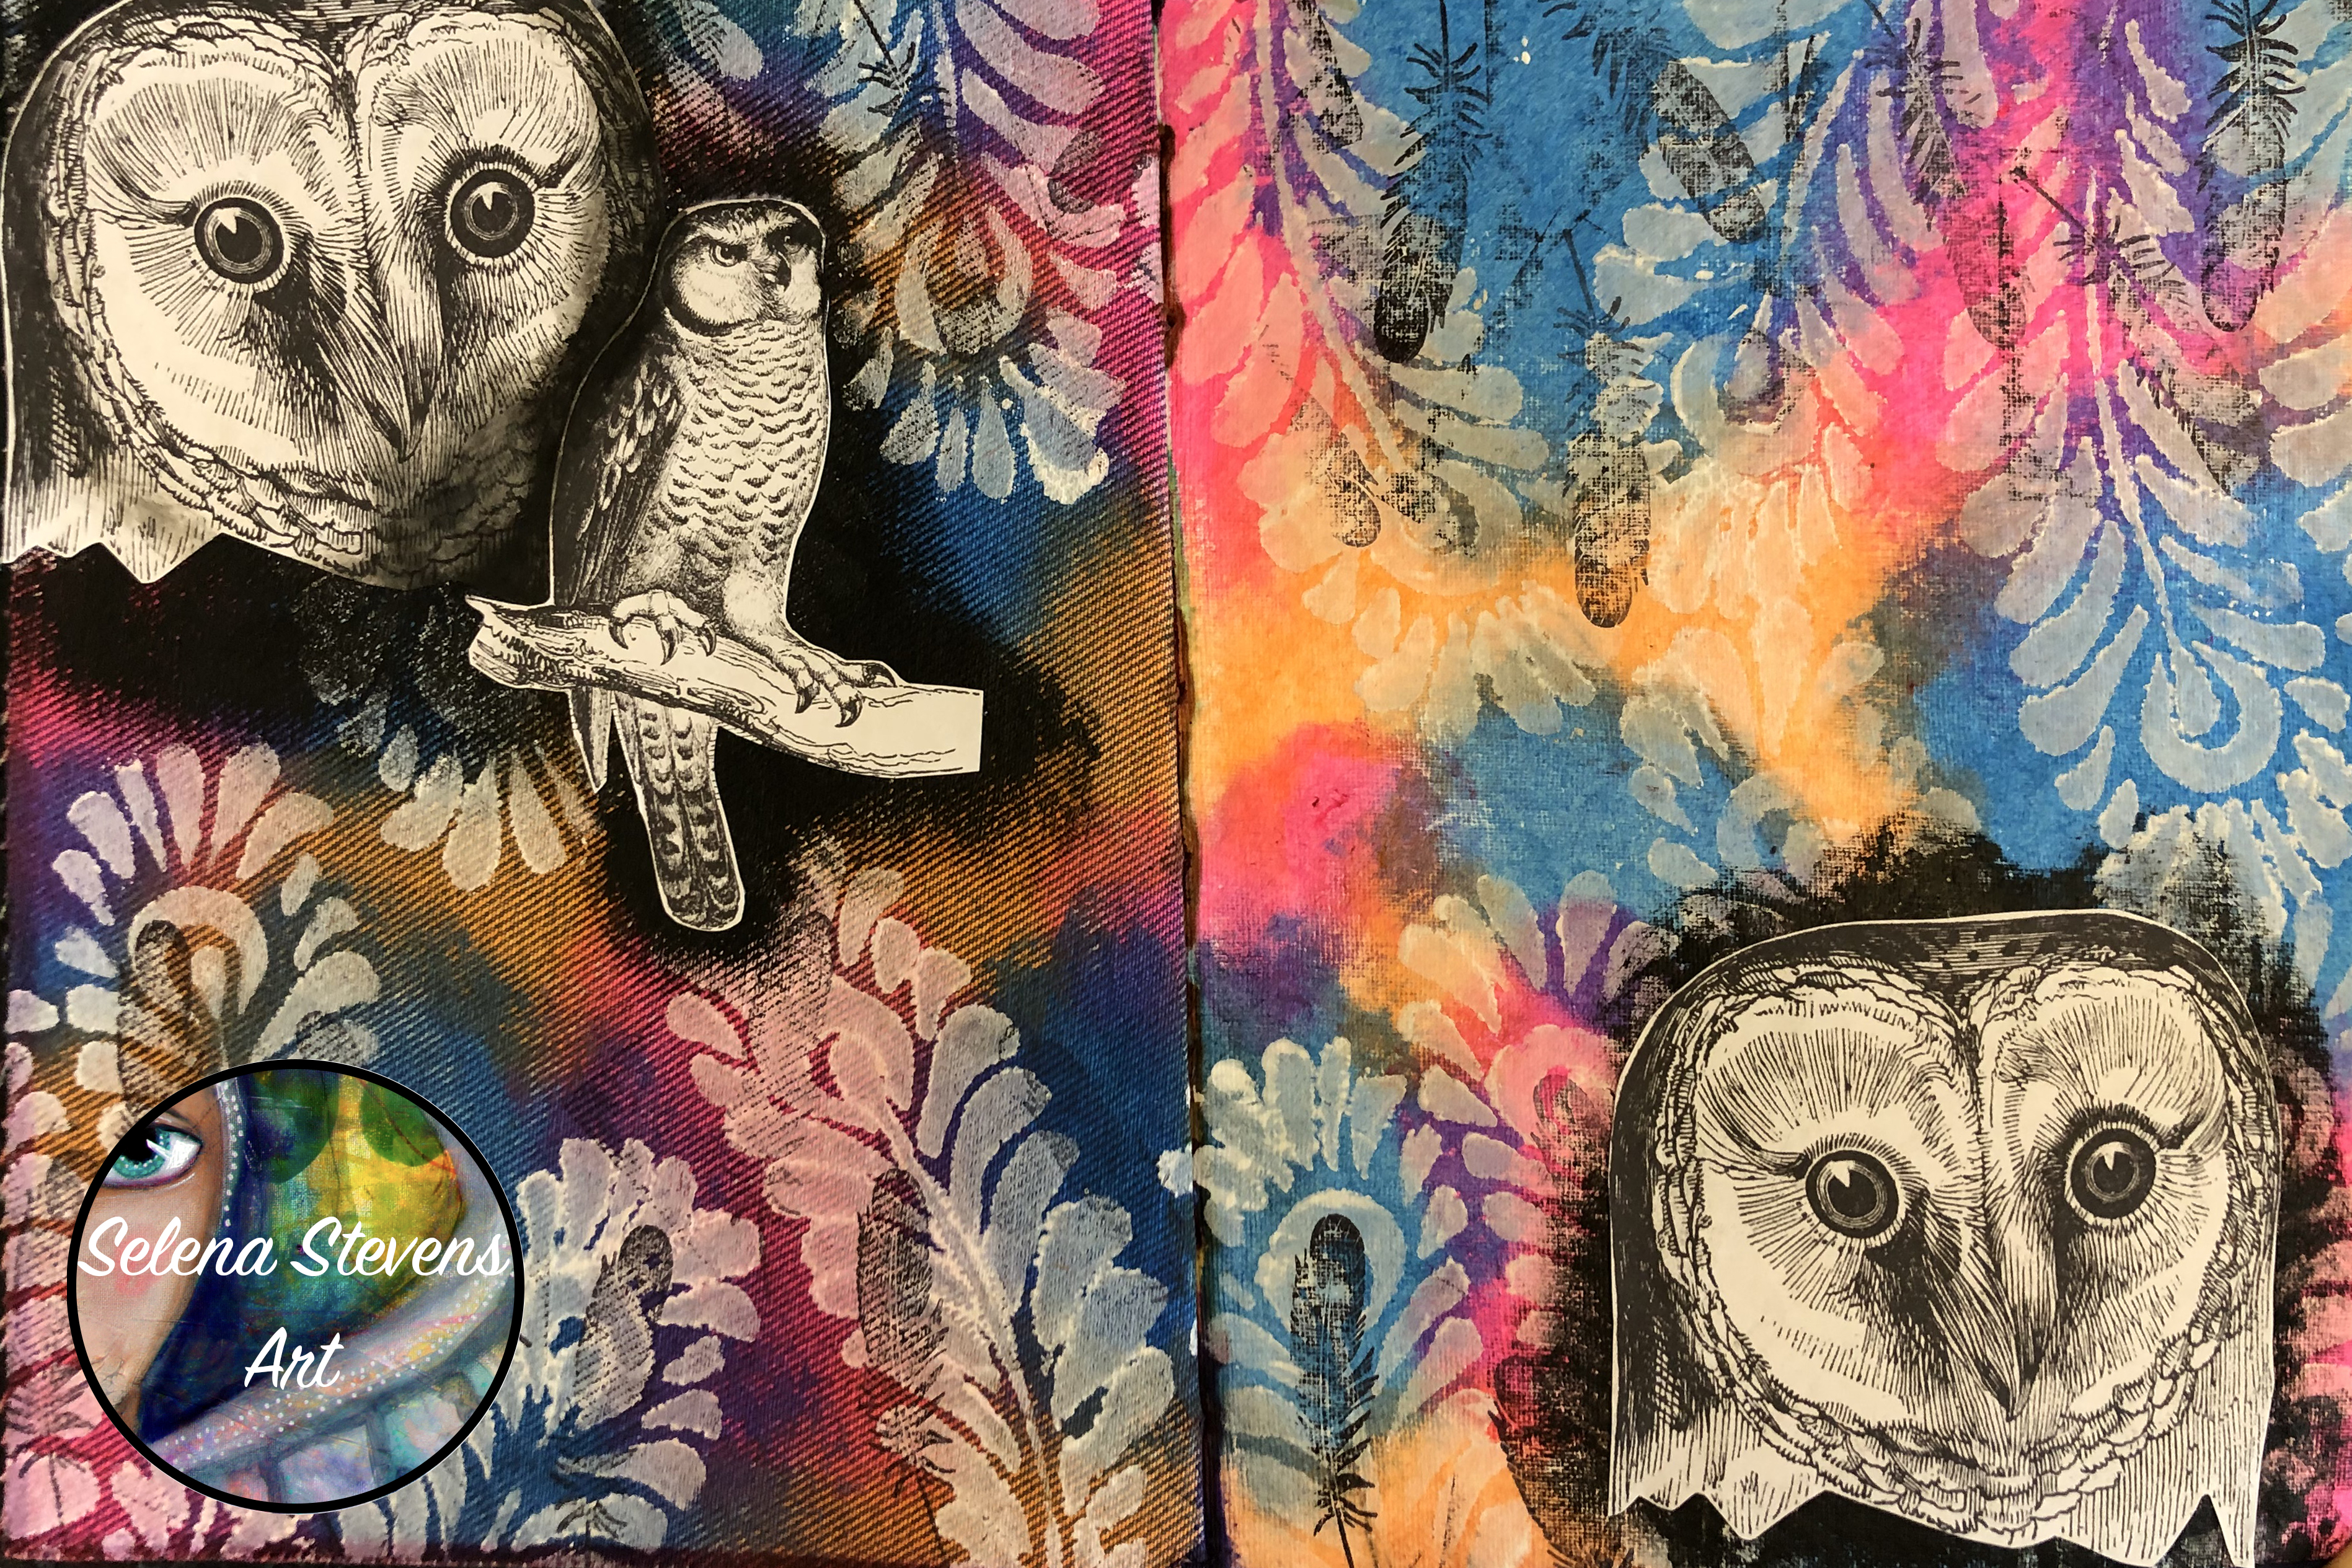
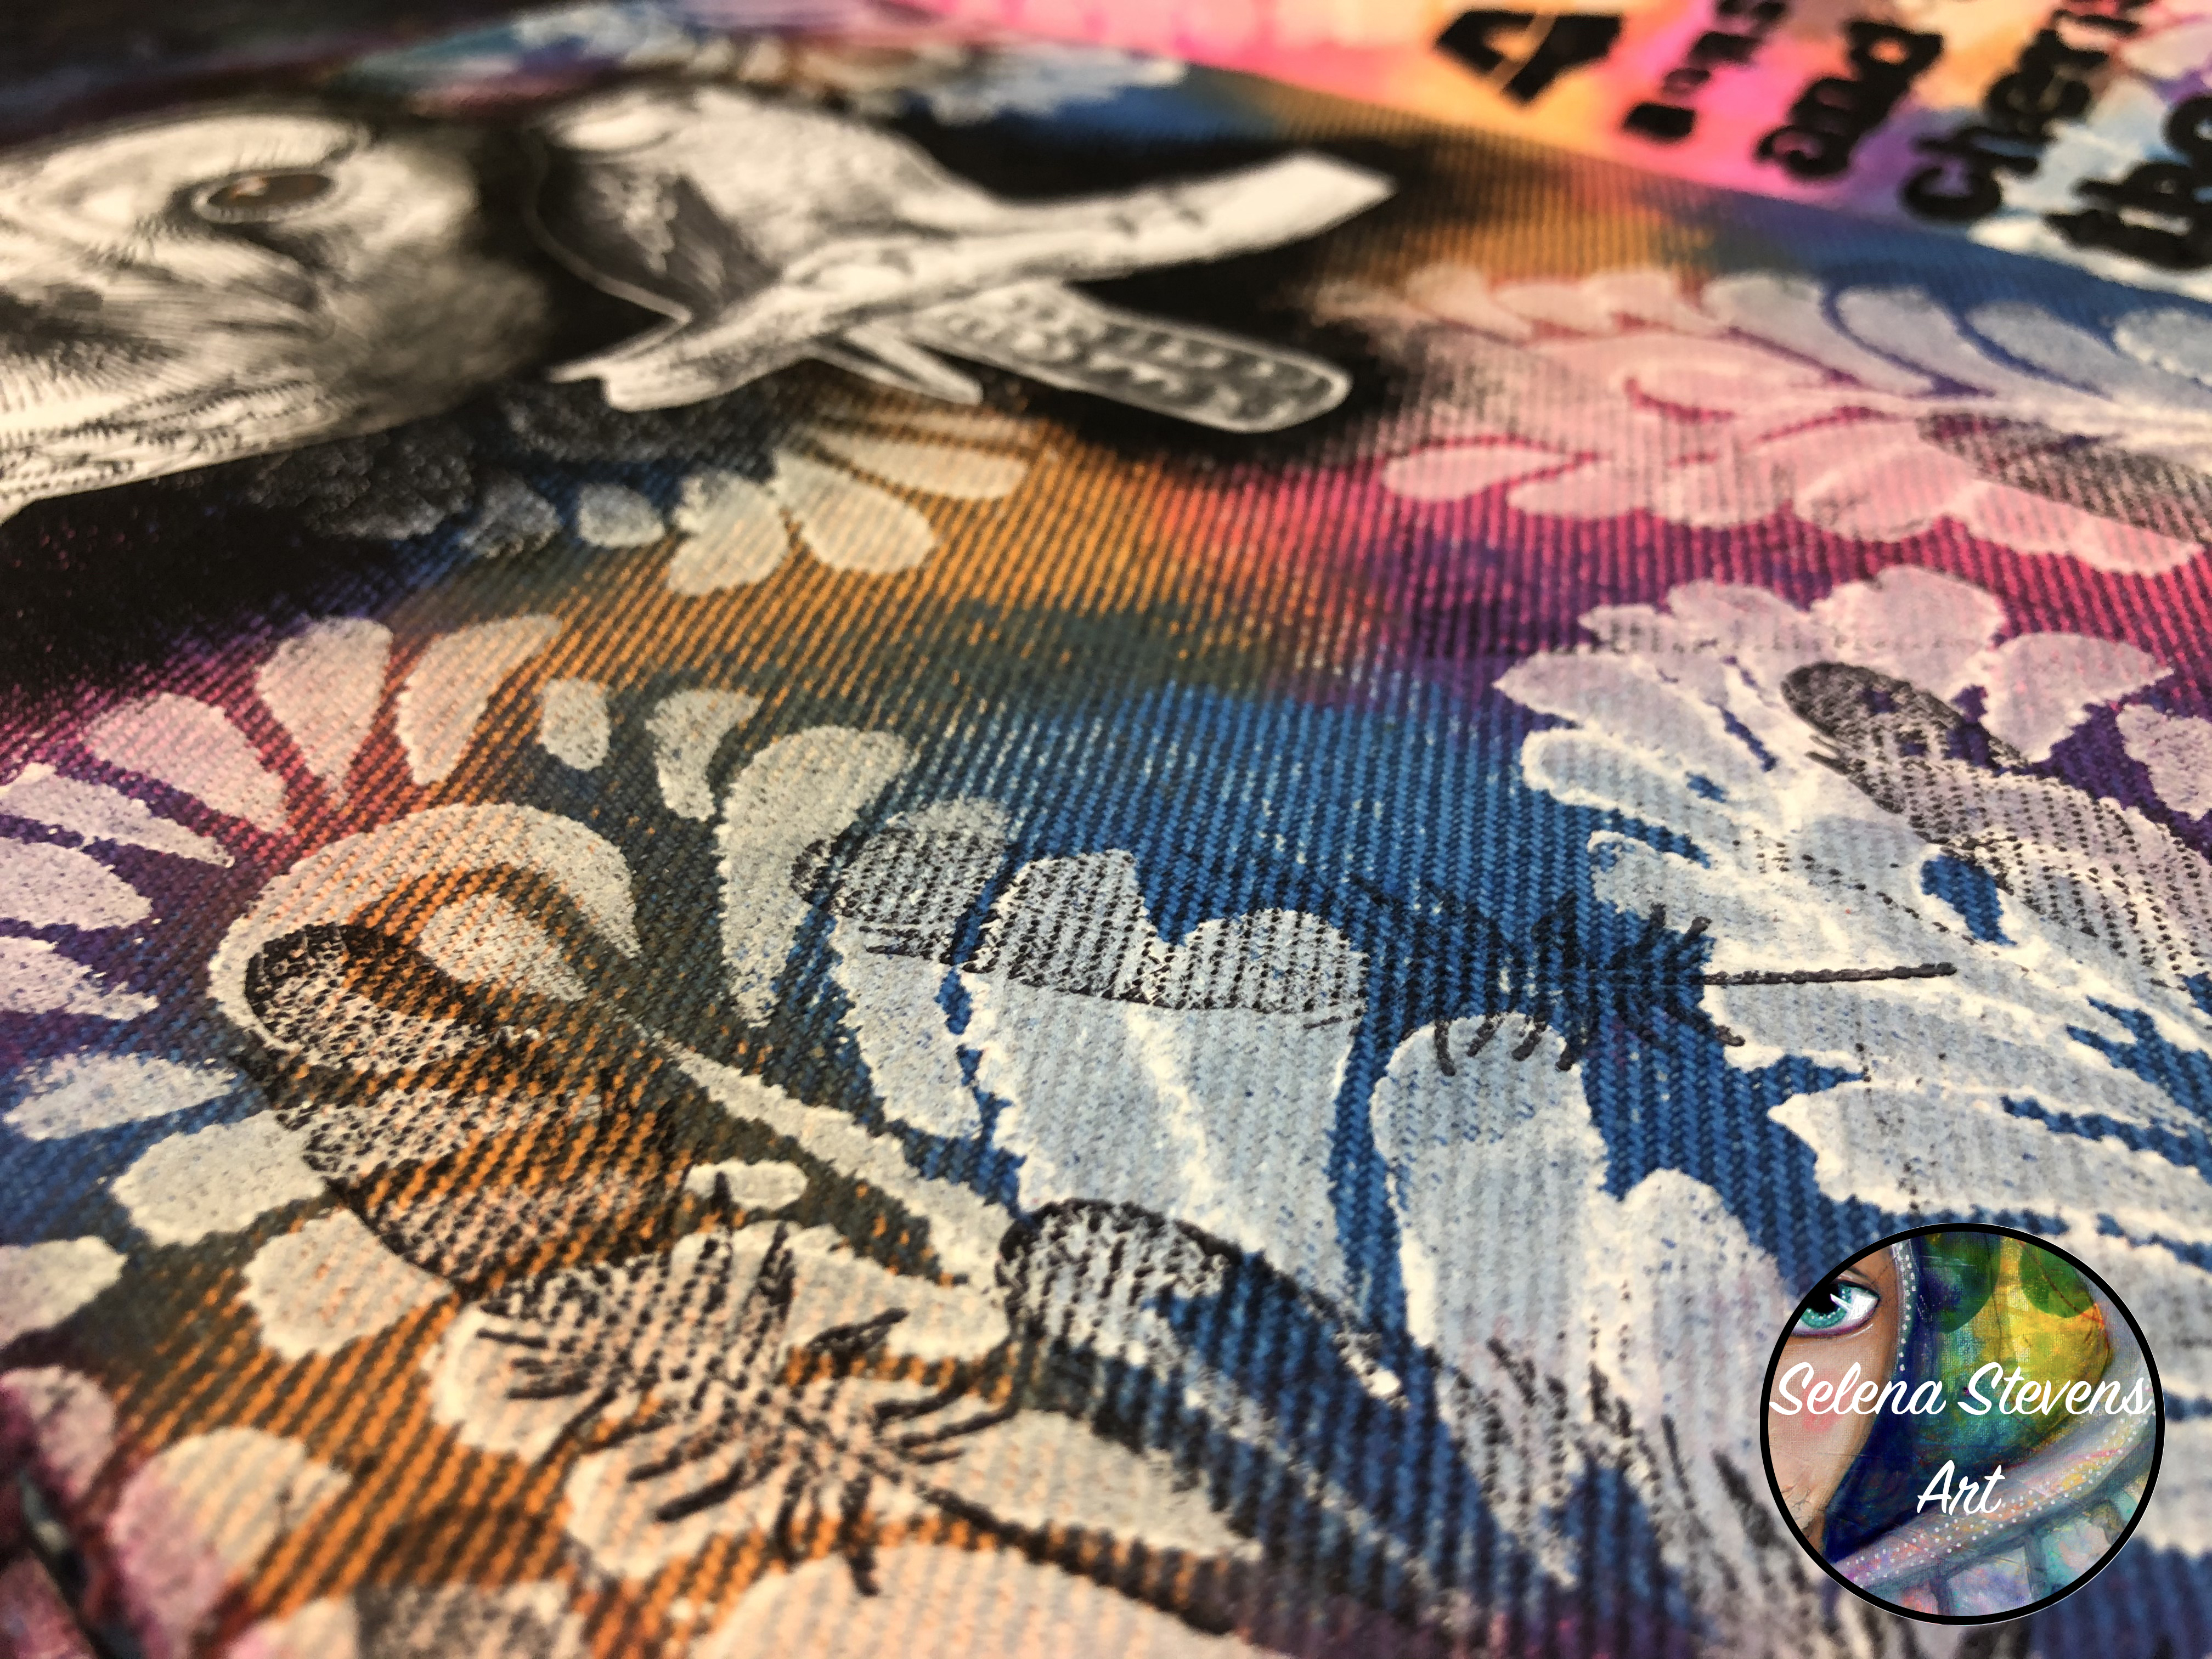
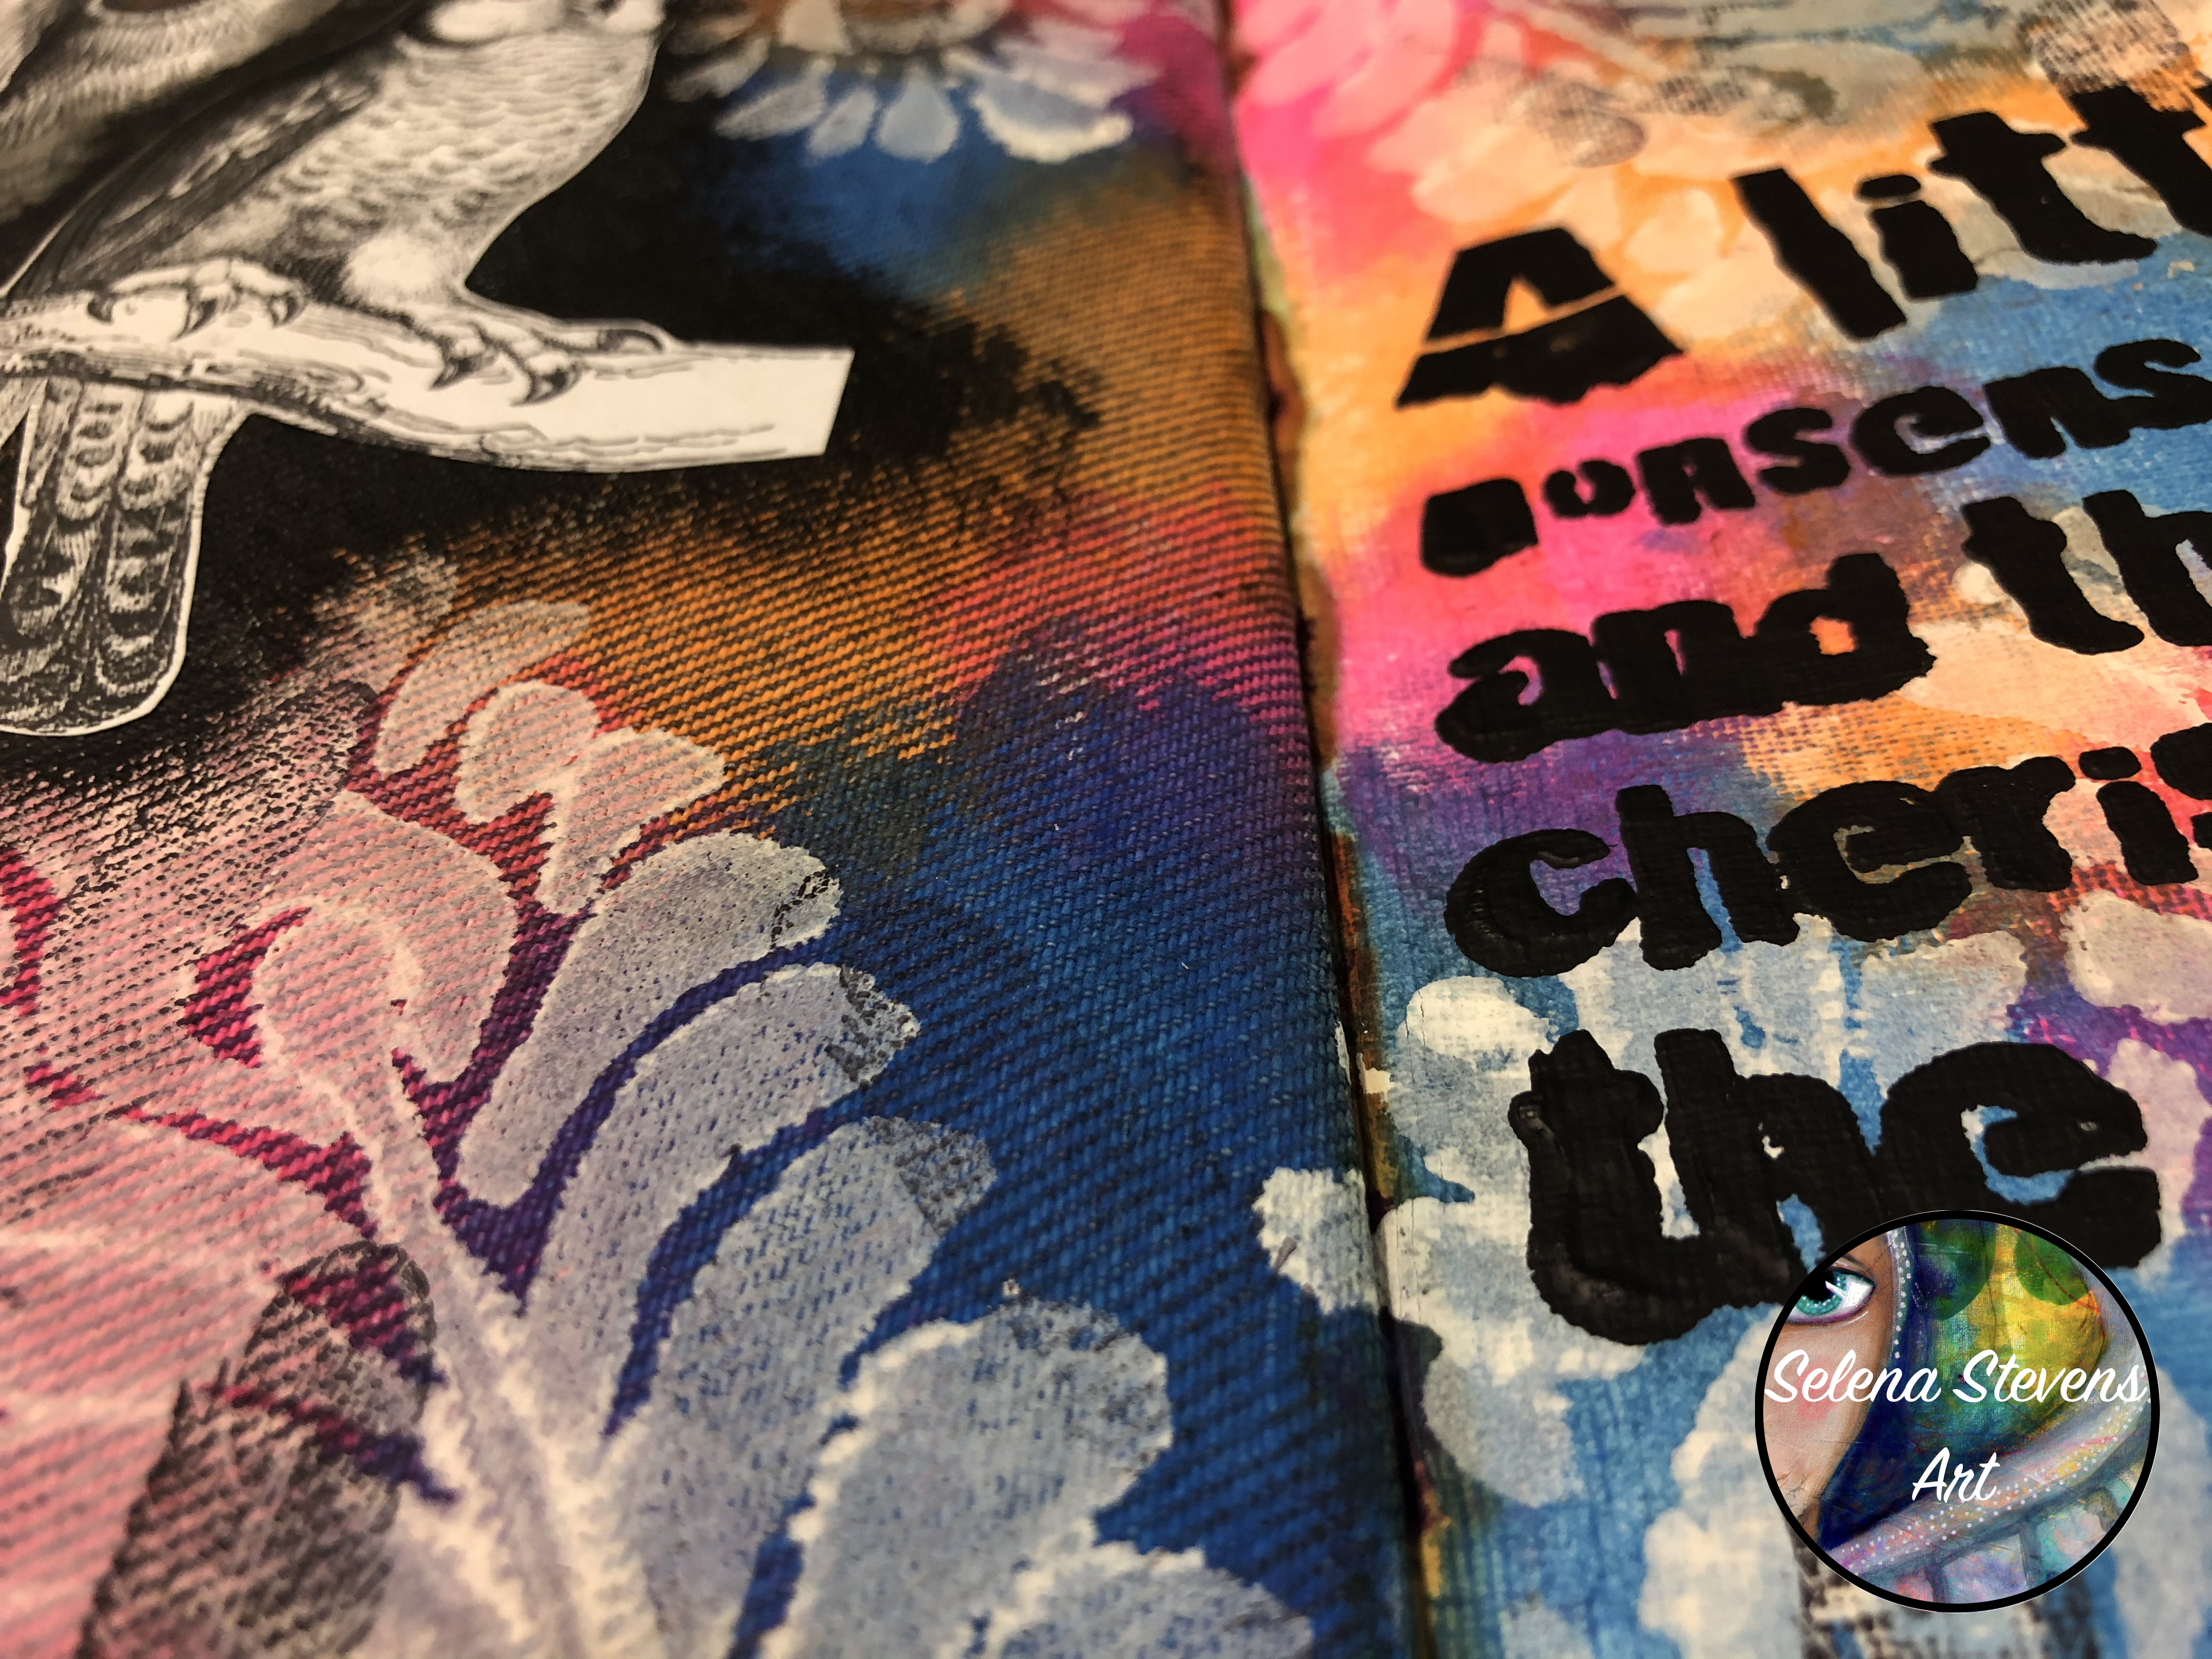
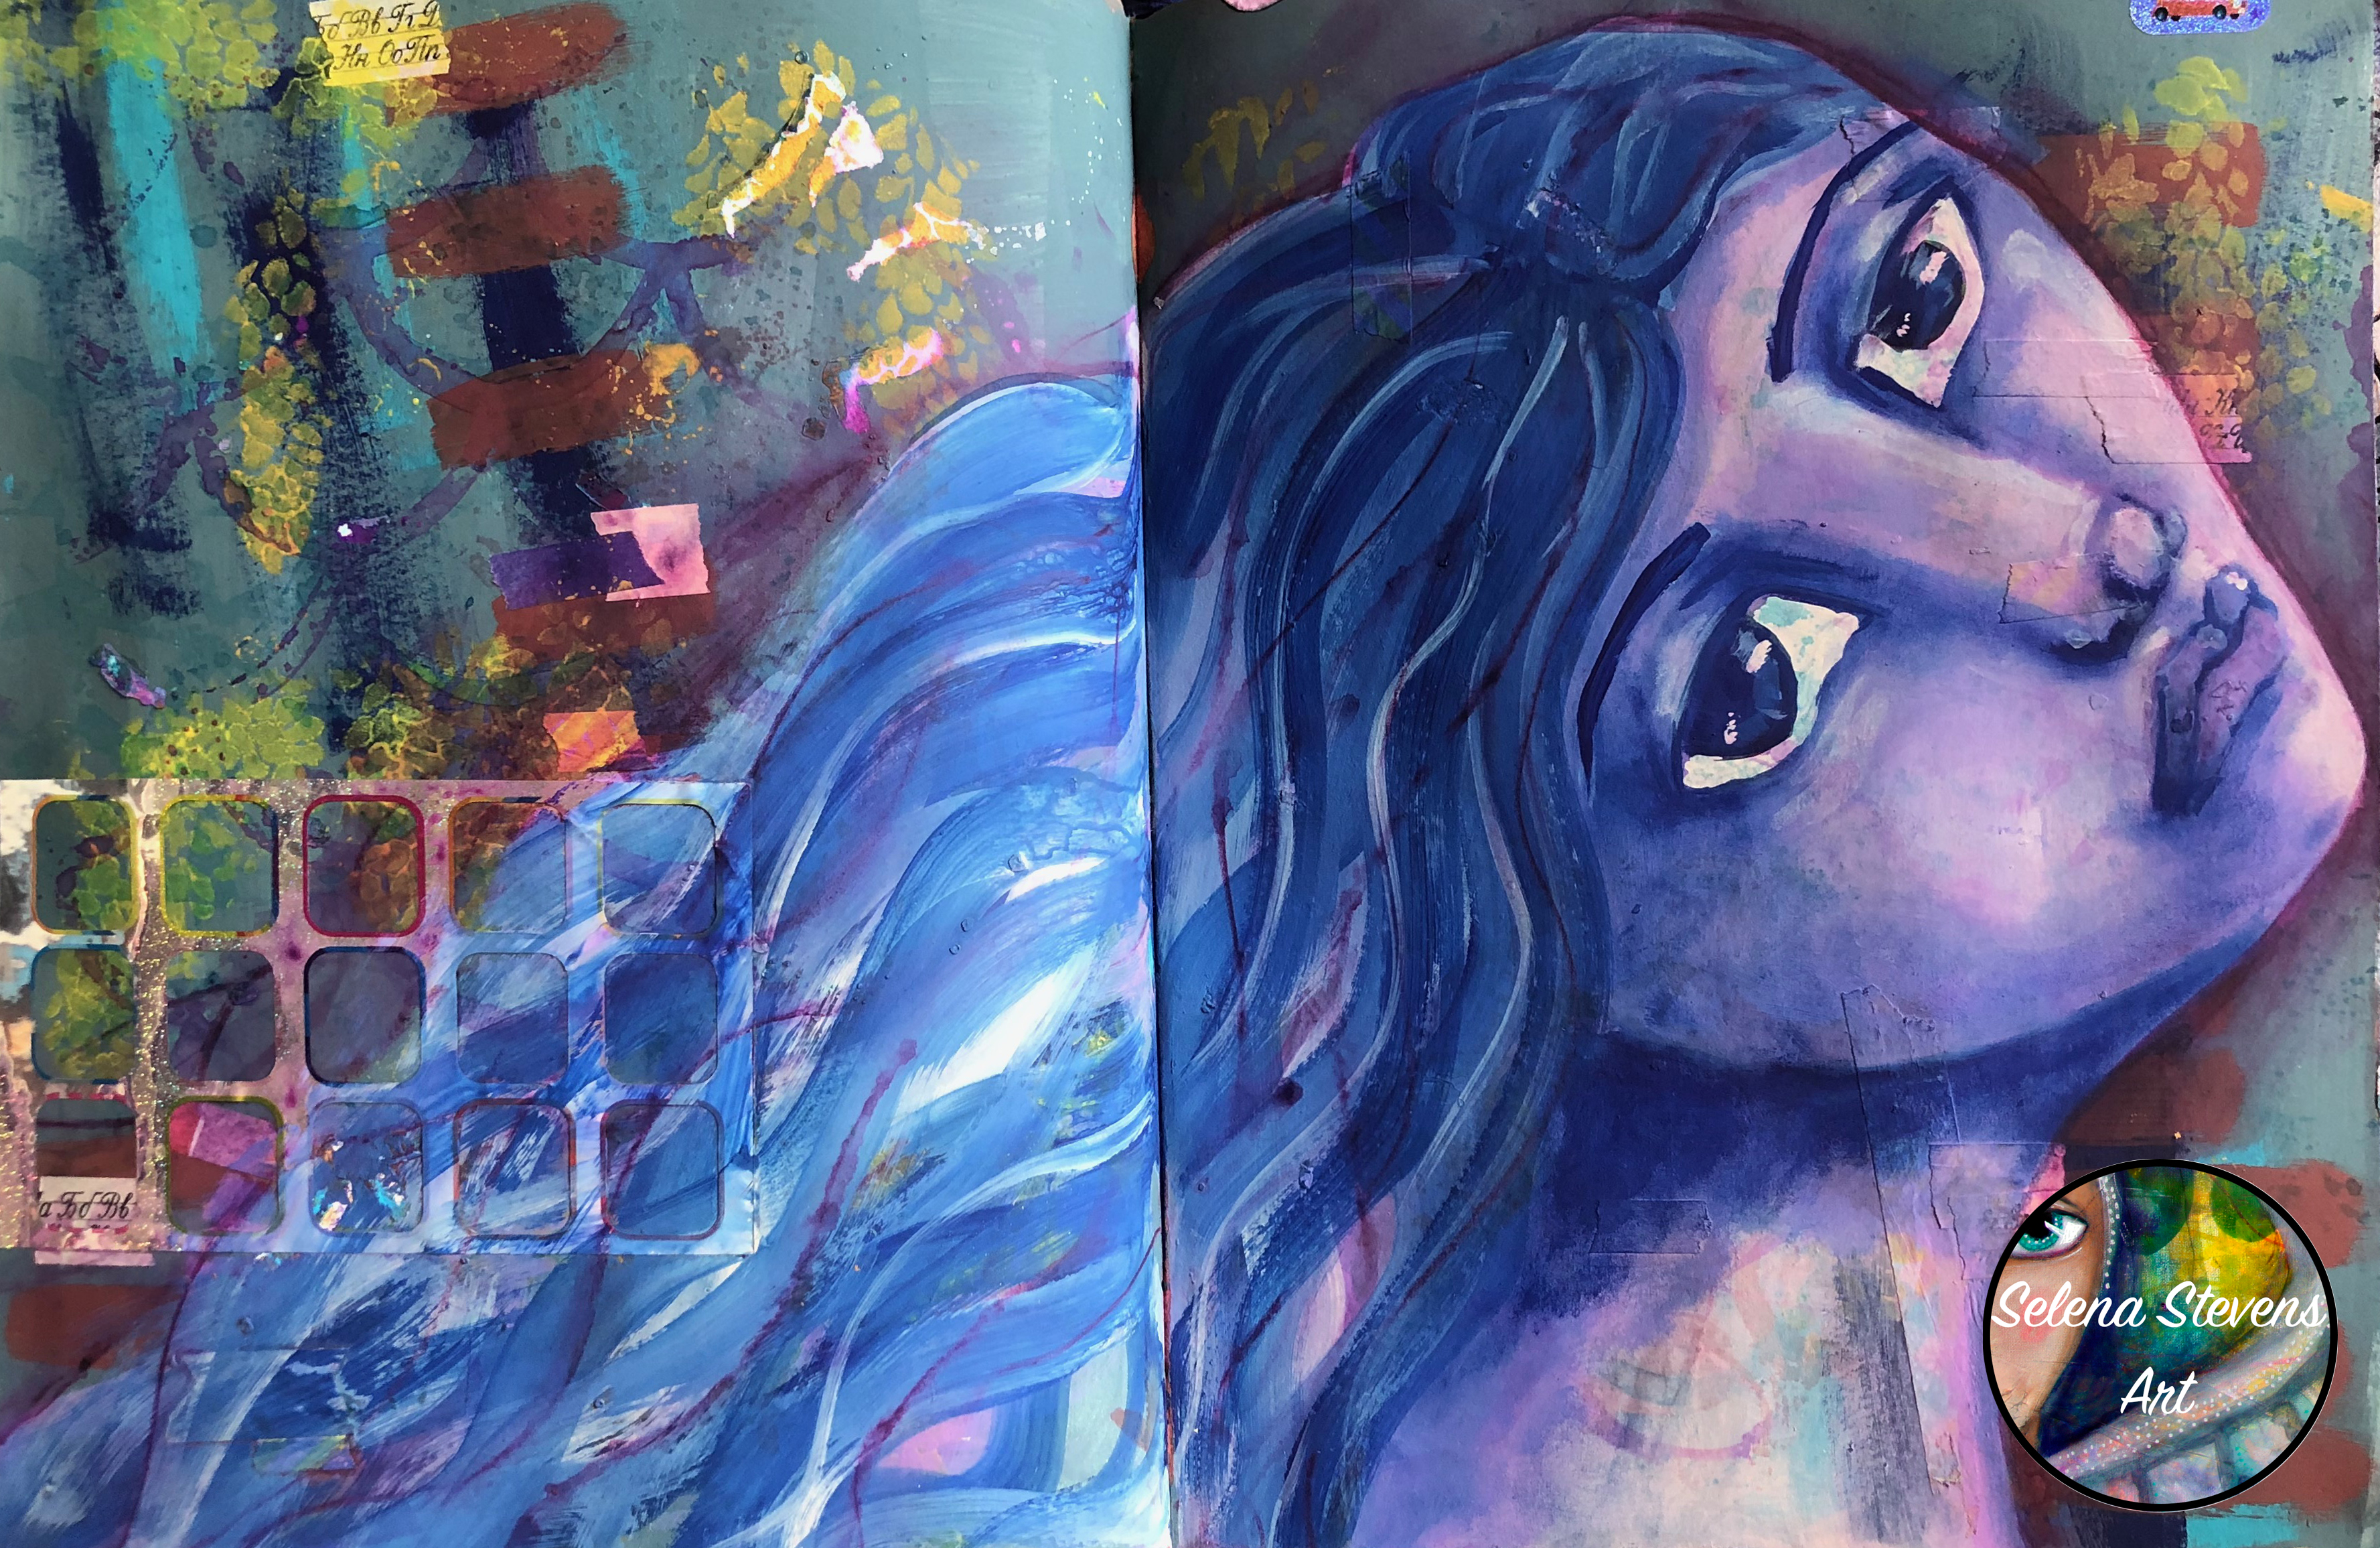
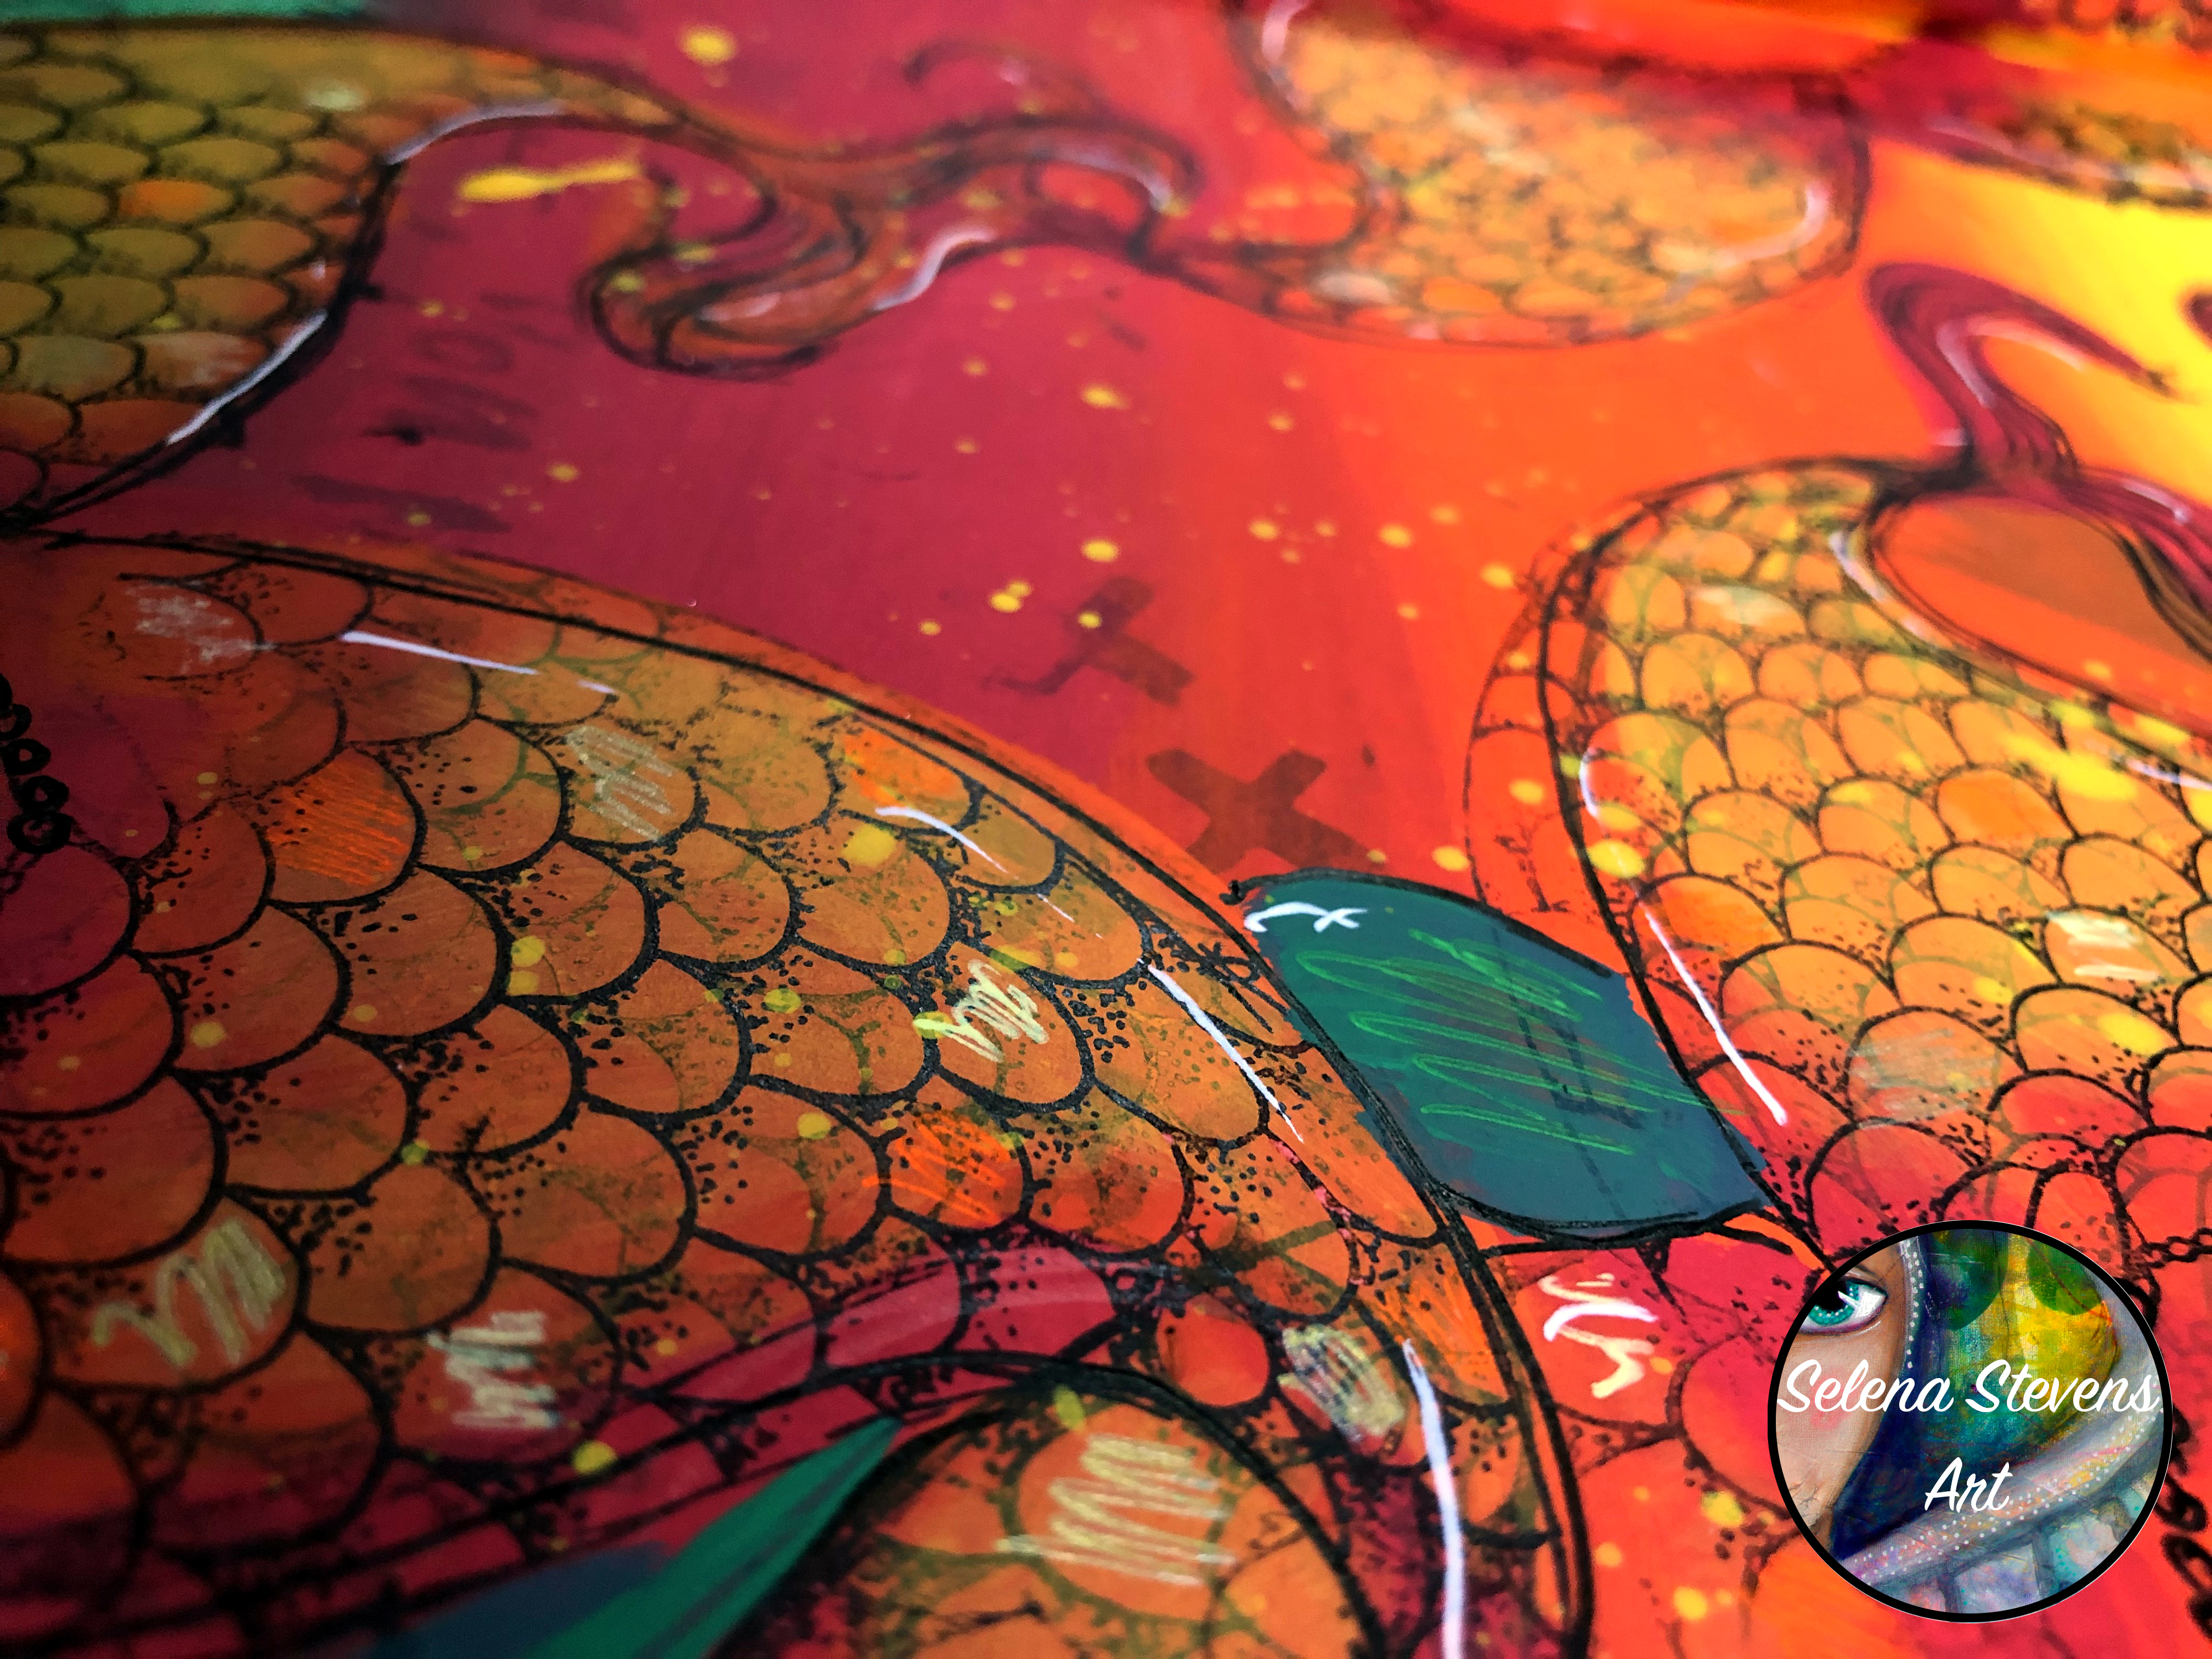
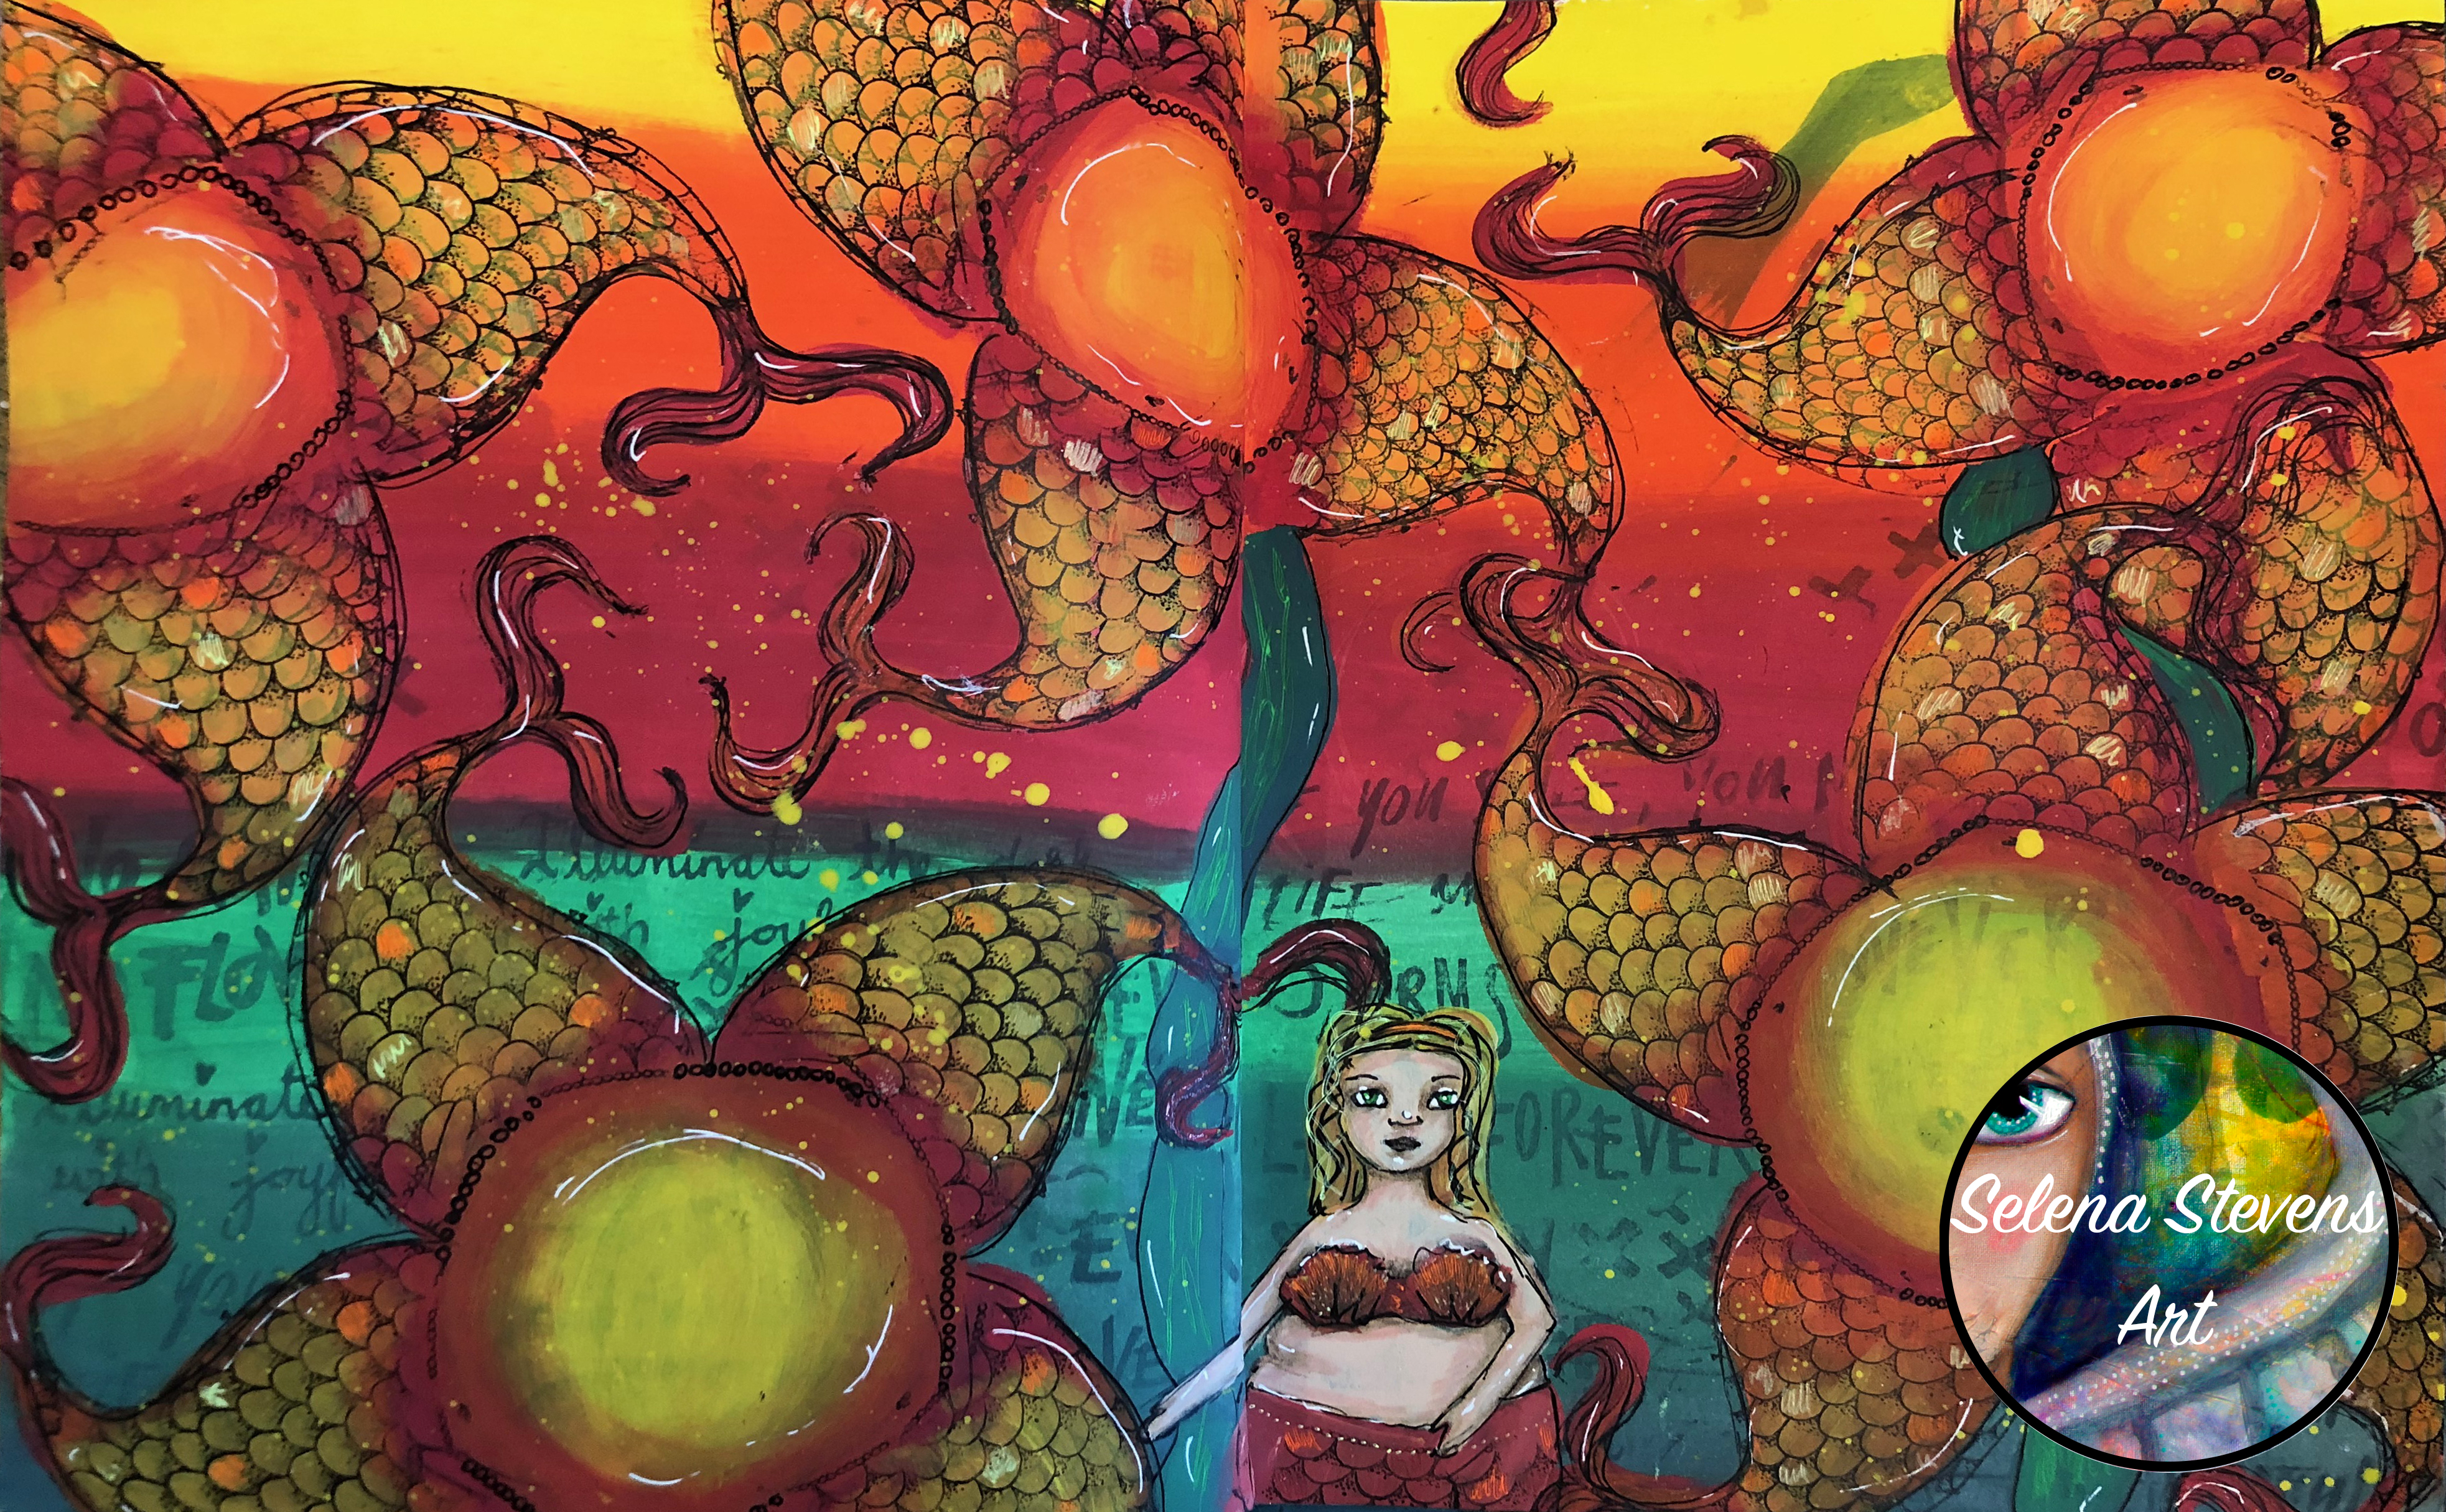
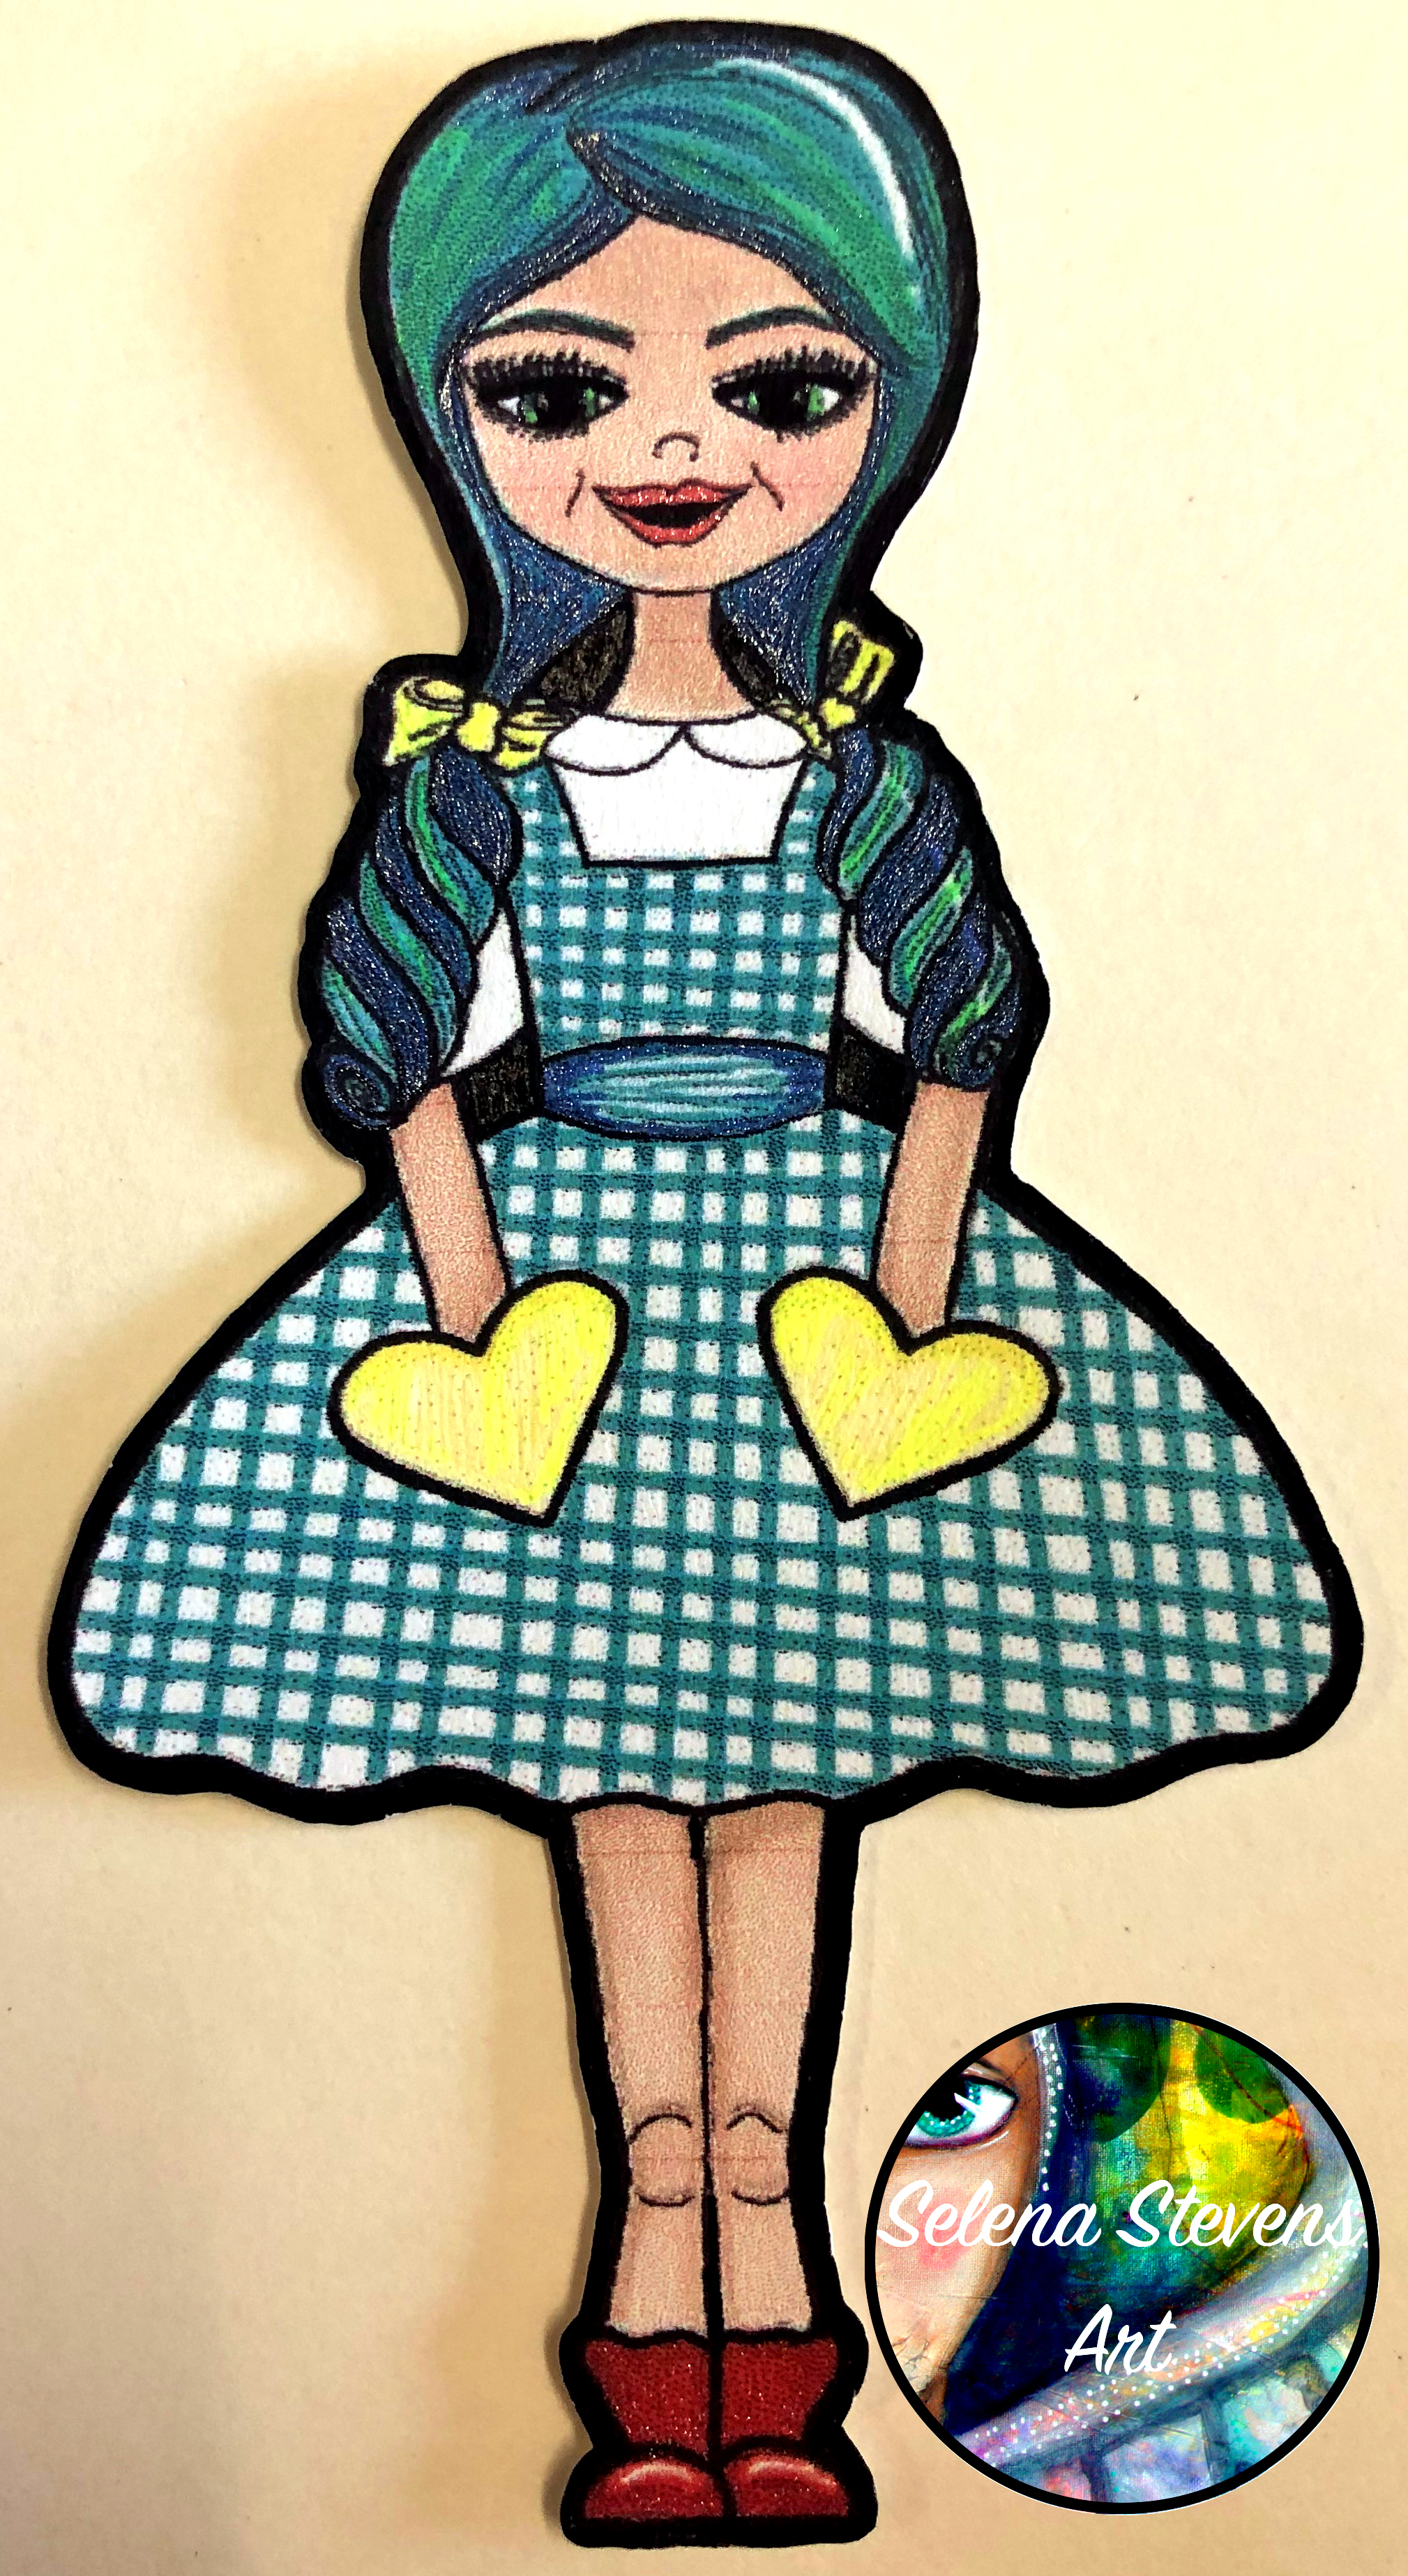
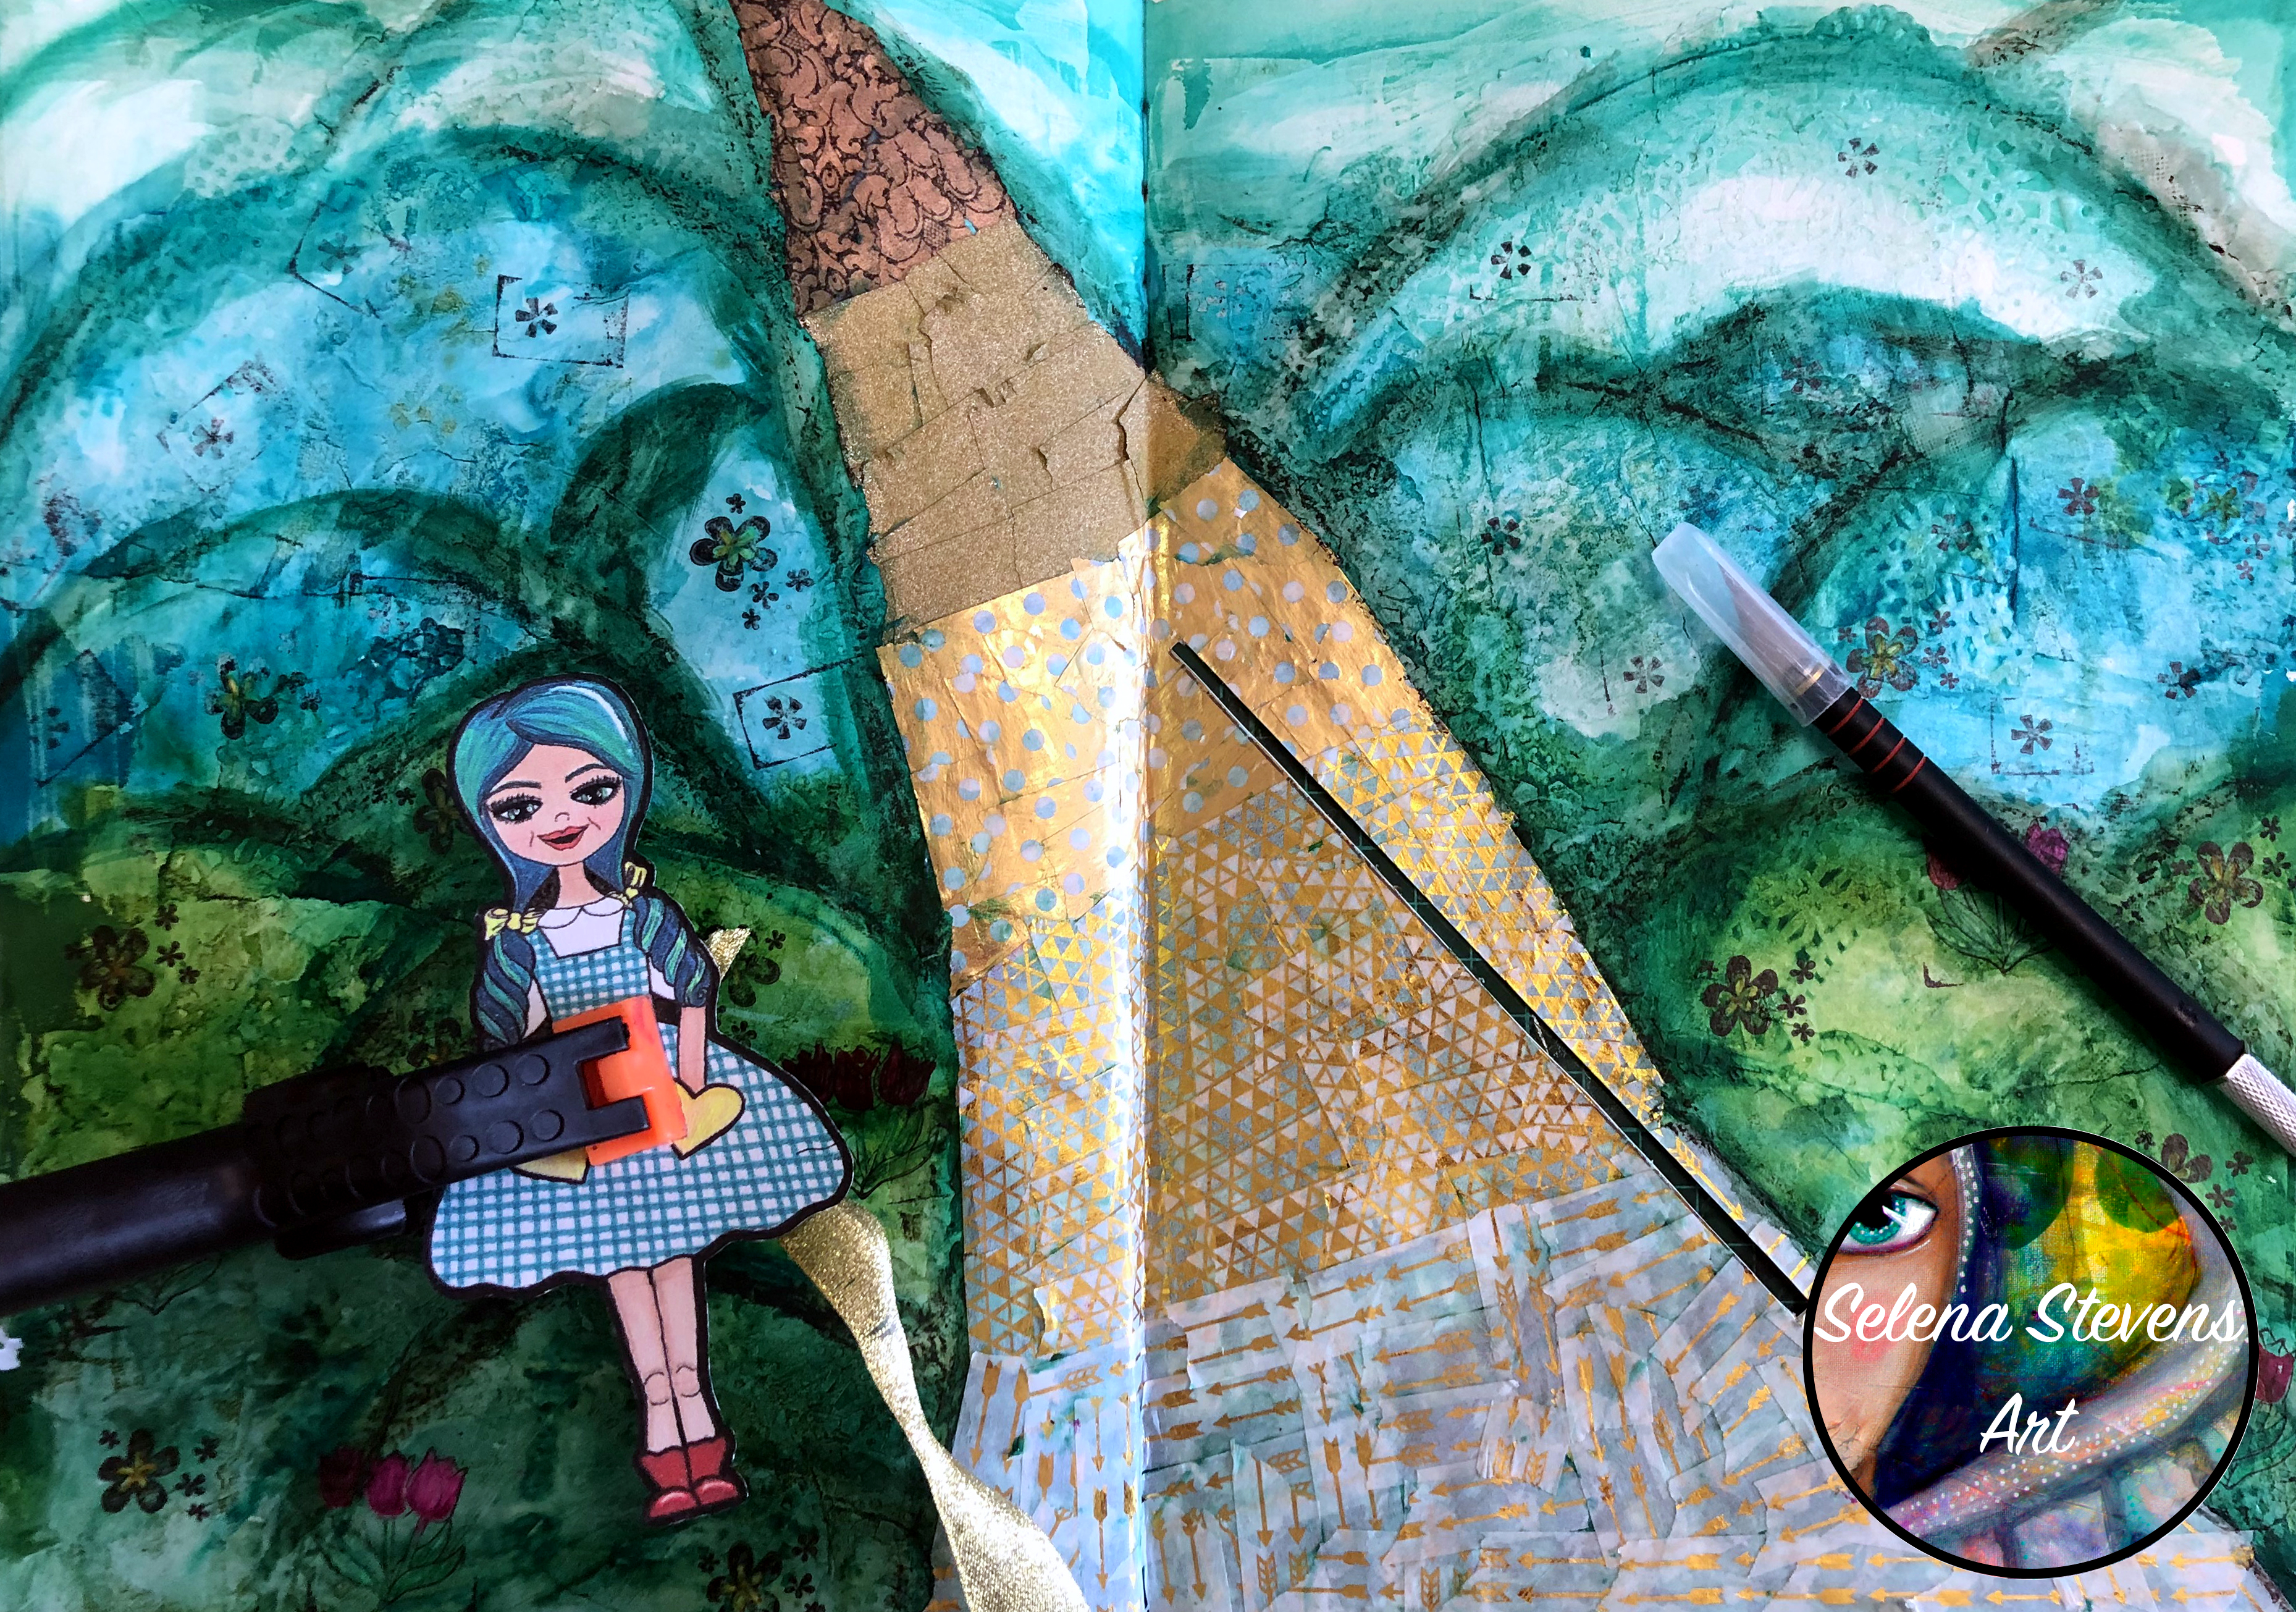
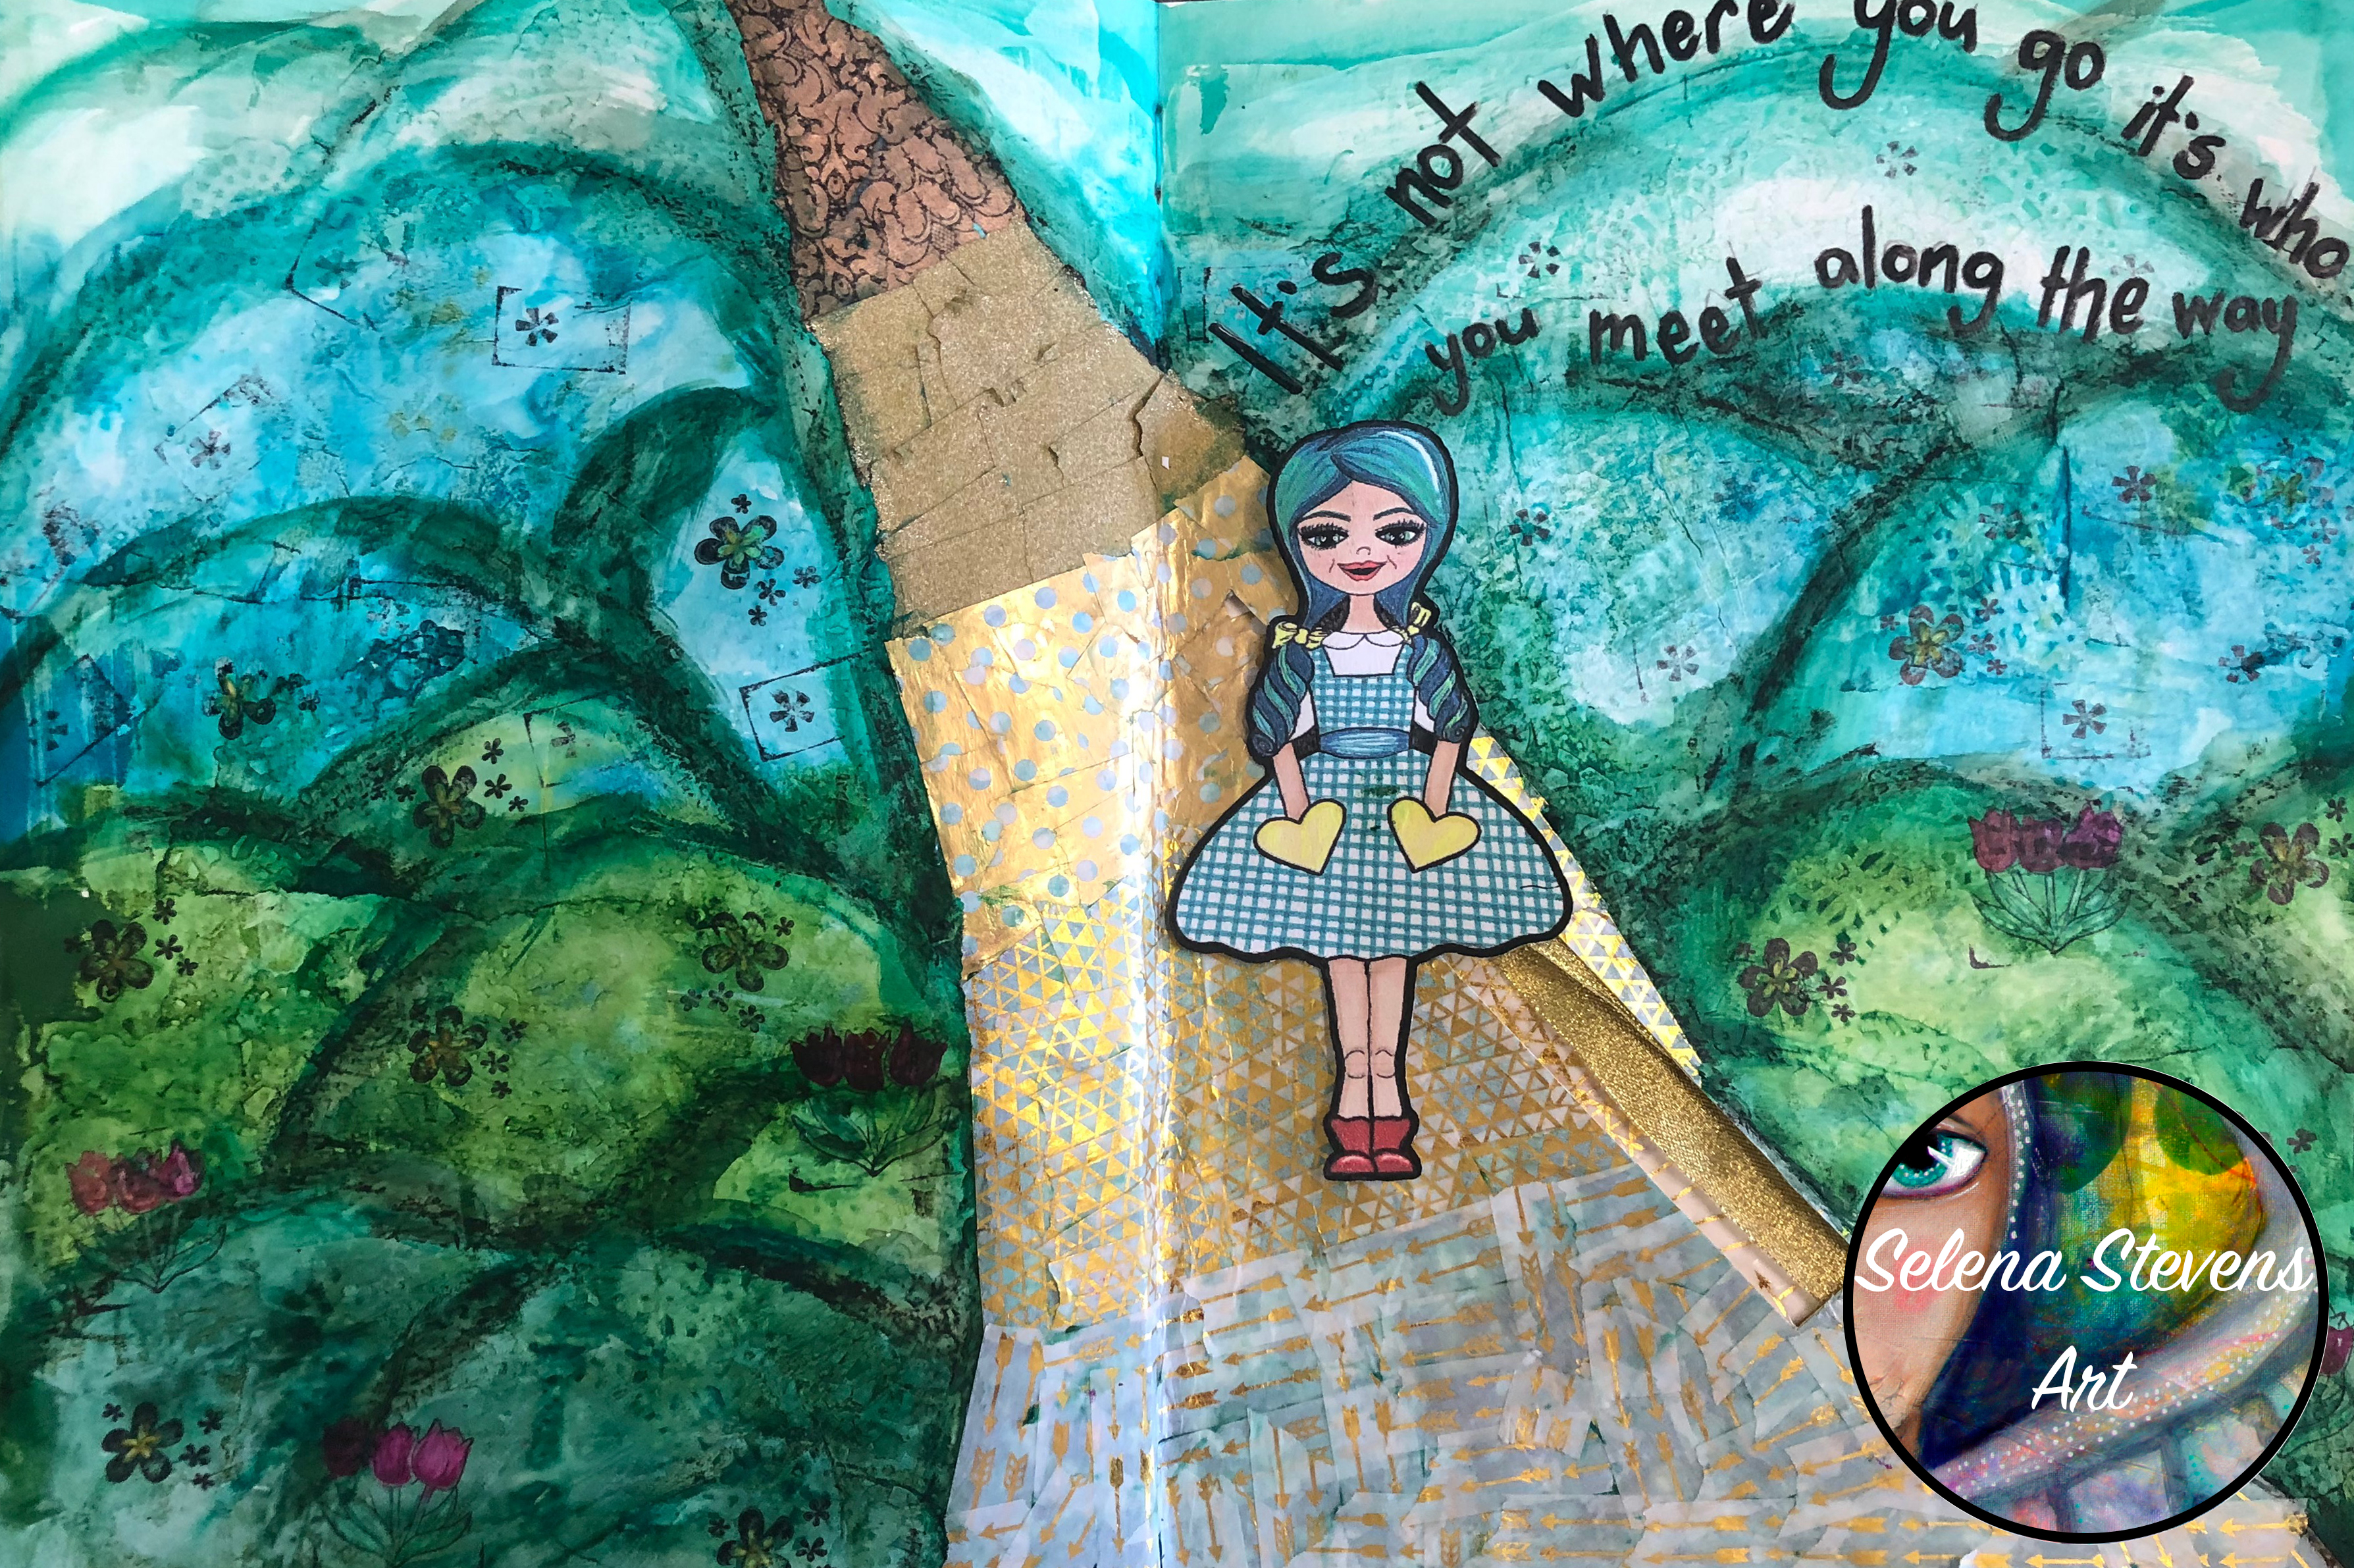
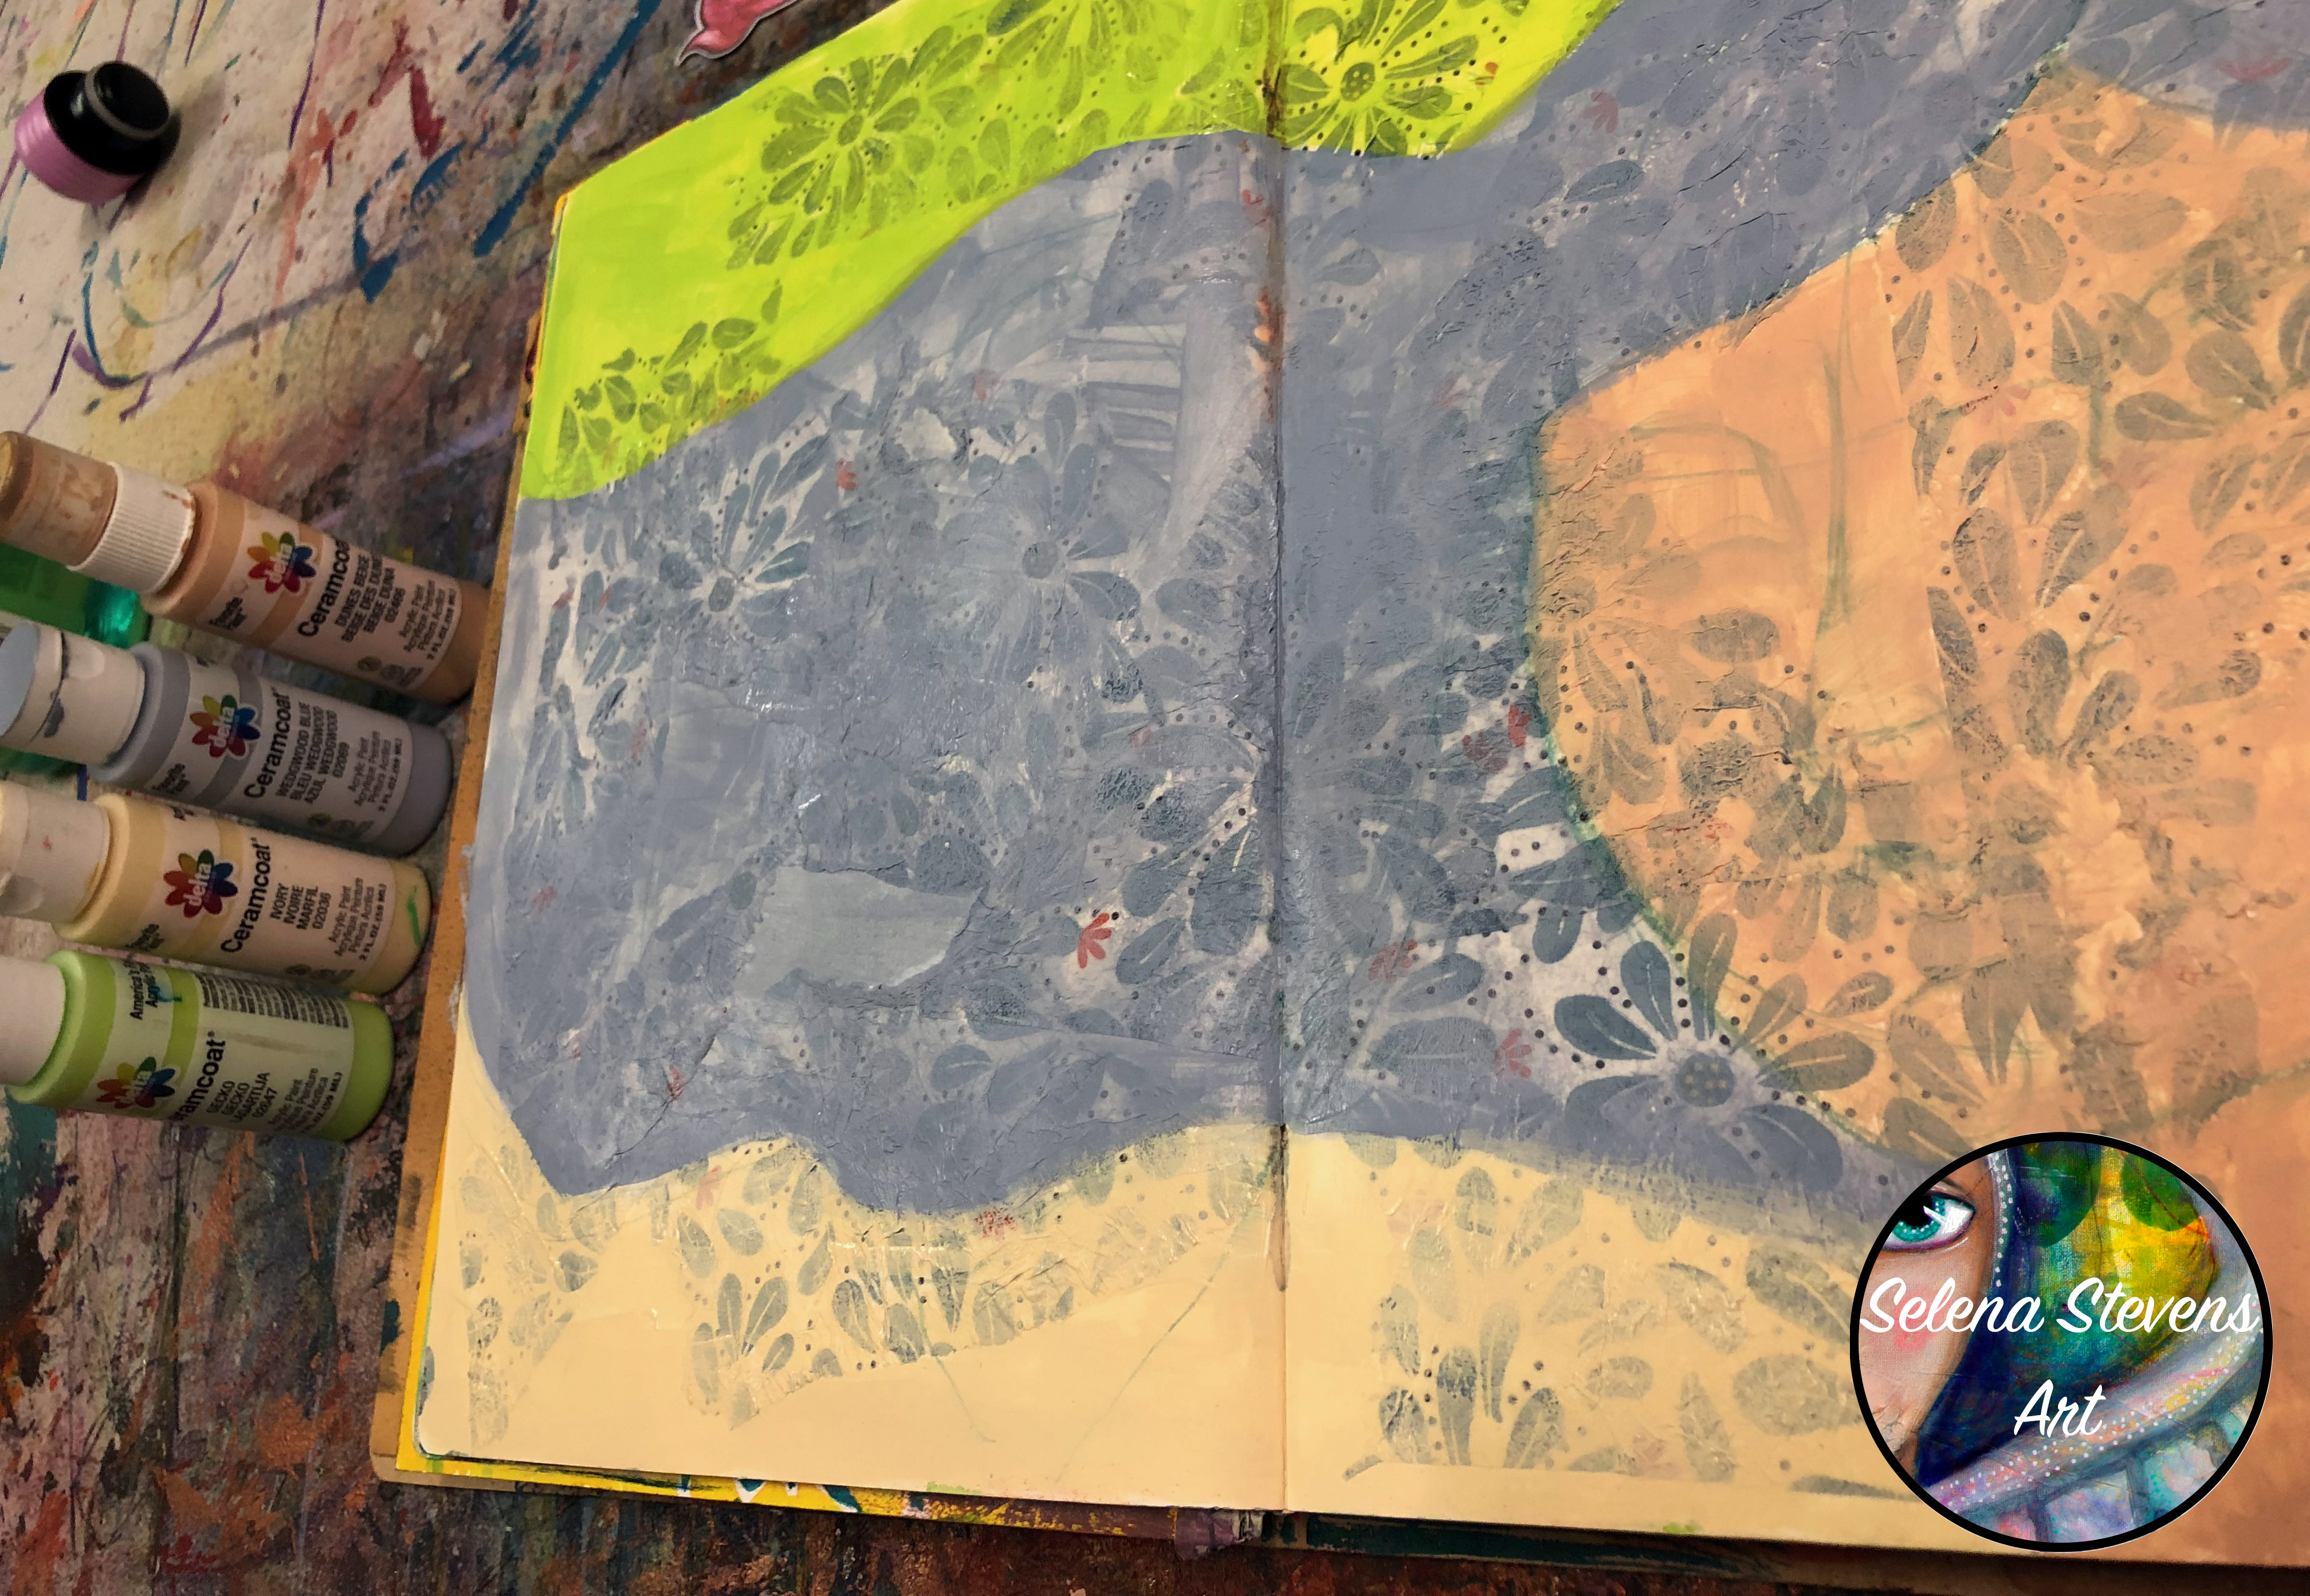
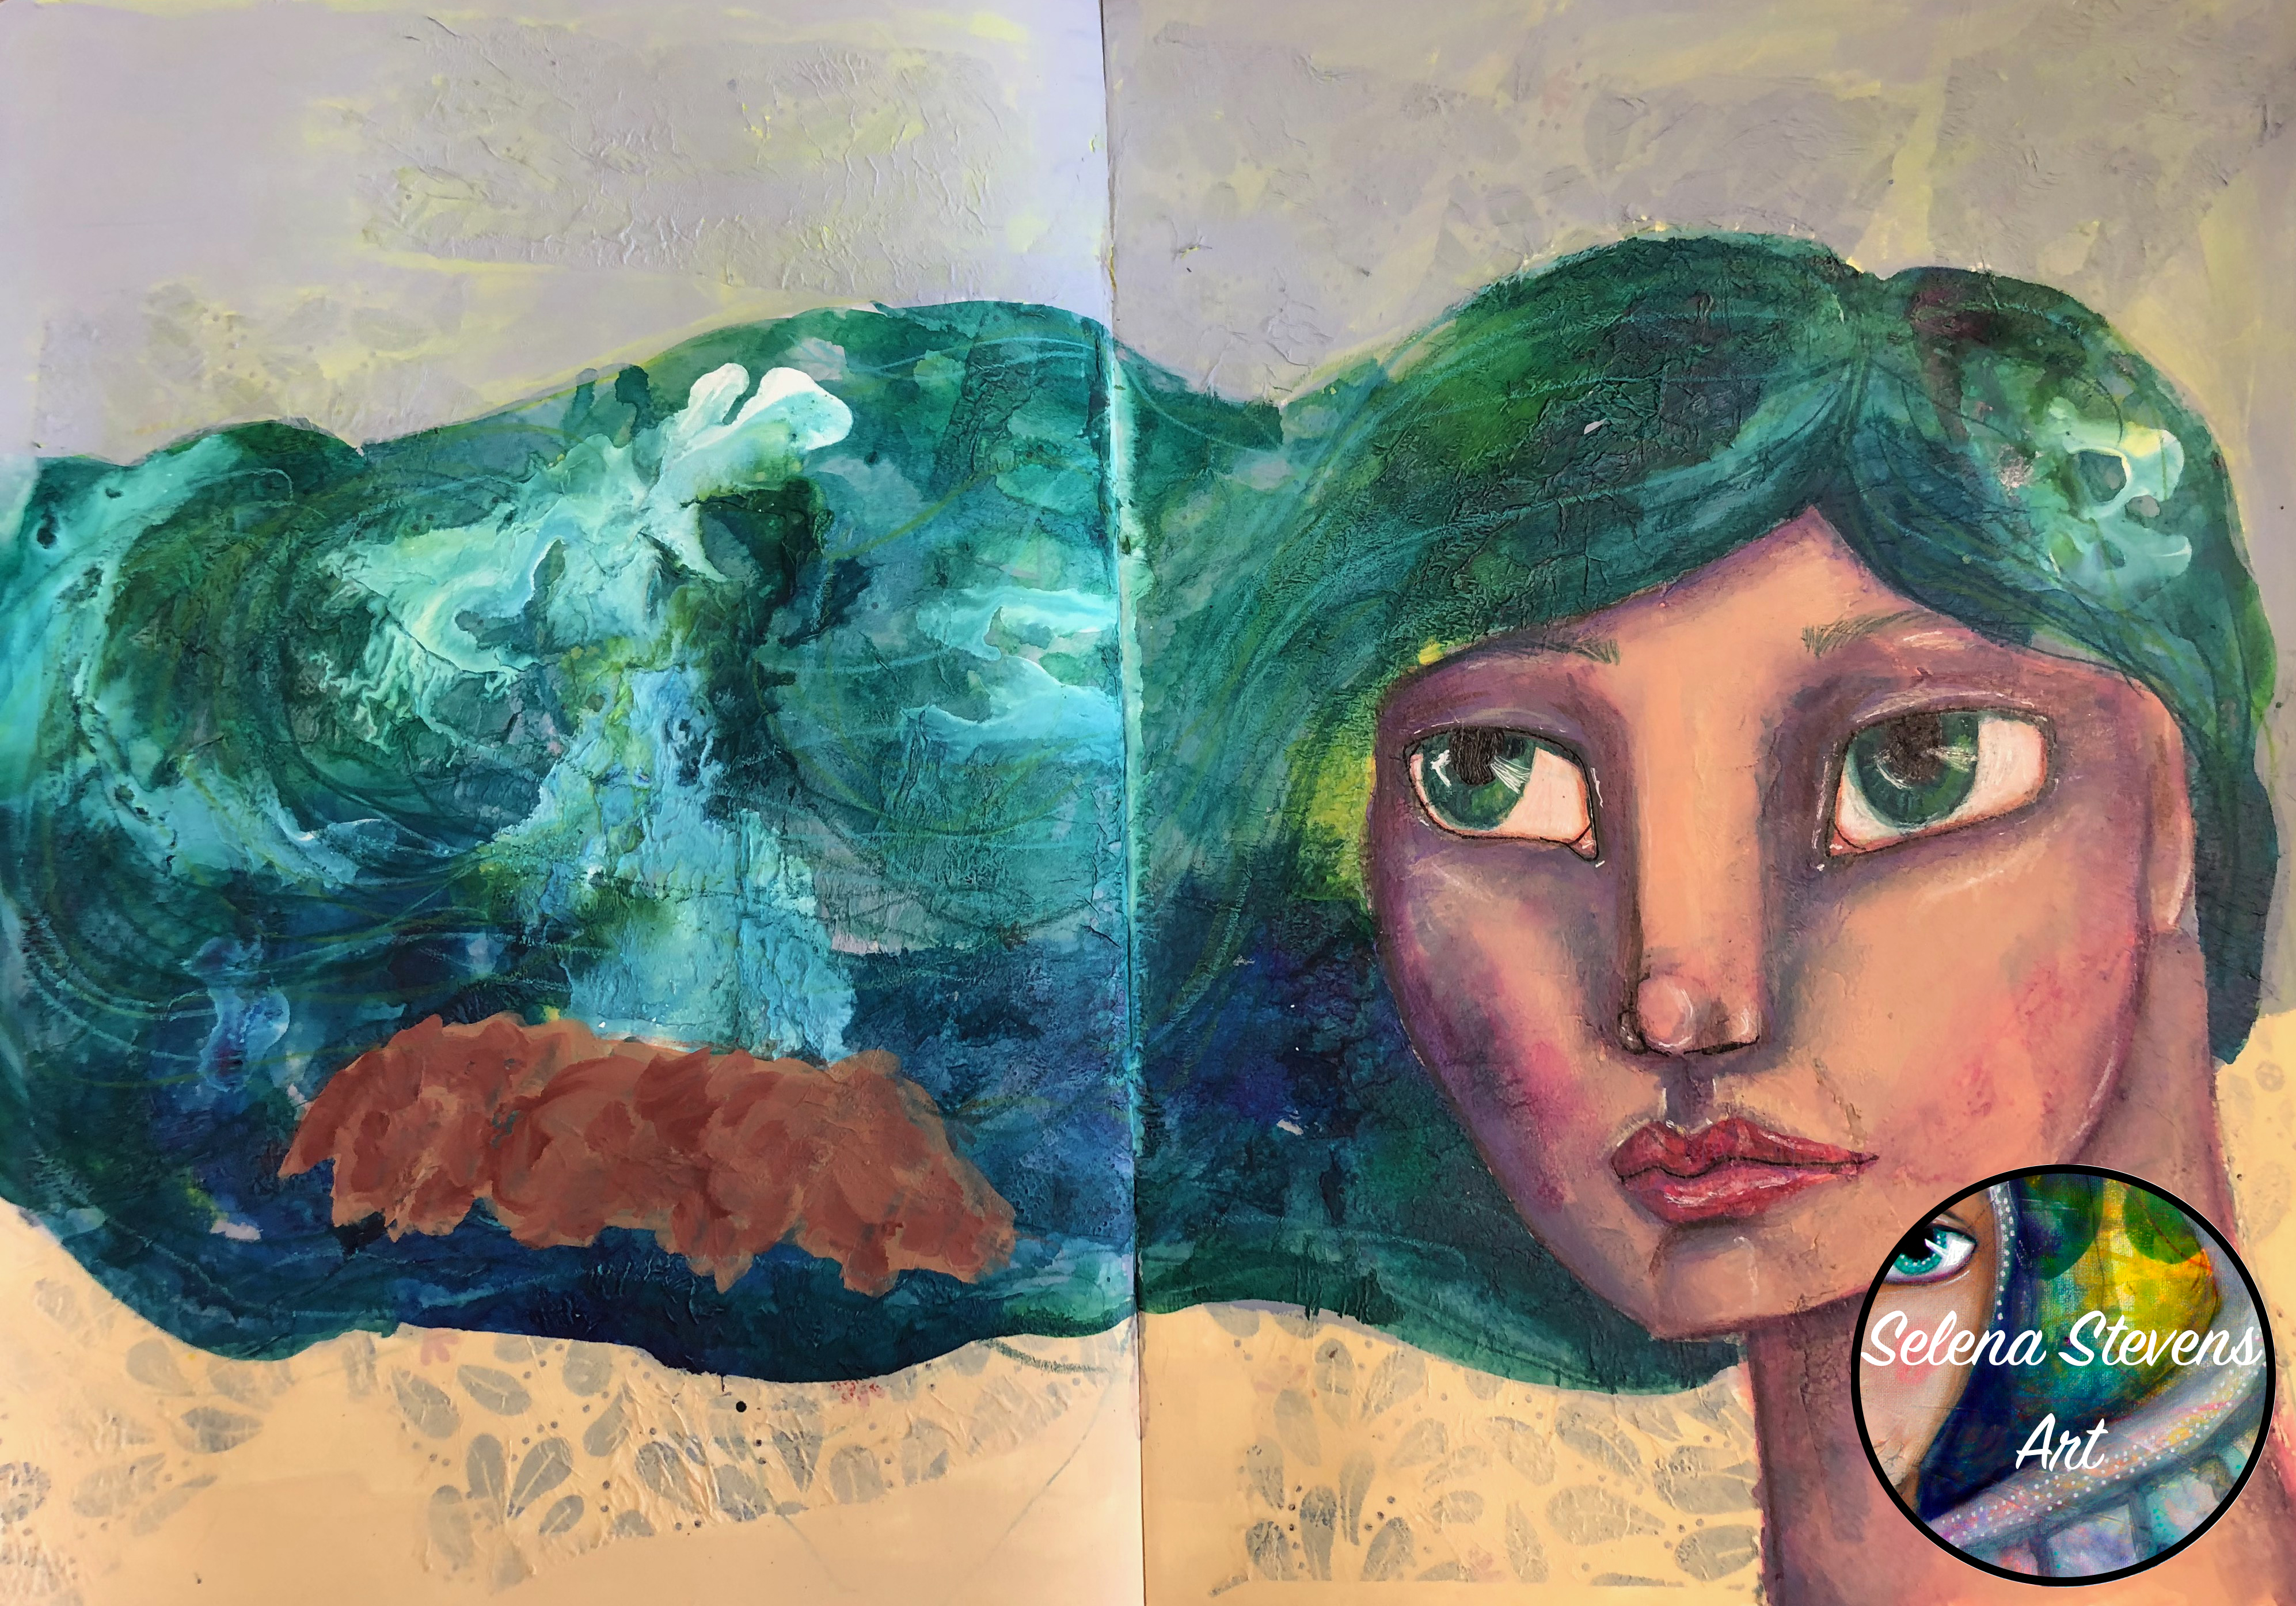
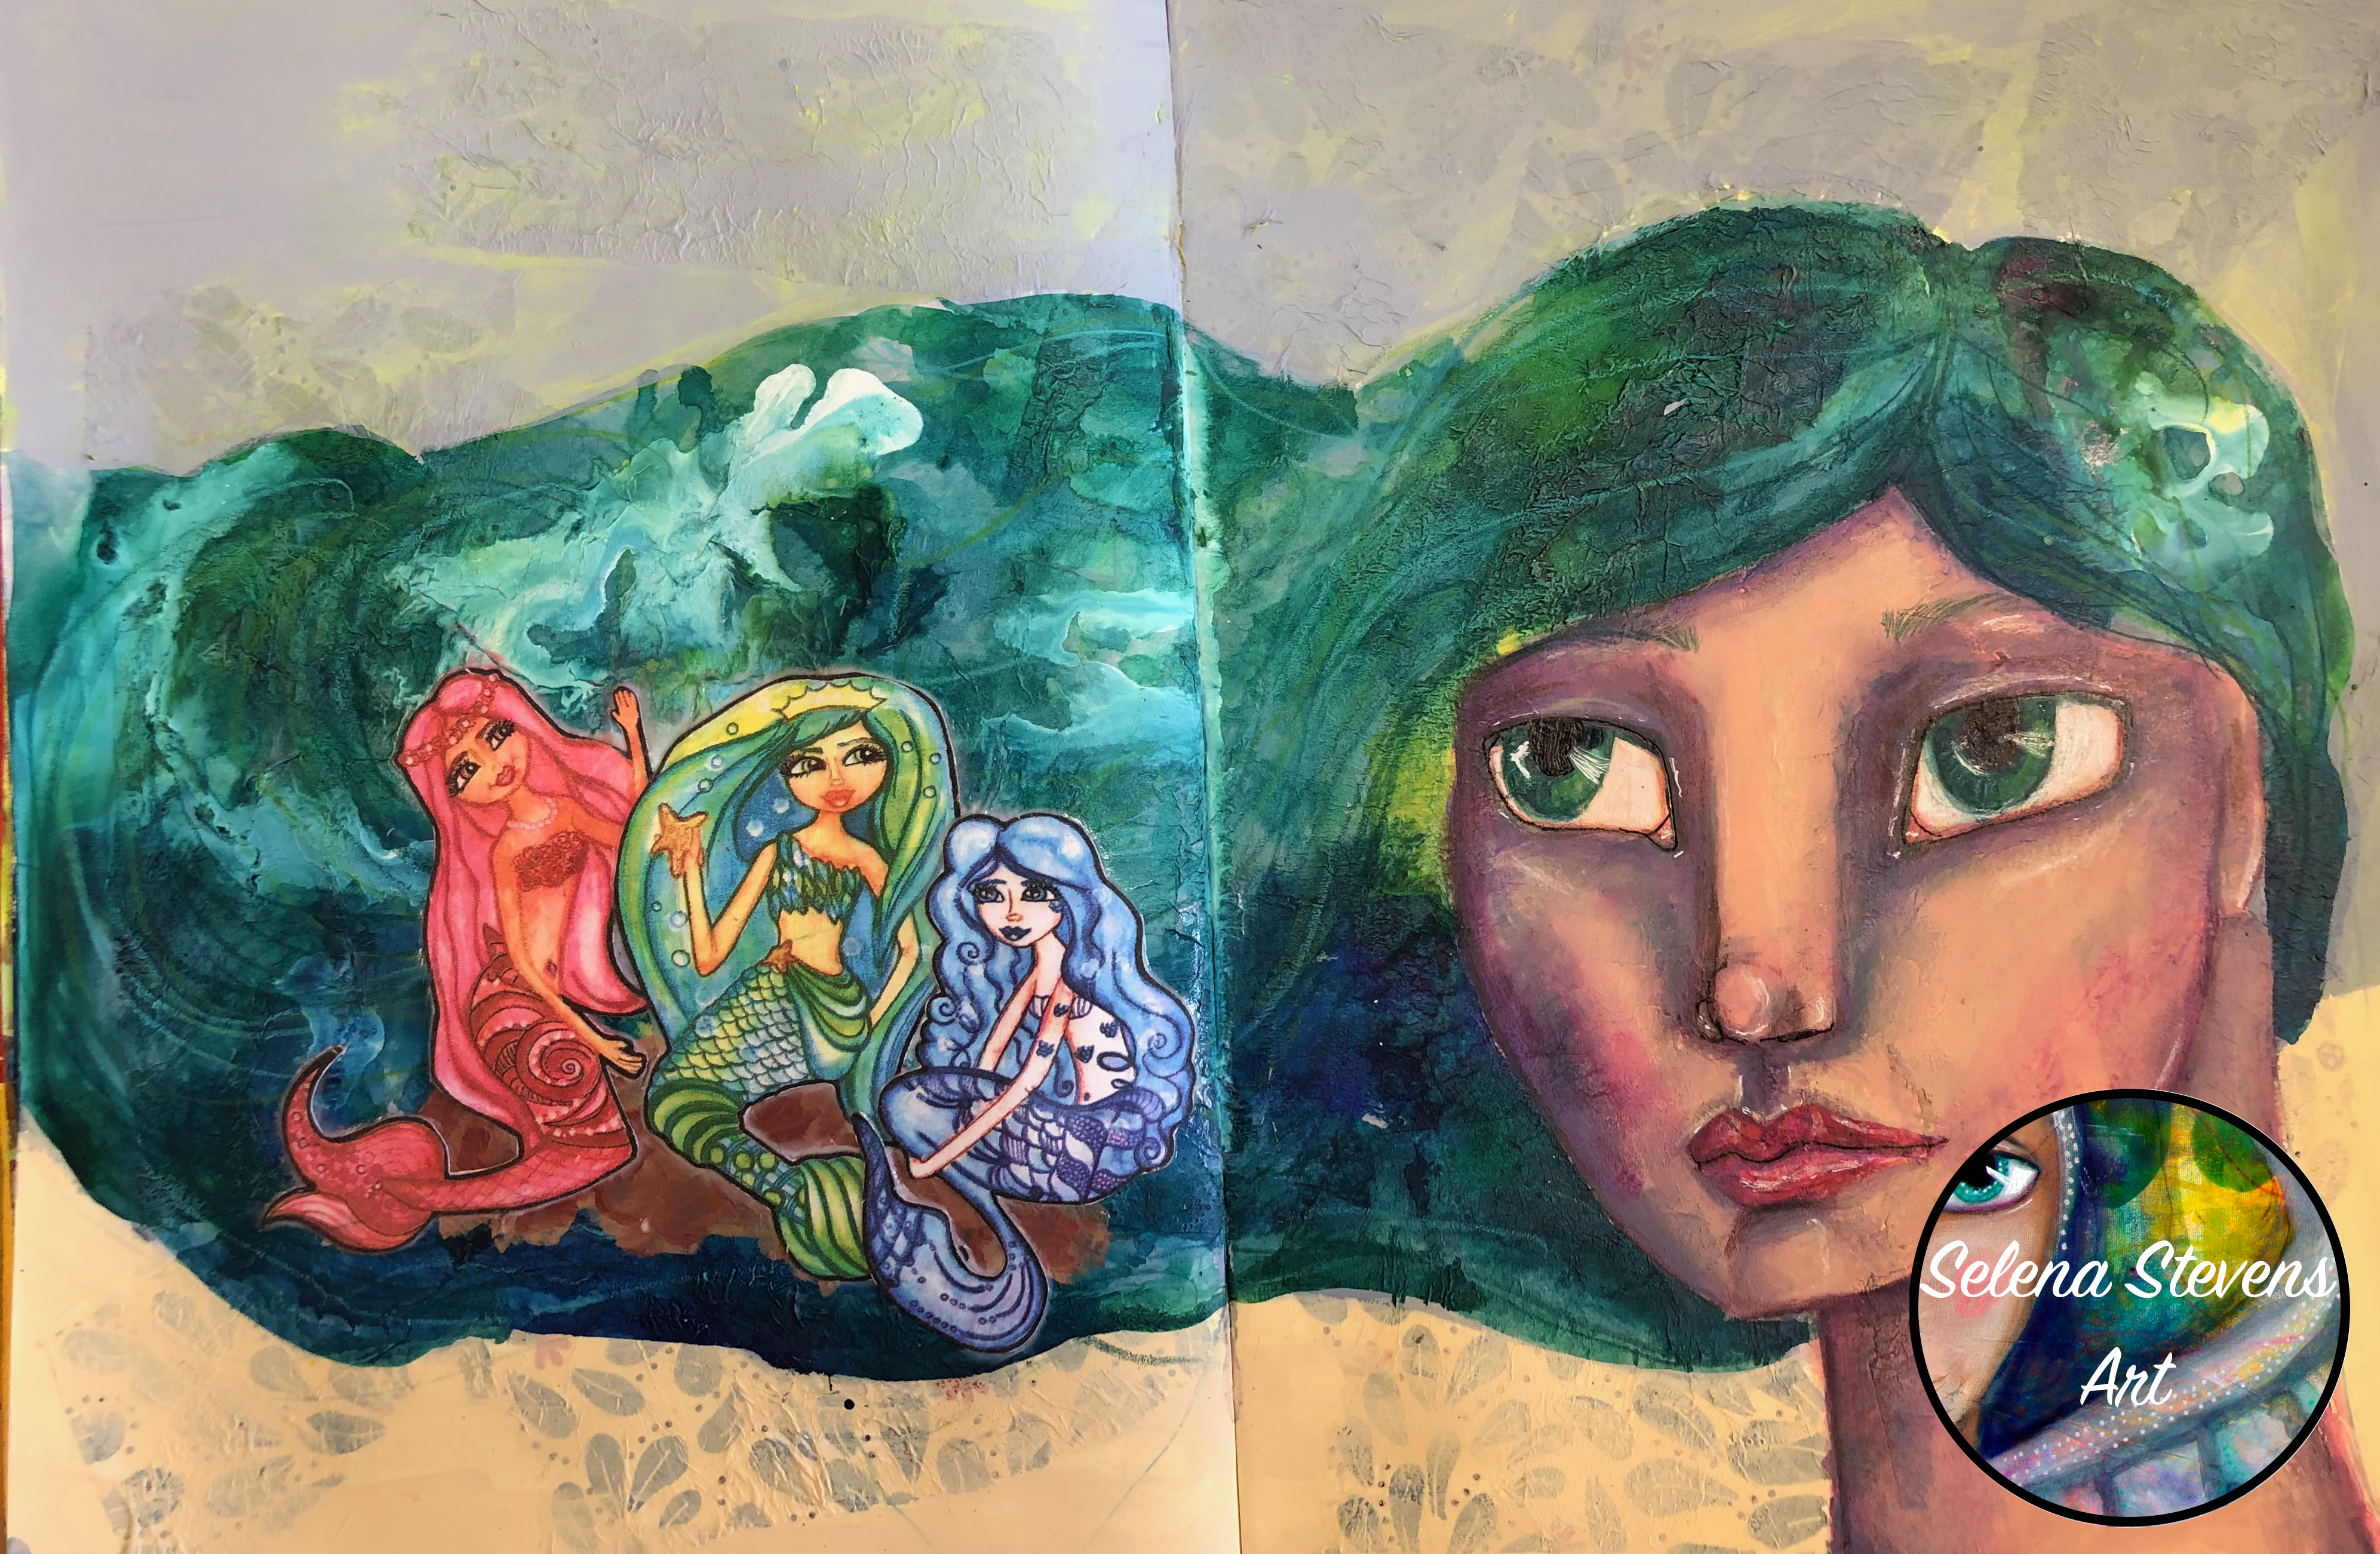
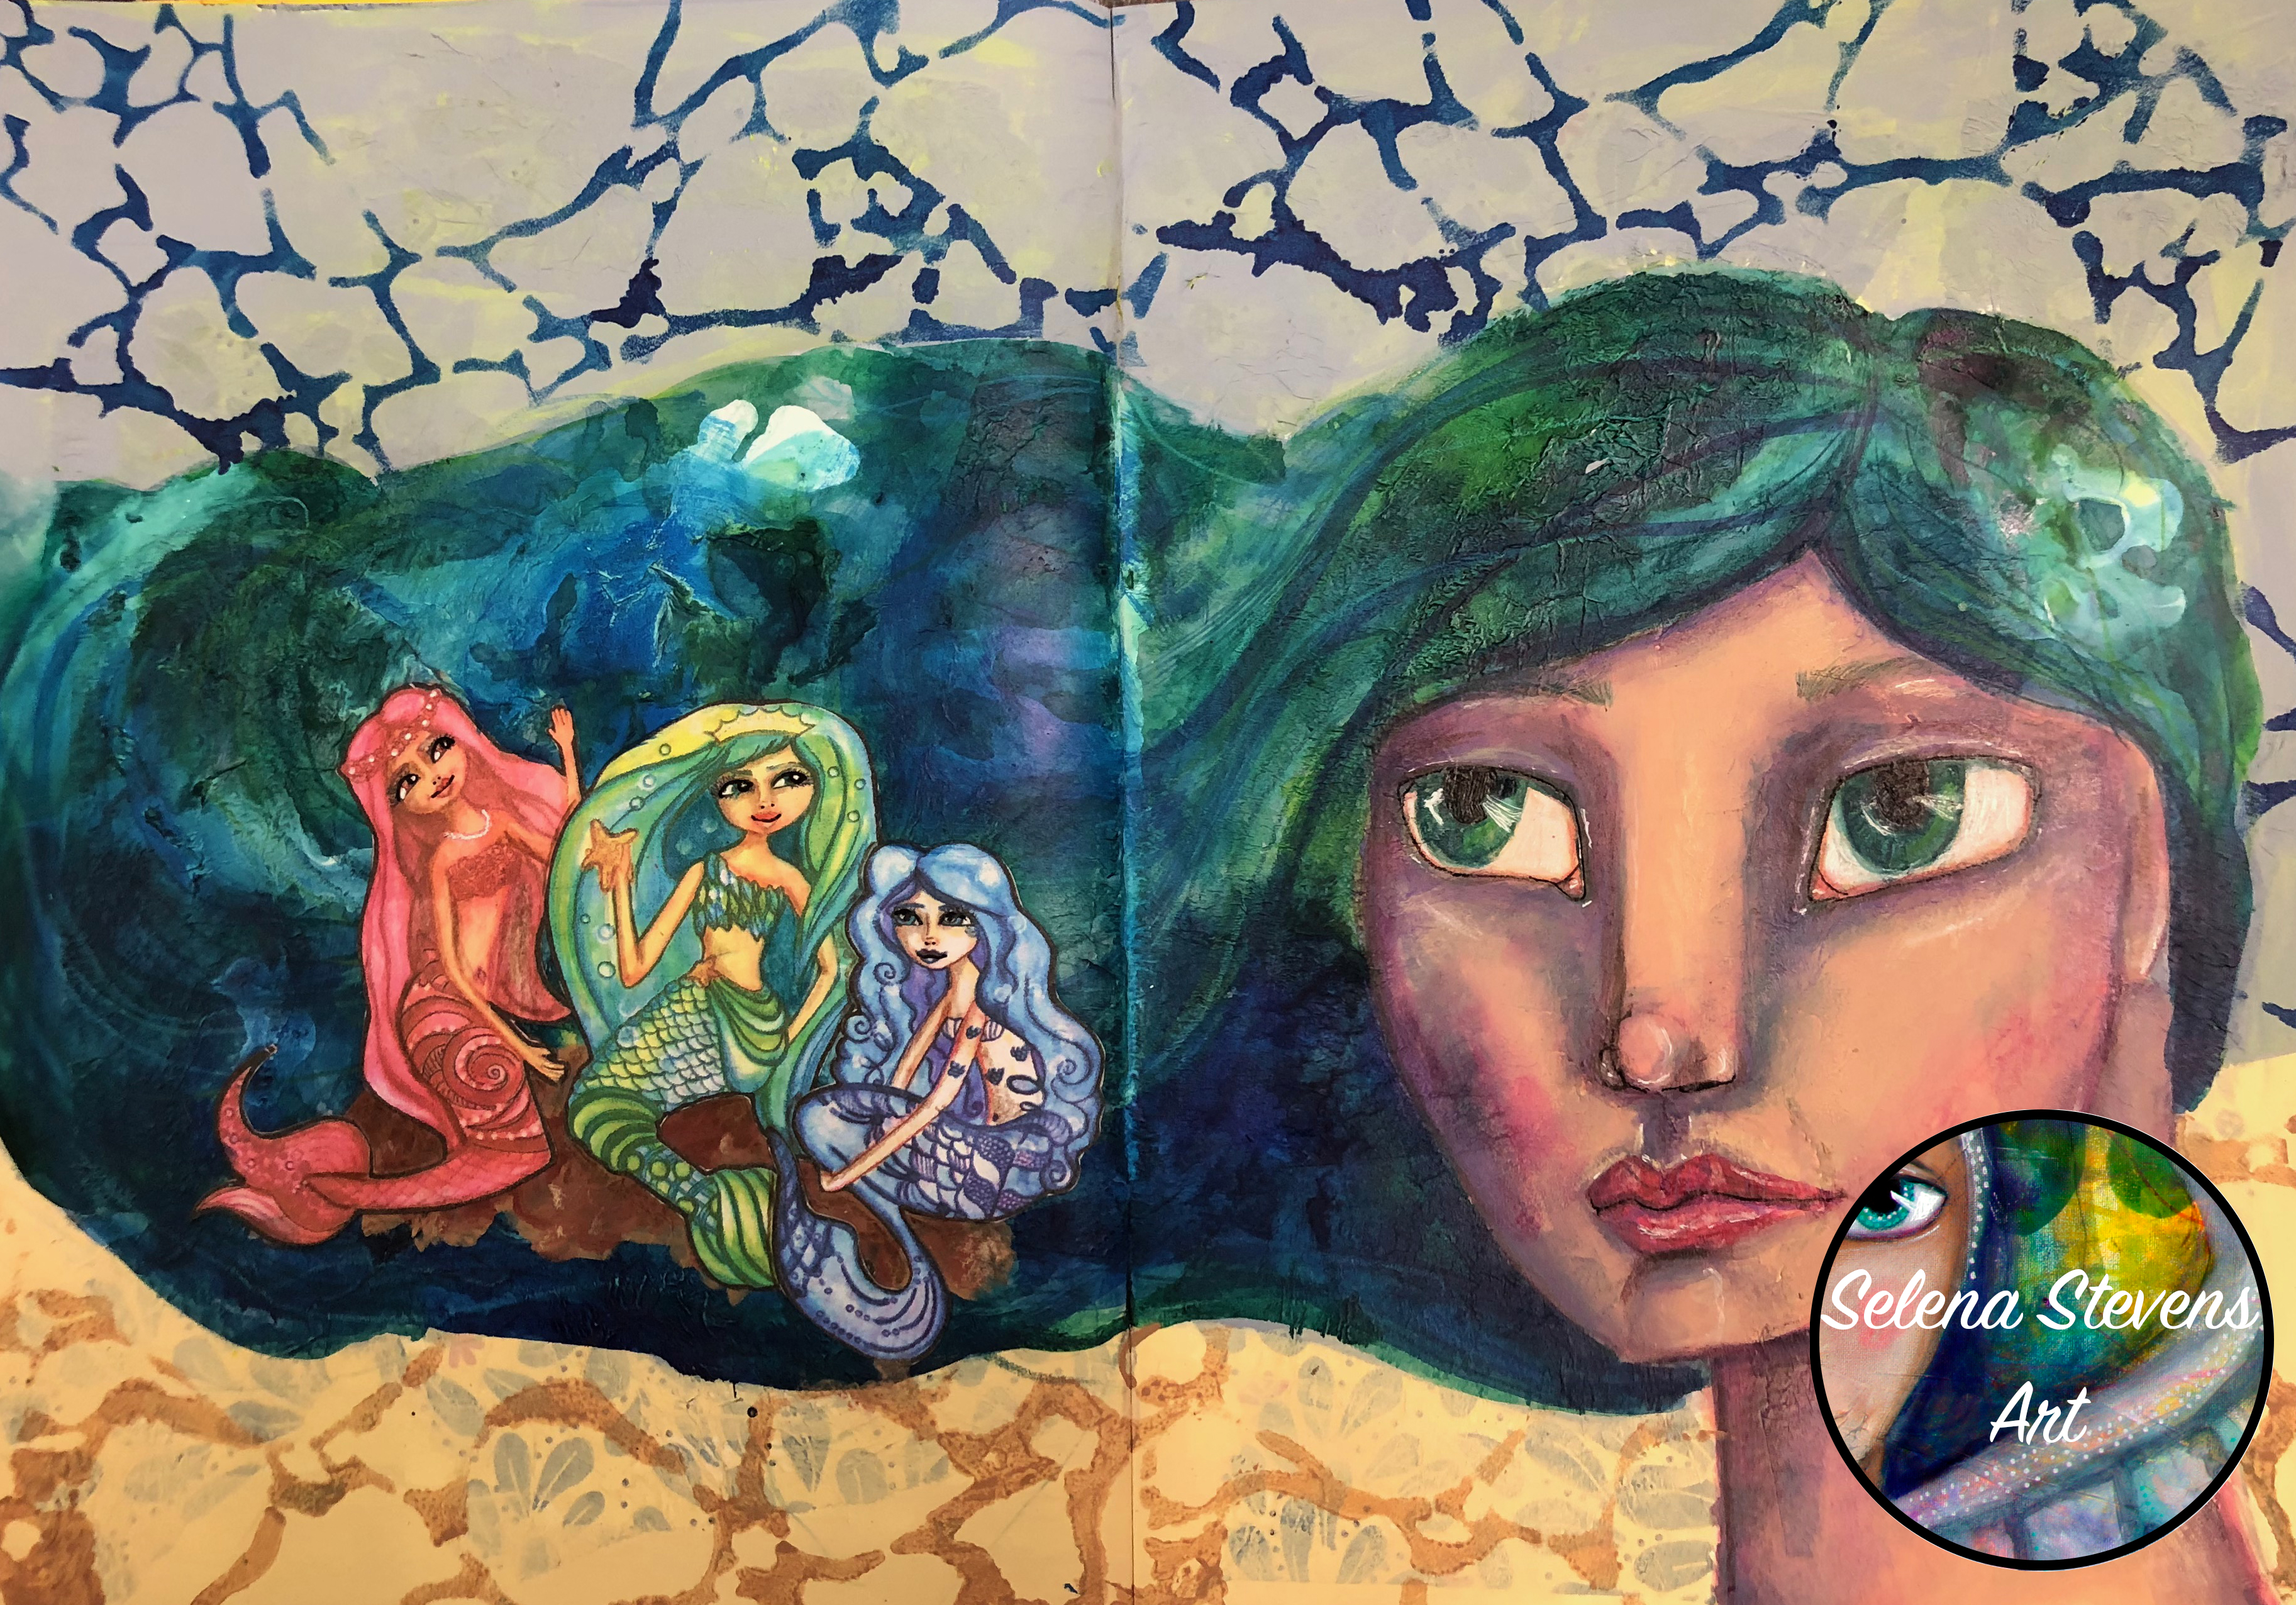
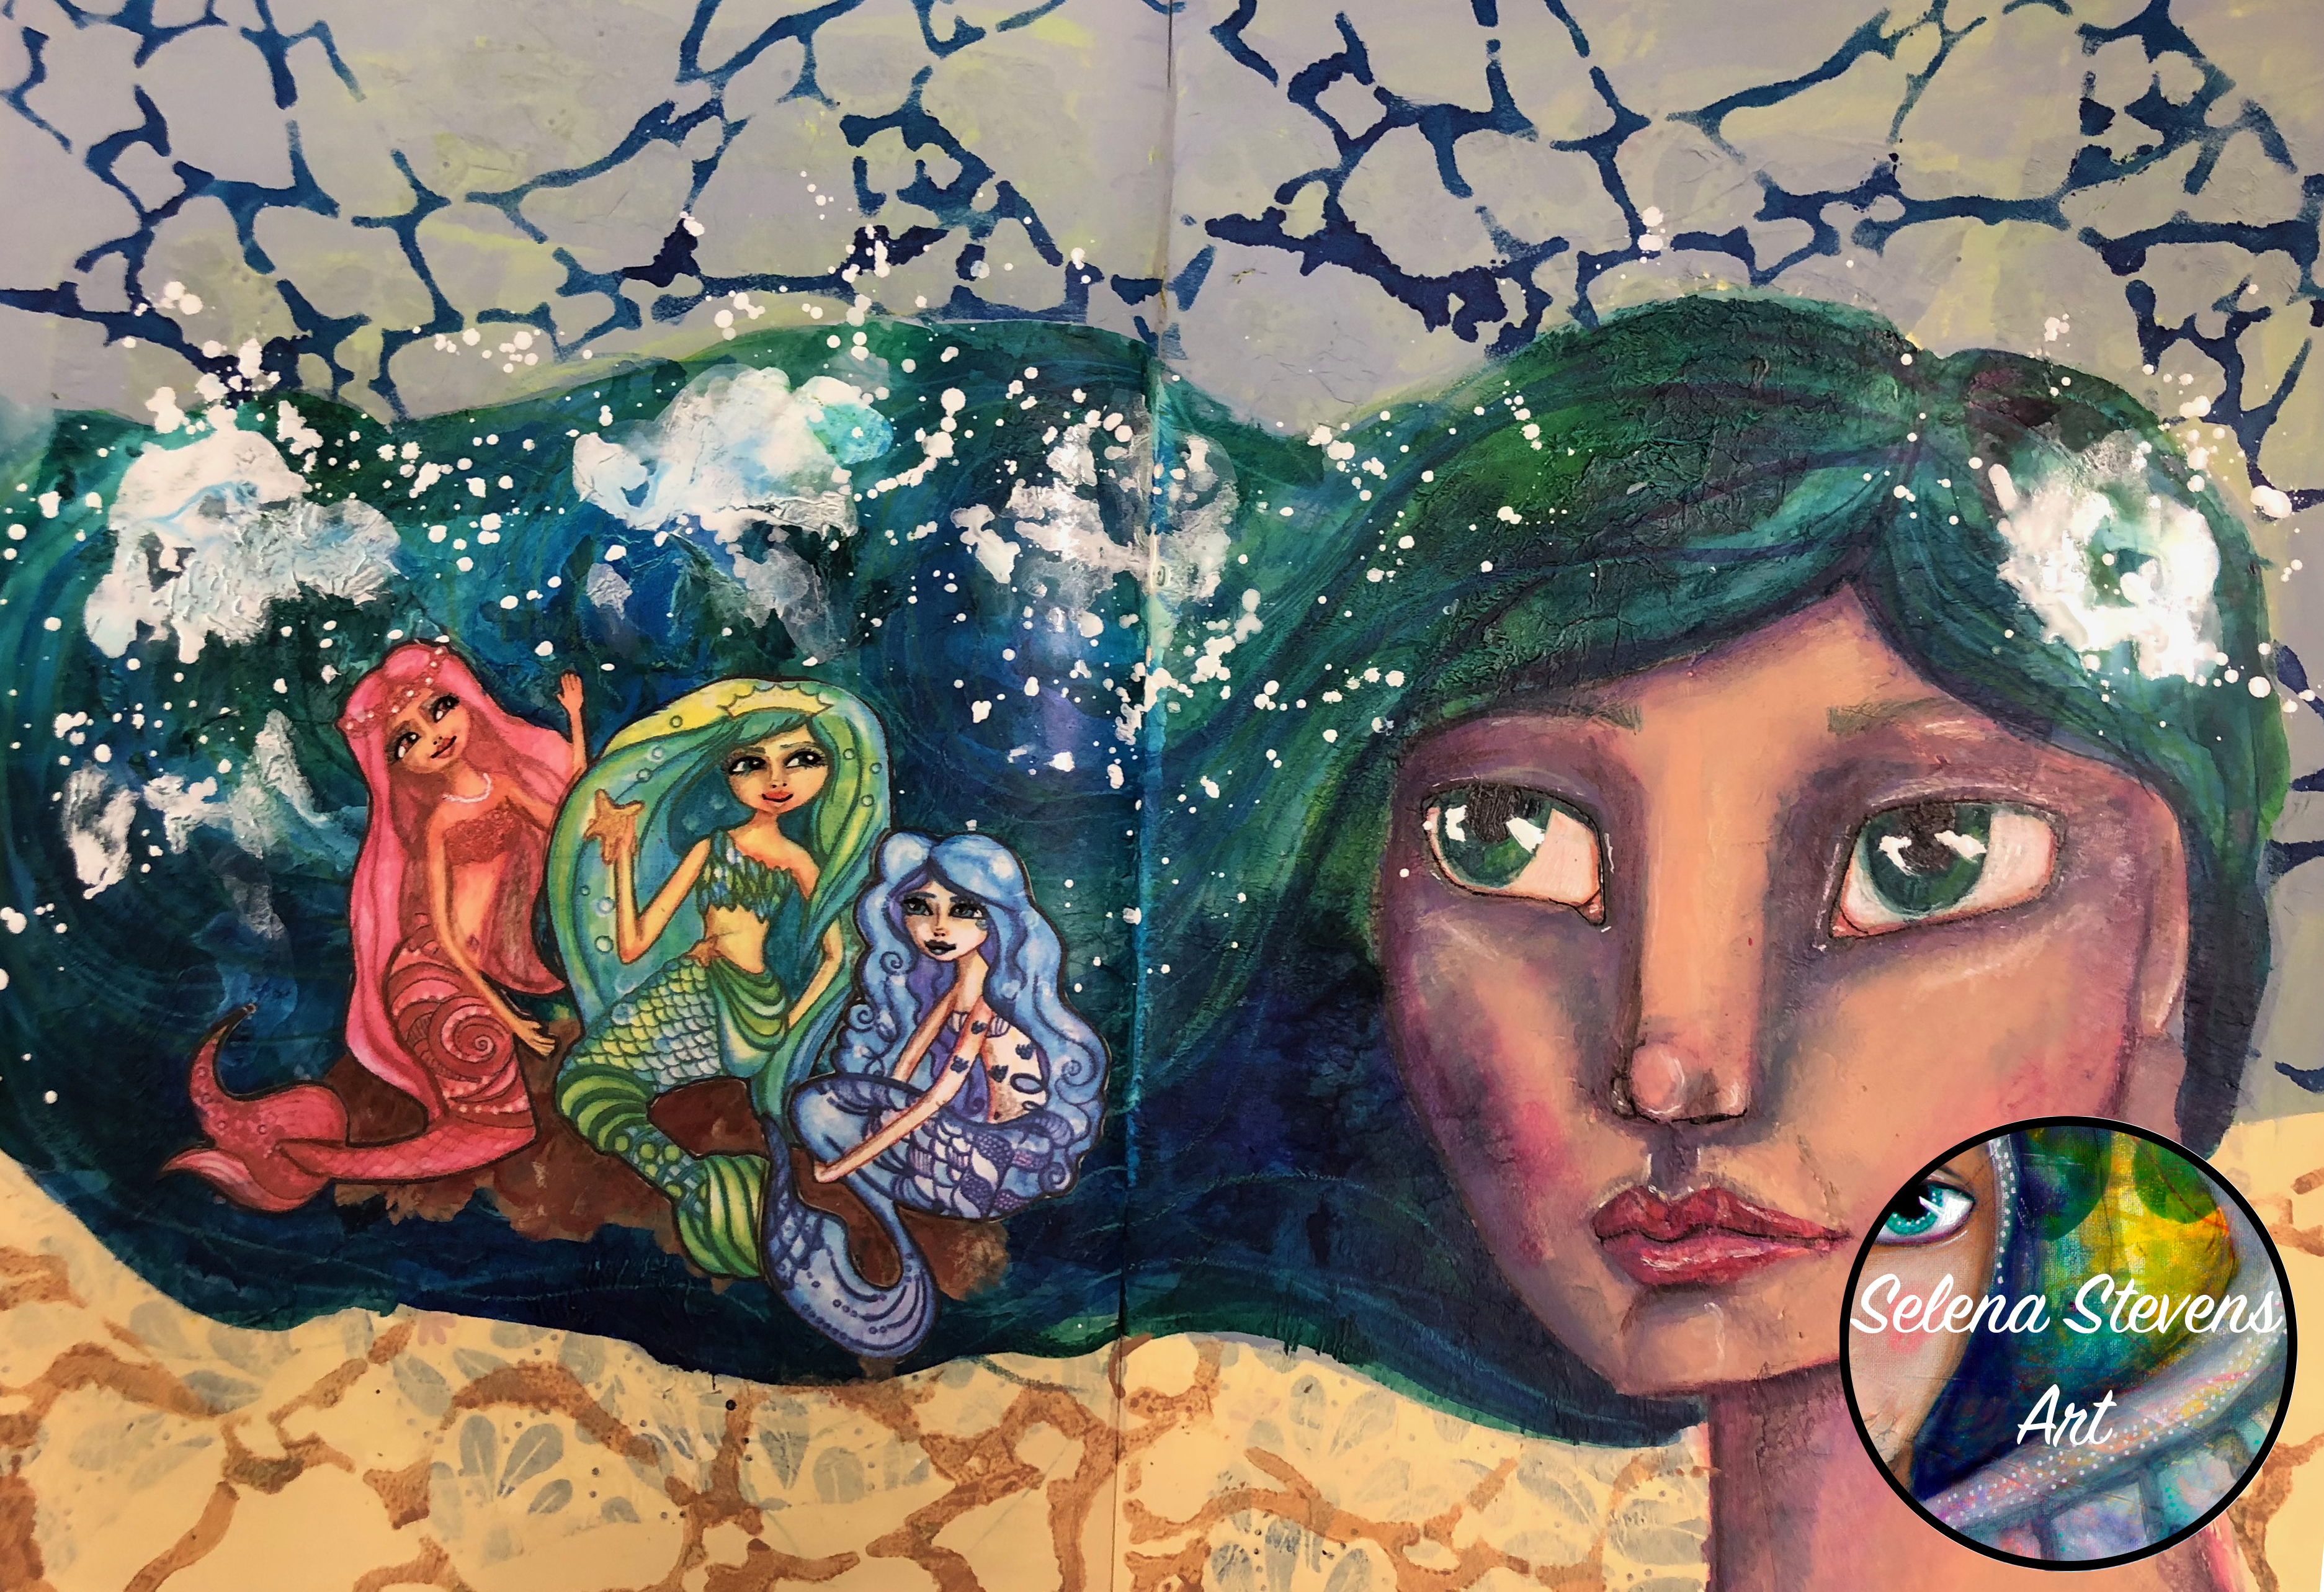
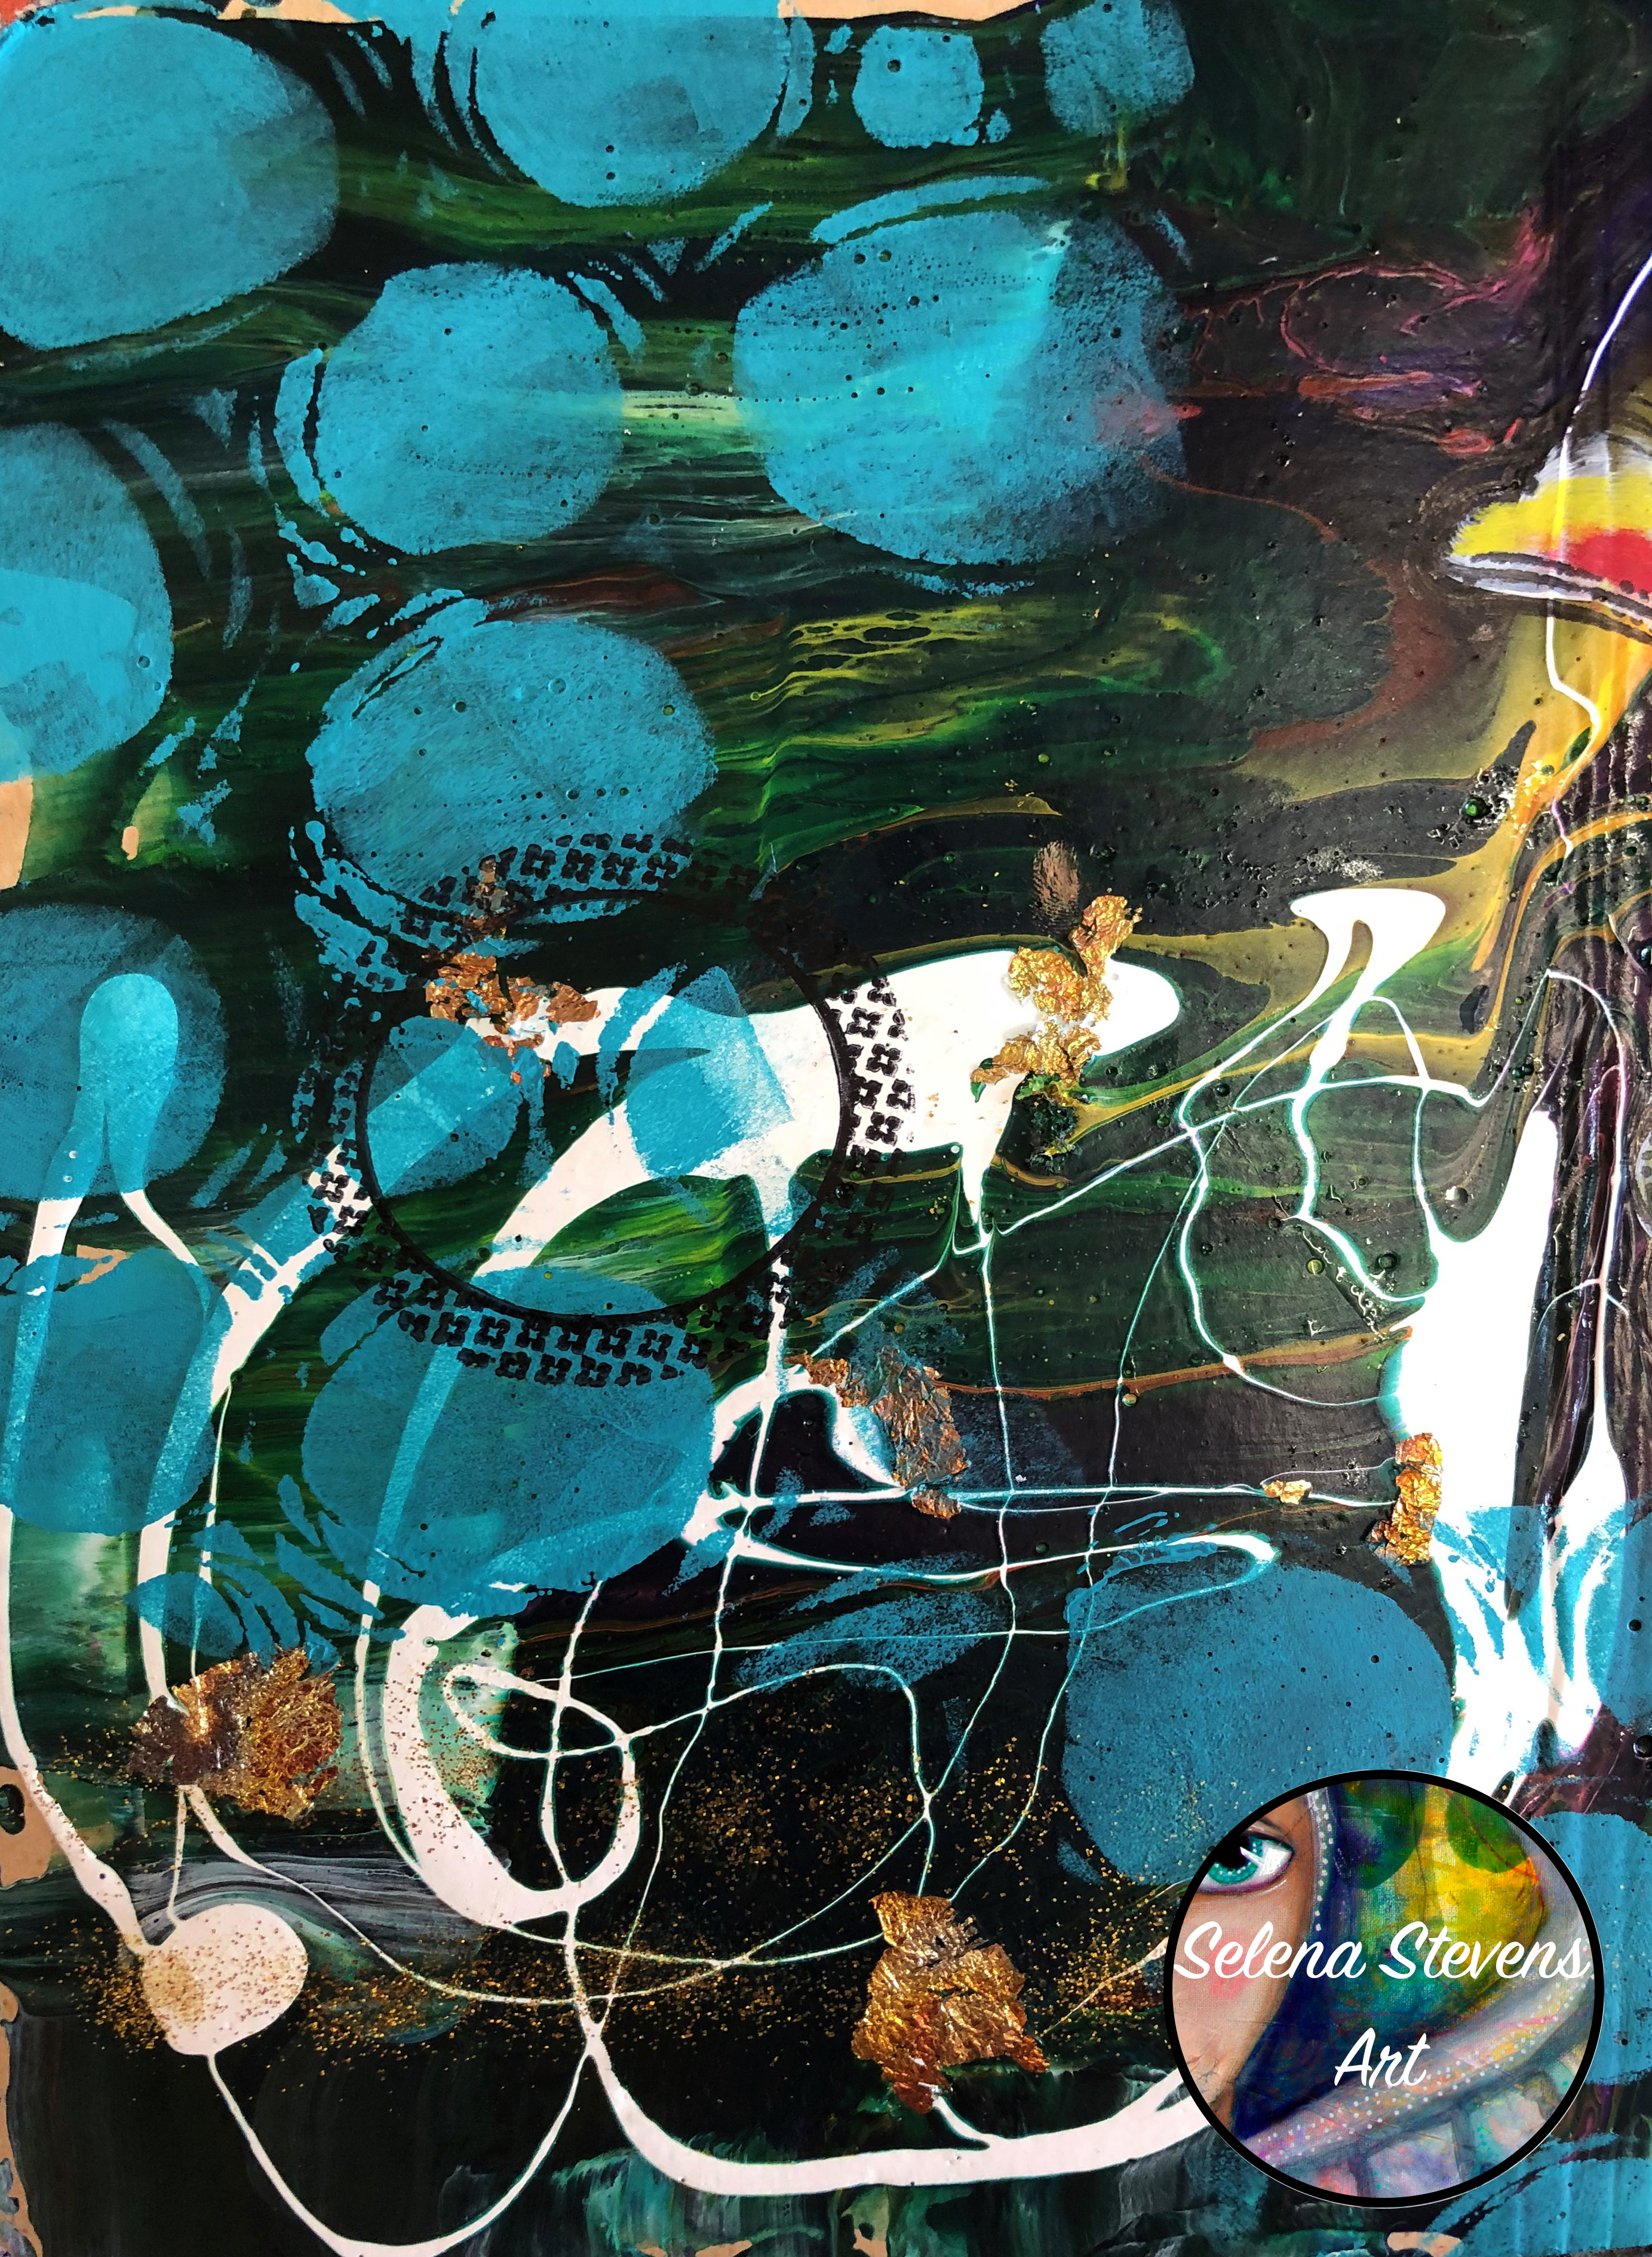
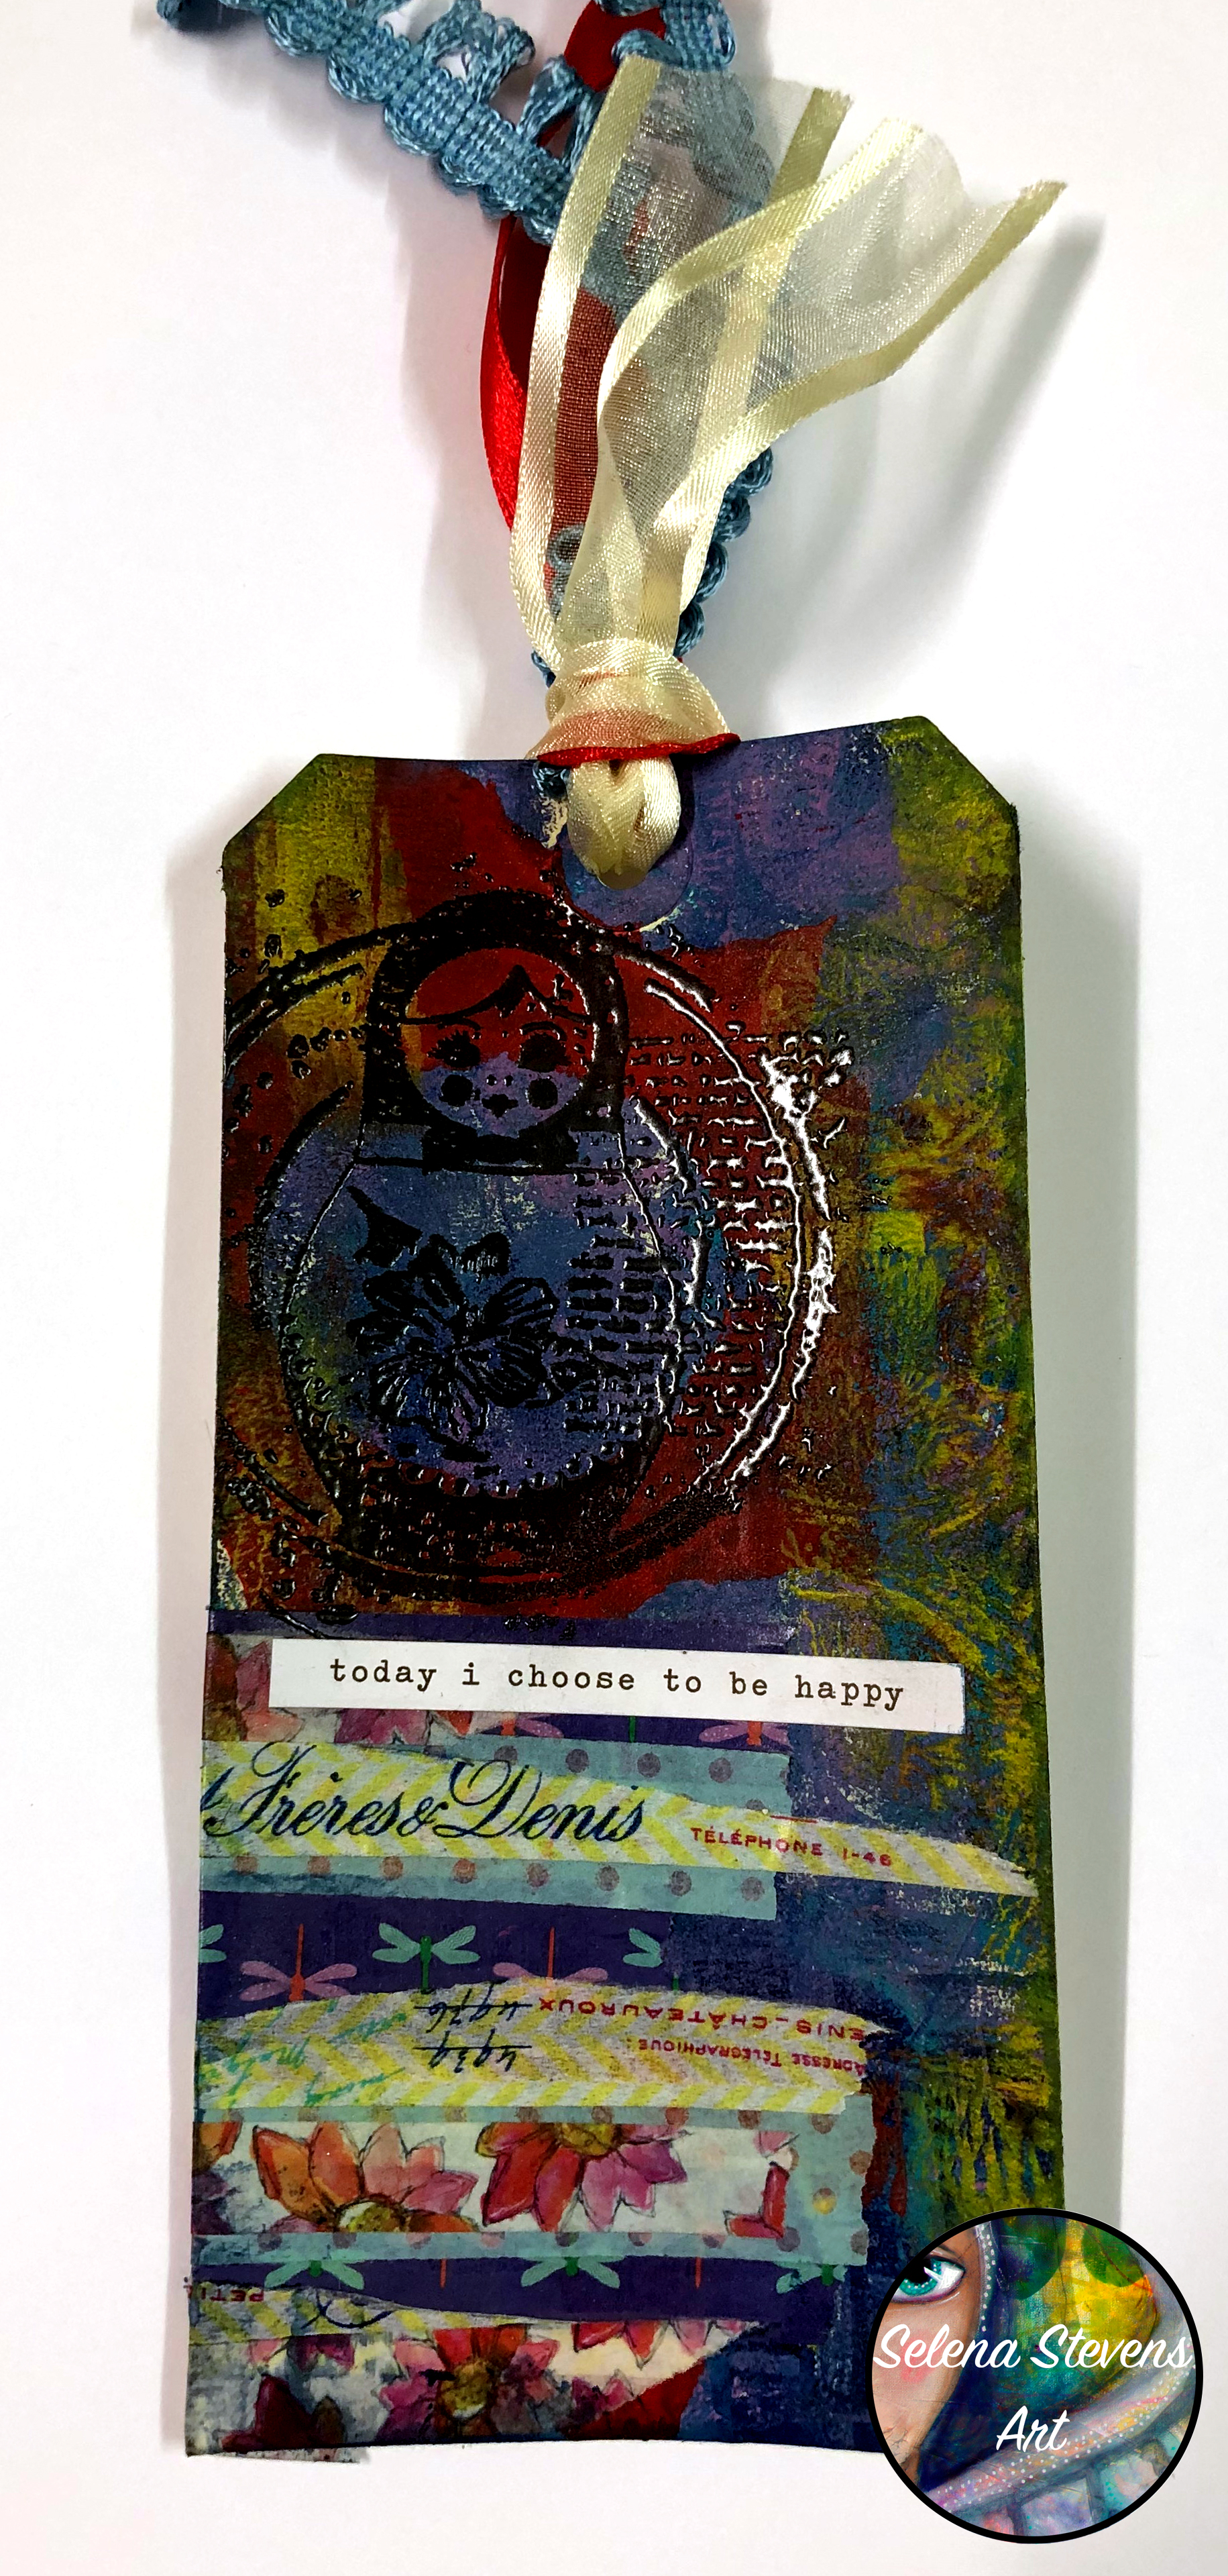
Currently I am working in a handmade journal from Woolworths paper bags which I painted with left over acrylic paint and cleaned stencils that were covered in gel medium to begin to create interesting backgrounds. The image I am using of a woman laughing was found in a Frankie magazine. The edges were ripped to help the page “dissolve” into the background and not to be able to see as easily where the edges are. I glued the image with Derivan Matt Medium underneath as well as a thin layer over the top to improve the surface for when I am painting and drawing on it.

Following the shading, the darker areas, seen on the image, I took a Derwent Inktense pencil in Dark Chocolate and scribbled over the shaded areas.

Instead of activating the pencil with water, I activated with acrylic paint instead. Atelier Interactive Acrylic Paint, Tangerine Dream and Titanium White, was used to help blend the pencil and create a dark, mid and light tone on the face, neck and arms. The Titanium White was also used to block in the woman’s singlet.

Next I painted in the background using Atelier Interactive Acrylic Paint, Pthalo Turquoise, Dioxazine Purple and Naphthol Crimson. By doing the background prior to finishing the girl and doing her hair, helps to get the image sitting in front of the background.

The women’s hair was filled in with long strokes on the paint brush using Atelier Interactive Acrylic Paint, Burnt Umber and Hollow Tree. To finish this portrait, a few finishing touches were placed with Prismacolour pencils (Dark Brown, Black, Peach and White). The pencil helped to deepen the shadows and outline the features like her eyes and her hair.

To see more of my artwork, go to:

Youtube: Selena Stevens Art

Facebook: Selena Stevens Art

Instagram: selenastevensart

Candle – Mixed Media Art Journal Page for Off the Rails Scrapbooking

The following mixed media art journal page was inspired by Off the Rails Scrapbbooking moodboard for December 2020. I took inspiration from the candle in the picture and the following is what I came up with. If you would rather watch the page created in a 5 minute time-lapse go to my Youtube channel, Selena Stevens Art and you will find the video here.

To start this mixed media page, I covered the page in colour. Using Liquitex Acrylic Ink in Carbon Black, Muted Violet and Muted Grey, drops were added to a wet page to create a night time feel to it. Too add the “stars” I splattered watered down Lumiere by Jacquard Pearl White over the page and let it dry before moving on to the next step.

Then I began to add in the glow of the candle light. This was easier without the candle being in the way. I used Atelier Interactive Acrylic Paint in Cadmium Yellow Light, Arylamide yellow Deep and Red Gold. These colours were blended together on the edge of each colour .

The third step was painting in the candle. After drawing the shape in pencil I started with the darkest colour on the bottom and travelled up to the lightest colour at the top. I used Kingart Artist Mixed Media Gel Sticks in Purple, Red and Yellow. Once the colour was on, I activated the Gel sticks with water and created some “wax” running down the candle with the gel sticks and some Atelier Acrylic Paint in Titanium White.

A small amount of black pen was added to the bottom of the flame to define it better and to show the wick.

I was really liking my candle so far and always find it hard to put the next element on when I like something in case it mucks it up. But after several photos and deep breaths I remembered that it is only a piece of paper and if I do muck it up it will be ok. So I went ahead and found some different green washi tapes that I have had lying around for a while and ripped them up into small pieces to show the wreath that the candle was sitting in. As the washi tape wasn’t going to stick very well, I added a layer of matt medium over the top to help it stay there.

To try to give the wreath a little more depth, I added in some light and shadows. I repeated the colours I had already used and with a wet paintbrush, took some pigment straight from the tip of the gel stick and added the “light” to the top of the wreath. I continued the purple from the candle onto the bottom of the wreath as the shadow and blended it out a little way onto the wreath.

This page was slowly coming together but still missed something. The left side was looking a bit empty so I added some splatters over the page in yellow.. I also put some red splatters over the wreath to show the little festive berries.

Which then brings us to the finish of the page, well almost. I still want to add something to the left hand side of the page, maybe a quote. Let me know if you have any suggestions.

Dont forget to have a look at Off the Rails Scrapbooking moodboard which changes every month. Also follow my blog and subscribe to my Youtube channel or find me on social media to see more of my art work.

Selena

Wise Owls for Off the Rails Scrapbooking

116341673_2586654914920168_5281585220833293946_o.jpg

This months Off The Rails Scrapbooking moodboard challenge featured birds and feathers.  I had some images of owls on my desk waiting for something to use them with and thought this was a great opportunity.

1Background

To start this art journal page in my Dina Wakley “Blue Edition” Journal I began with a quick background.  Using the Kingart Tempera Paint Sticks I scribbled them on, smudged them with my finger and overplayed them on the colour next to them.

2Feathers.jpg

I had a stencil from The Crafters Workshop that fit the moodboard with feathers.  I punched Atelier Liquid Gesso Primer through the stencil, which toned down the background and added feathers.

3InkedFeathers

To keep going with the feather theme I used an old feather stamp which I have had for years and don’t know where it came from.  I stamped with Rangers Archival Ink Jet Black.

4Owls.jpg

I had some images that I had from printed from The Graphics Fairy.  After fussy cutting the owls and sorting out the placement, black gesso was applied under where the owls were going to help them stand out. The owls were then glued on.

Final

To finish it off I used a quote from a StencilGirl stencil which had black gesso scraped through it.

Detail1.jpg

A quick, easy, colourful and fun art journal page.  To see the process video of this page go here.

Detail2

If you are looking for inspiration go and have a look at the Off the Rails Scrapbooking monthly mood boards.

Selena

Videos for August

During the past month I have aimed to provide a time-lapse video to watch at least once a week to show a painting that I created.  These are all available on my Youtube channel, Selena Stevens Art, so make sure you subscribe so you don’t miss out.

The videos include a tag that I made for the Tag Swap from the Two Sisters Art Sampler Box for July.

Final.jpg

There is also a video of a flip through of a recent completed art journal, showing the different pages that I created.

Final 3.jpg

For the mixed media classes that I teach at a local art shop, Two Sisters Art, I also provide a time-lapse video showing how I created the lesson.  For the past month these included Mushroom Clock and Artist Inspired Face.

classes.jpg

The last video I shared was showing a whimsical woman face starting with a background that had a lot of left over paint and ink and other mediums wiped all over it which I called Messy Background Face.

Final.jpg

I hope you enjoy watching these and catch up on the ones you may have missed.

Selena


Field of Flowers

During this mixed media art journal page I wanted to use both of my two stamps by Art By Marlene.  I have been inspired by Art By Marlene  since I first saw her bold colours, fun, whimsical creatures and of course her chubby mermaids.

Stamp3.jpg

I began by stamping with the Art By Marlene stamp BM28 and Stazon Ink – Jet Black.  I stamped all of the words and sentiments on the lower third of my page.

Background Paint.jpg

Since I used a permanent ink in the previous step, I went on to paint my background.  I chose a darker colour at the bottom which moved towards a lighter colour at the top.  The paints I used were Ceramcoat Acrylic Paint in Bright Yellow, Orange Soda, Cardinal Red, Spring Green and Dark Victorian Teal.

Stamp Flowers.jpg

Once the paint dried, I then used Art By Marlene Chubby Chick – Mermaid Stamp.  I taped off the upper section as I only wanted to use the mermaids tail as flower petals.   Again I stamped with the permanent ink in a circular shape to begin to form the “flower”.

Stamp Flowers 2.jpg

Here is a closer link at the stamped image.

paint Flowers.jpg

The flowers were then painted.  Using the same colours as previous, I painted the centres of the flowers mostly yellow with a bit of red and orange on the outside.  The petal tails were also painted with red, orange and yellow.

Girl.jpg

I then stamped the top of the mermaid with permanent ink at the bottom of the page as she walked through the field of flowers.  She was coloured with paints and some shading added with coloured pencils.

Almost Final.jpg

Stems were painted on to hold some of the flowers on with several green acrylic paint colours.  Yellow splatters of paint were flicked across the page.

Detail.jpg

As some of the lines were lost from the paint covering the stamped image.  I repeated the stamping and placed it roughly were they had previously gone.  I also wanted a little bit of shimmer on the “petals” so using some ball point pen in red, orange, yellow and gold some random areas were coloured.

Final.jpg

To finish it off I added some white highlights and black details with a black and white pen.

Detail4.jpg

Go across to my Youtube channel, Selena Stevens Art, to have a look at the video.  Also make sure you go and have a look at Art By Marlene‘s work.

I hope you enjoyed this.

Selena


Guest Designer for Rita Barakat 2

Die Cuts.jpg

I was able to take the opportunity to be a Guest Designer for Rita Barakat.  To create something for Rita I was sent seven of her die cuts to use in a project.  For this project Dorothy from the Wizard of Oz called to me and I came up with the following mixed media project.

1 Background.jpg

I started by creating the background.  I added texture by glueing paper doilies onto my page.  Then I added colour using Tim Holtz’s Distress Stains.  The hills were roughly defined with Caran D’Ache Neocolour II crayons.  Of course it can’t a Wizard of Oz scene without the yellow brick road – this was made with gold washing tape.

2 Dorothy.jpg

I then concentrated on Rita Barakat Dorothy Die Cut by enhancing some of her features.  I coloured her hair a little more.  Added a bit of fluorescent yellow to the areas that were already yellow.  And of course I had to try to make her red shoes stand out some more.

3 Cut.jpg

When I started this page I envisioned Dorothy walking along the yellow brick road (which is unusual in itself because I don’t usually start with a plan).  To make Dorothy “walk”, I cut a slit into my page.  Glued a paddle pop stick onto the back of the page and added some ribbon.  While having Dorothy on the front of the page and the paddle pop and ribbon on the back, I am able to pull the ribbon and make Dorothy “walk” along the road.

Final.jpg

This is what the page looked like when I was finished.  To see a time lapse video of the creation of this page and to watch Dorothy “walk” go to my youtube channel to watch here.

I hope you enjoyed this.

Selena

Guest Designer for Rita Barakat

I was lucky enough to become a Guest designer for Rita Barakat and use some of her magical designs in my work.

Die Cuts.jpg

 After a long journey seven of Rita Barakat Die Cuts arrived in the mail for me to create with.  To see more of Rita Barakat Designs go to her website here.

1Base Colour.jpg

In my Dylusions art journal I began by separating the backing from some napkin and glueing it onto the page with Liquitex Matte Medium.  Once the focus point was sketched in, I layed down a base colour using the Ceramcoat Acrylic Paint.

2Face.jpg

I put more detail and shading in to the girl’s face.  Got the crashing waves started in her hair with Liquitex Acrylic Ink.  And placed a rock into the scene with acrylic paint.

3Mermaids.jpg

Next I brought in the stars of the show, Rita Barakat Die Cuts – Mermaids.  Once they were placed where I wanted them, I glued them in with Liquitex Matte Gel.  A few of the mermaids details were enhanced with coloured pencil.

4Stencil.jpg

I wasn’t happy with the background but I fixed that by using The Crafters Workshop stencil and some more paint.

5Splashes.jpg

To finish off the page I added in some of the splashes from the waves and a small border.

Final.jpg

To see the time-lapse video of this art journal page go here.

Detail1.jpg

I hope you enjoyed this and don’t forget to have a look of some of Rita Barakat’s magical creations and products.

Rita Barakat can be followed on Facebook, to see other creatives and the Design Team’s work go to this Facebook page.  Rita Barakat can be seen on Instagram.  Rita’s blog and shop can be found on her website.

Selena

Off the Page Video

I have uploaded a video showing an Off the Page project using the Kaisercraft Ladder Shelf.  Here is the link to the video.

SSA Final.jpg

Art Supplies used:
Kingart Tempera Art Sticks
Atelier Acrylic Paint
– Cobalt Green Hue
Ironlack Acrylic Paint
– Violet
Colour Blast Colour Paste
– Royalty
Stencil Unknown
Tsukineko All-Purpose Ink
– White
Kaisercraft Ladder Shelf

SSA Products.jpg

To see more of my artwork, follow me at:

Facebook: Selena Stevens Art

Instagram: selenastevensart

Youtube: Selena Stevens Art

Blog: www.selenastevensart.wordpress.com

SSA Detail.jpg

Until next time,

Selena

Acrylic Pour Abstract Journal Cover – Video

Using the art supplies from Two Sisters Art Sampler Box for January 2019, I create a project doing my first ever dirty pour. For more information or to subscribe go to Two Sisters Art.

Final 2.jpg

I created a time-lapse video to show how I used the art materials from the Two Sisters Art Sampler Box, which encourages subscribers to do an acrylic pour this month.  Here is the link to the video.

Final.jpg

Art Supplies used:
Dylusions Art Journal
Atelier Pouring Medium
Atelier Free Flow Acrylic Paint
– Titanium White
– Transparent Burnt Sienna
– Pthalo Green
– Naphthol Crimson
– French Ultramarine Blue
– Acrylamide Yellow
Machine Oil
Gold Glitter
Gold Foil
Paddle pop stick
Disposable cups
Foil oven tray
Liquitex Matte Gel
Golden Fluid Acrylics
– Cobalt Turquoise
– Fluorescent Pink
Scissors
Cling wrap
Jo Sonja’s Acrylic Paint
– Aqua
Stazon Ink
– Jet black
Stamps Unknown
Dusty Attic Stencil

Detail 2.jpg

To see more of my artwork, follow me at:

Facebook: Selena Stevens Art

Instagram: selenastevensart

Youtube: Selena Stevens Art

Blog: www.selenastevensart.wordpress.com

Detail.jpg

I hope you enjoyed this,

Selena

Tag – Gelli Printing – New video

Miss 5 and Selena Stevens create some tags together with the products received from the Two Sisters Art Sampler Box for December 2018. For more information on how to subscribe to these boxes go here.

Here are some of the finished prints from our printing session.

SSA_Print.jpg

Even Miss 5 pulled off some great looking prints.

IMG_0930.jpg

The link to the video is here.

Art supplies:
Jo Sonja Acrylic Paint
– Amethyst
– Aqua
– Blue Violet
Ceramcoat Acrylic Paint
– Crimson
– Bright Yellow
Washi tape
Stamps
Kaisercraft
Gorguss
– Unknown
Versamark Watermark Stamp Pad
Colour Blast Colour Embossing Powder
– Dusty Charcoal
Colour Blast White Heavy Gesso
Sharpie Meanstreak
Carpe Diem Stickers
– Posh
Tim Holtz Distress Ink
– Faded Jeans
Versamagic Ink Pad
– Cloud white
Ribbon
Sullivans Circle Punch
Gel Press
Dylusions Brayer
Gelli Plate
Dusty Attic Stencil
Faber-Castell Texture Cards
Paddle Pop stick

And here are the finished tags (Miss 5 got distracted and didn’t finish hers).

SSA_Bird.jpg

SSA_Bottle.jpg

SSa_Doll.jpg

SSA_Girl.jpg

SSA_Lady.jpg

These tags will be part of a tag swap available through the monthly subscription to Two sisters Art Sampler Box. Click here to sign up.

To see more of my artwork, follow me at:

Facebook: Selena Stevens Art
Instagram: selenastevensart
Youtube: Selena Stevens Art

Blog: www.selenastevensart.wordpress.com

Until next time

Selena